Handy Curve Profile
what is Handy Curve Profile?
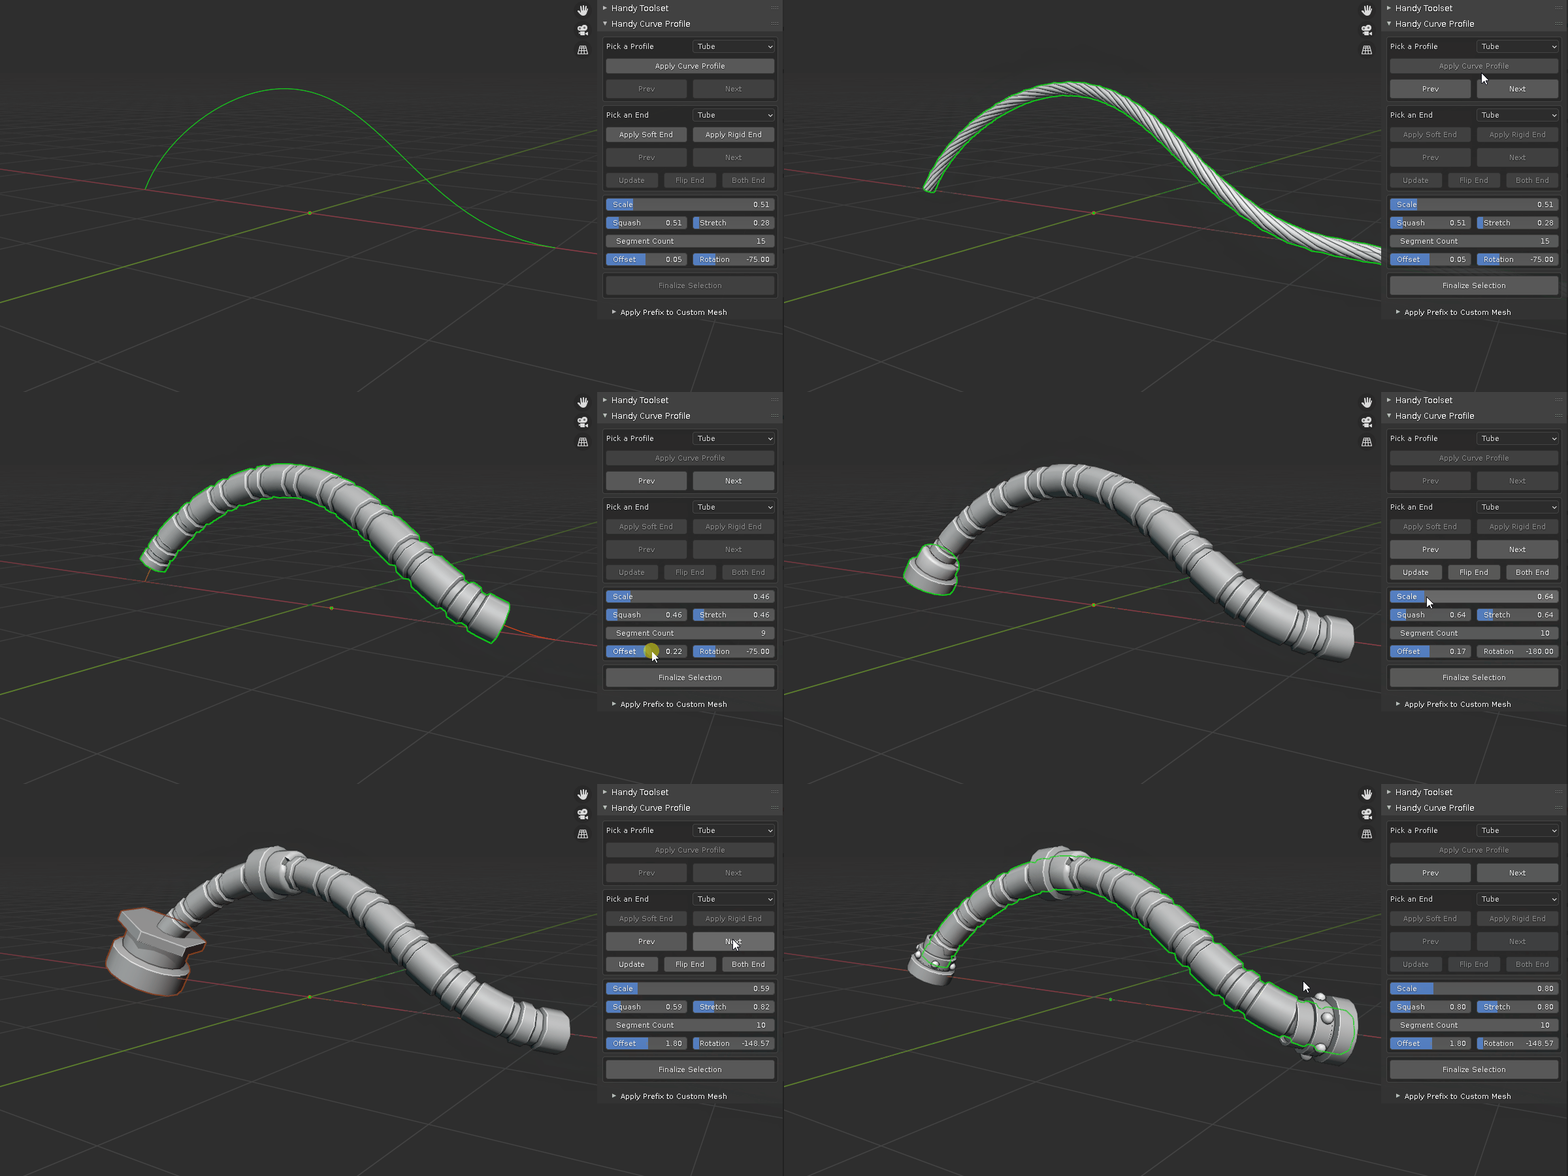
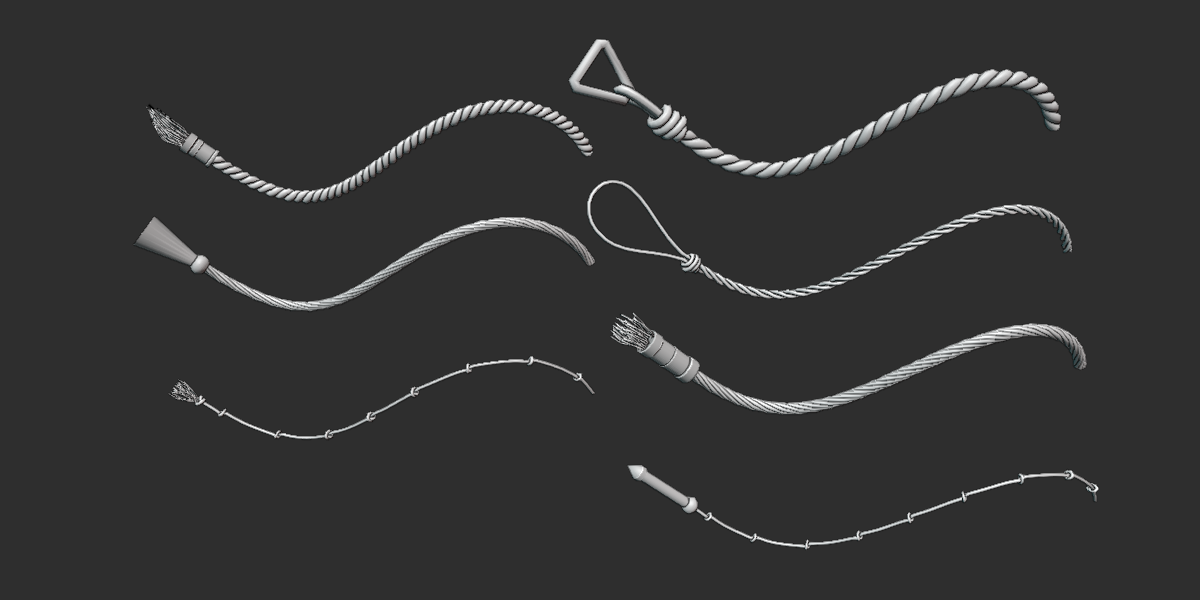
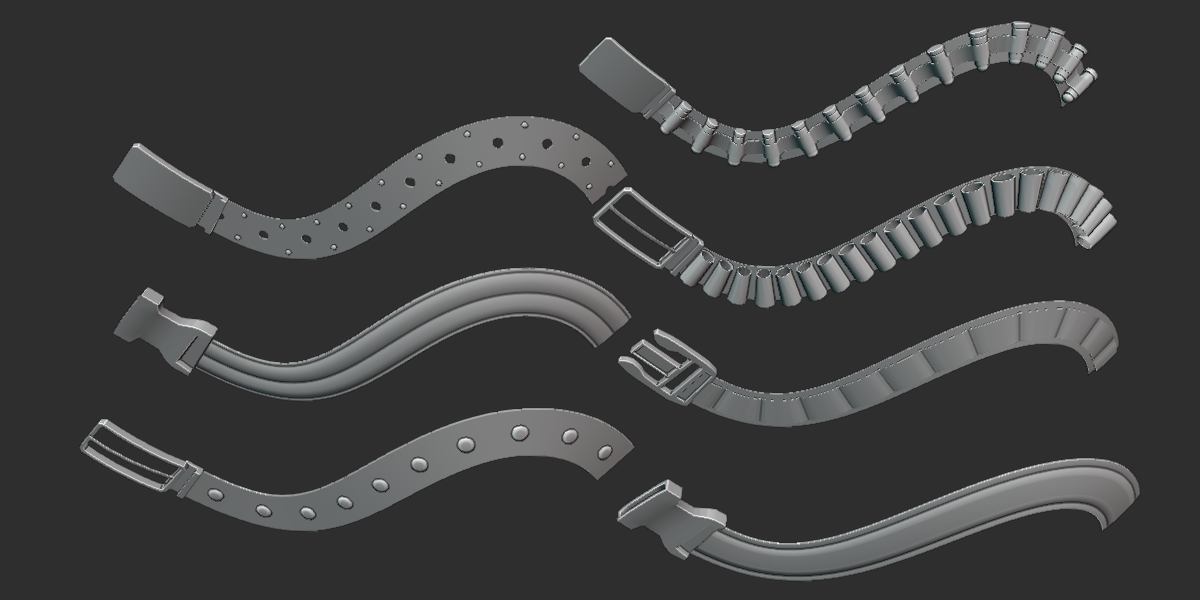
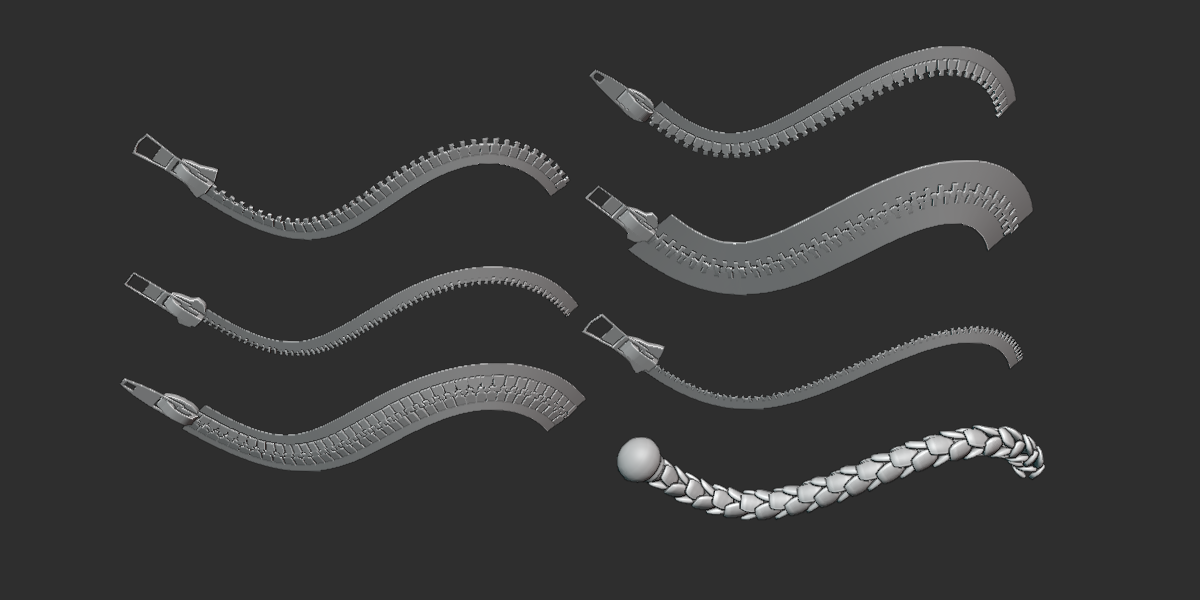
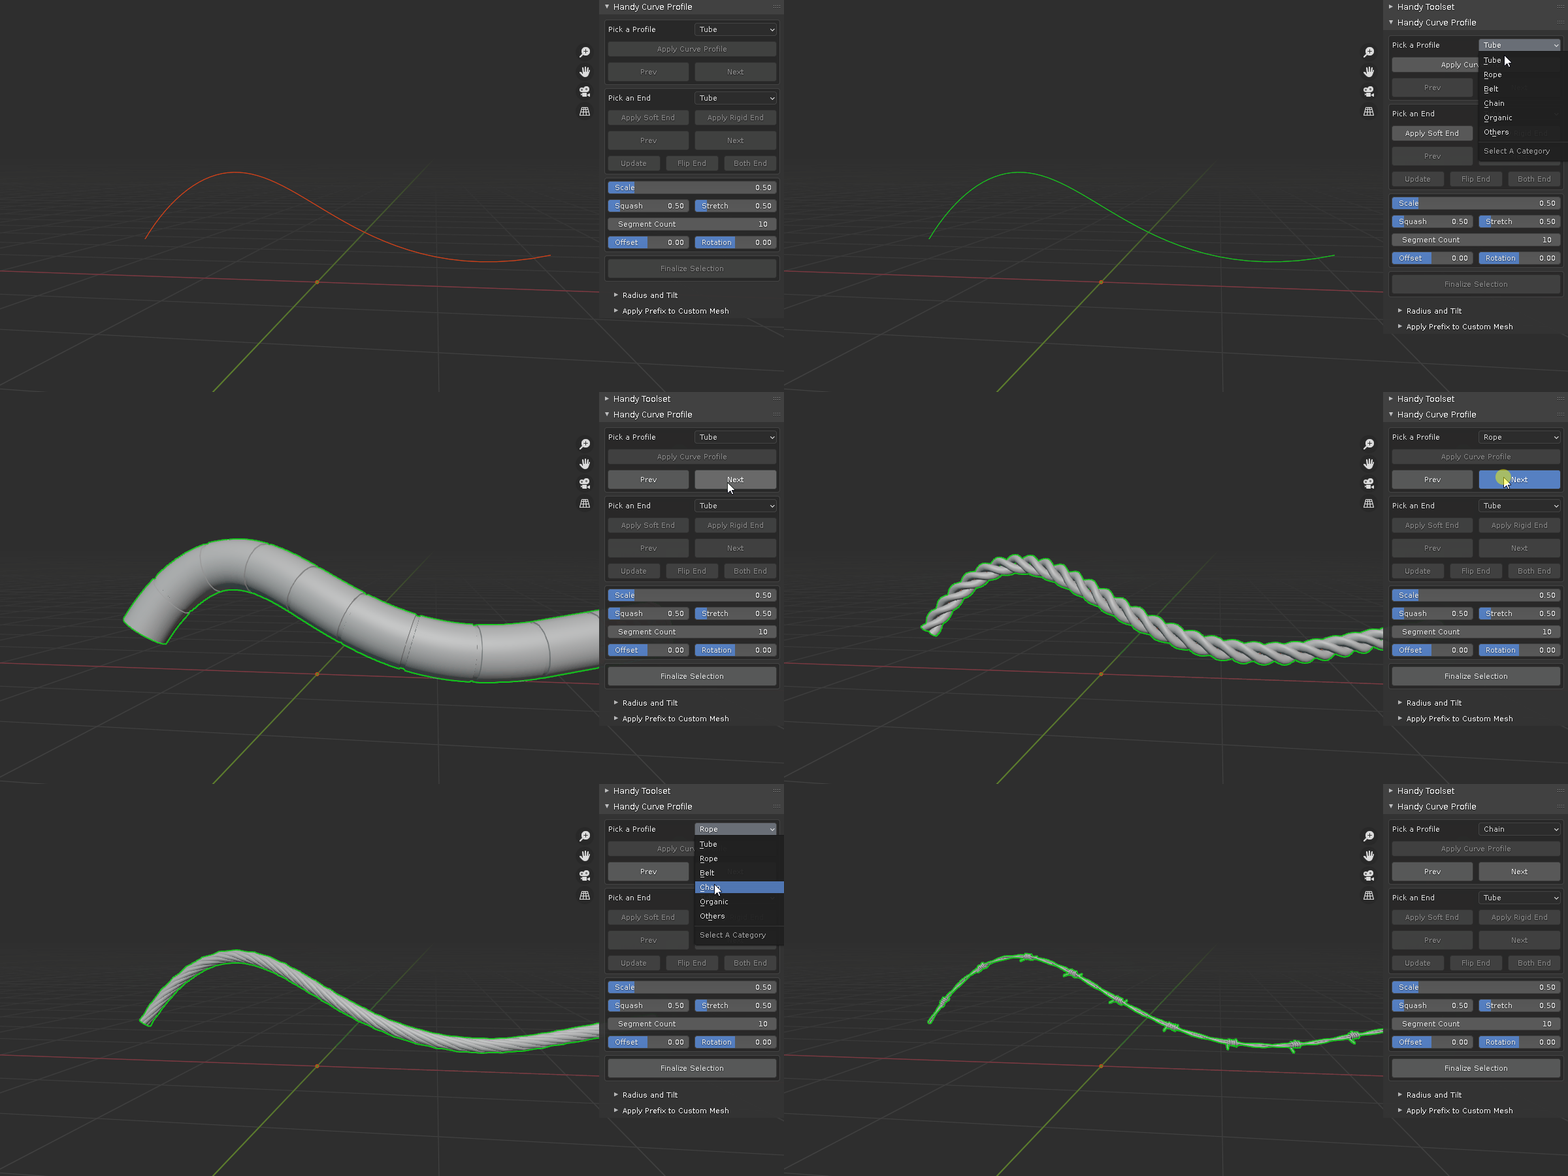
instead of a simple tube shape, It adds various mesh details to curve objects with a click of button. It greatly improves modeling workflow if you regularly use curves in the process.
- Handy Curve Profile apply various shapes onto the curves with ease.
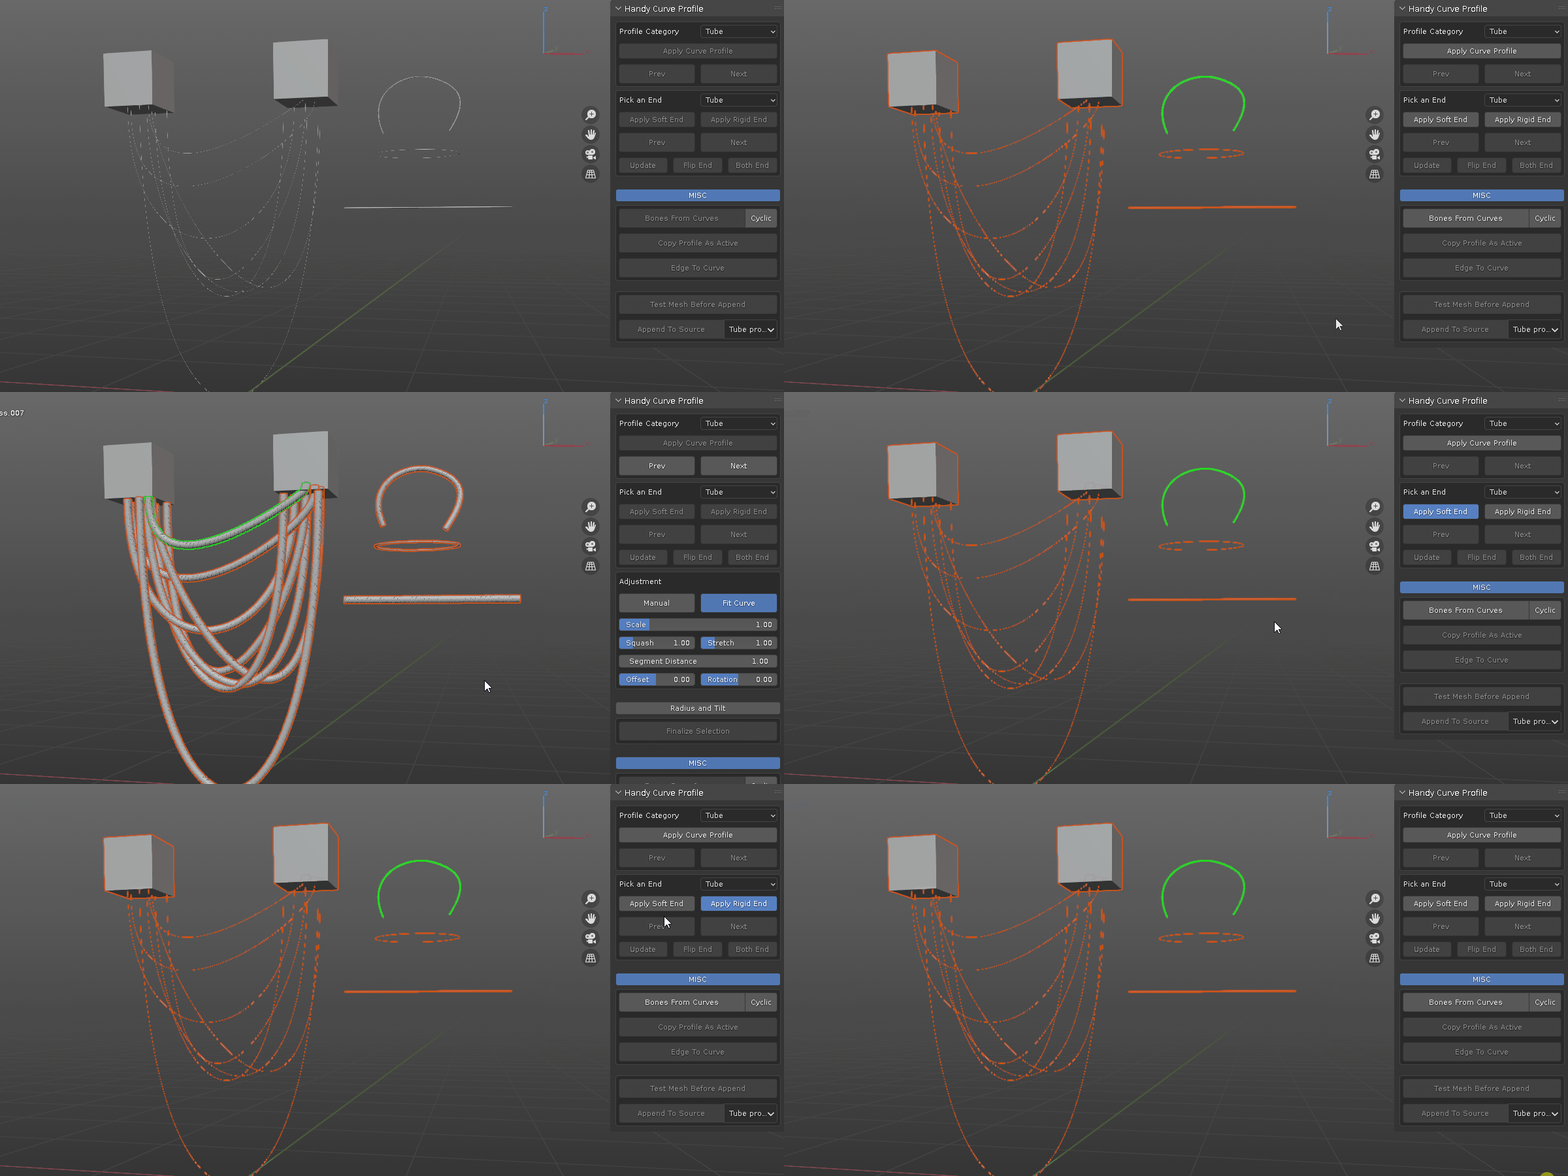
- Handy Curve Profile can also add various shapes to curve end, flexible or rigid
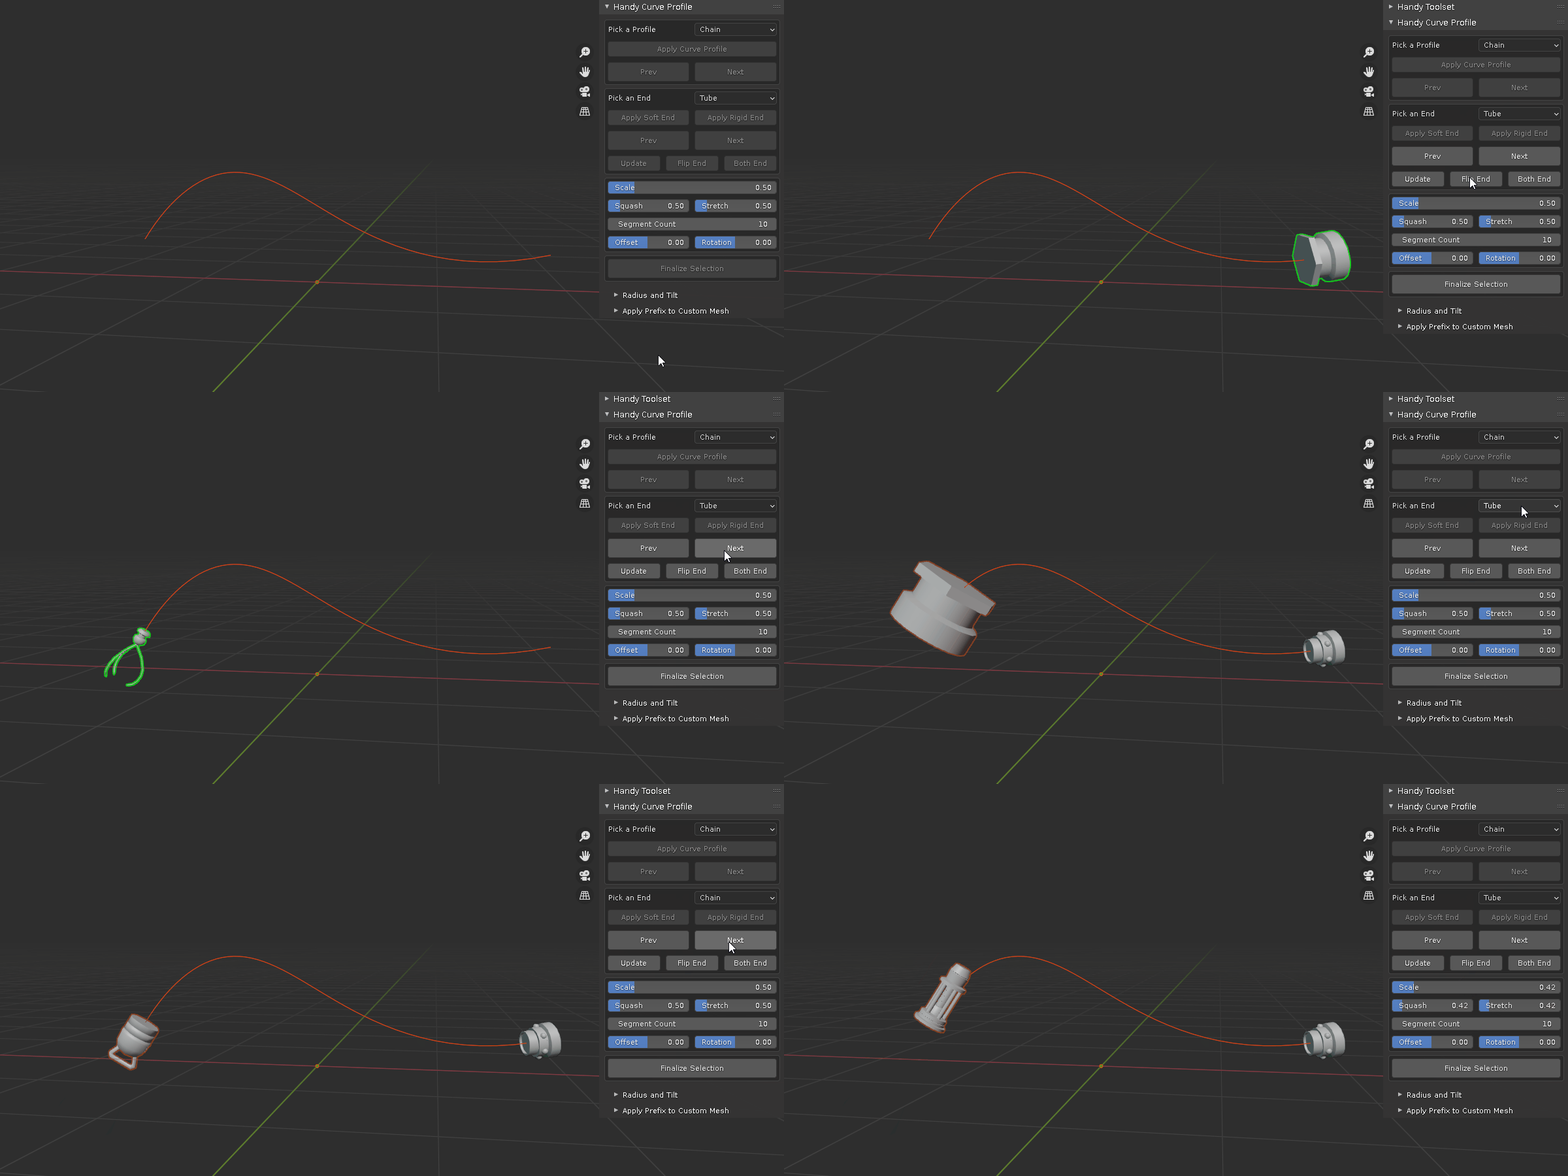
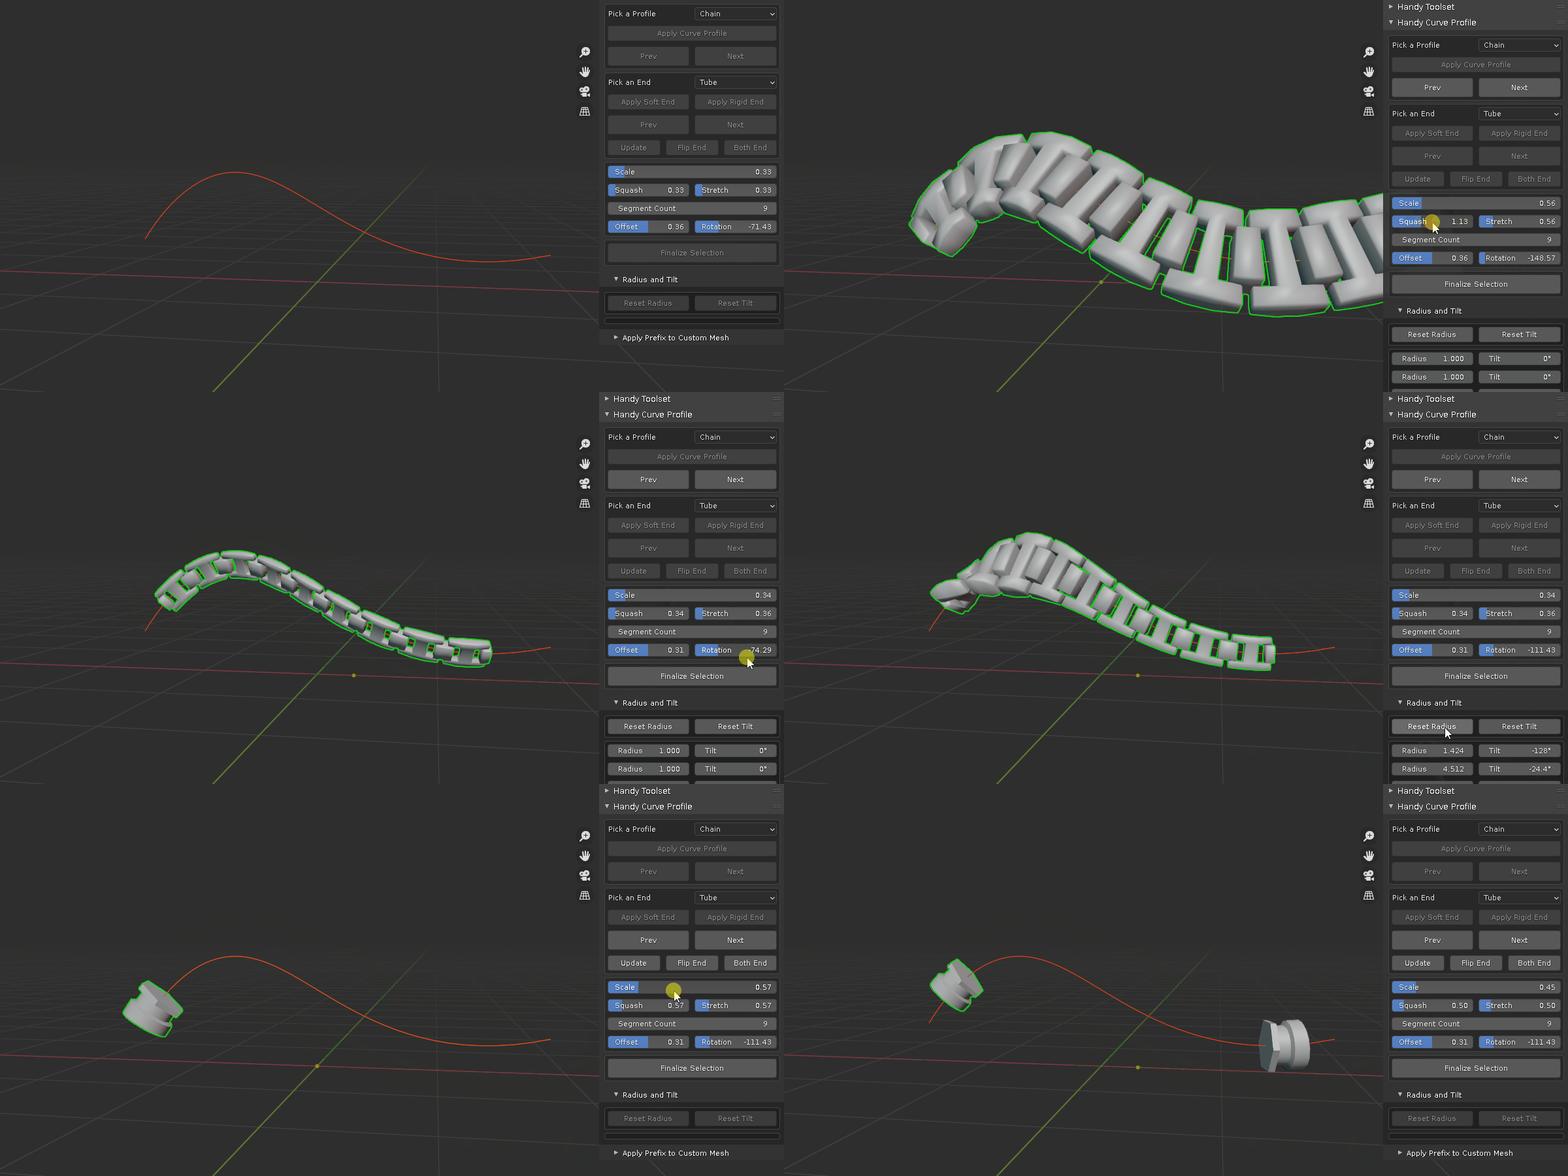
- change every aspect of the shape with controls
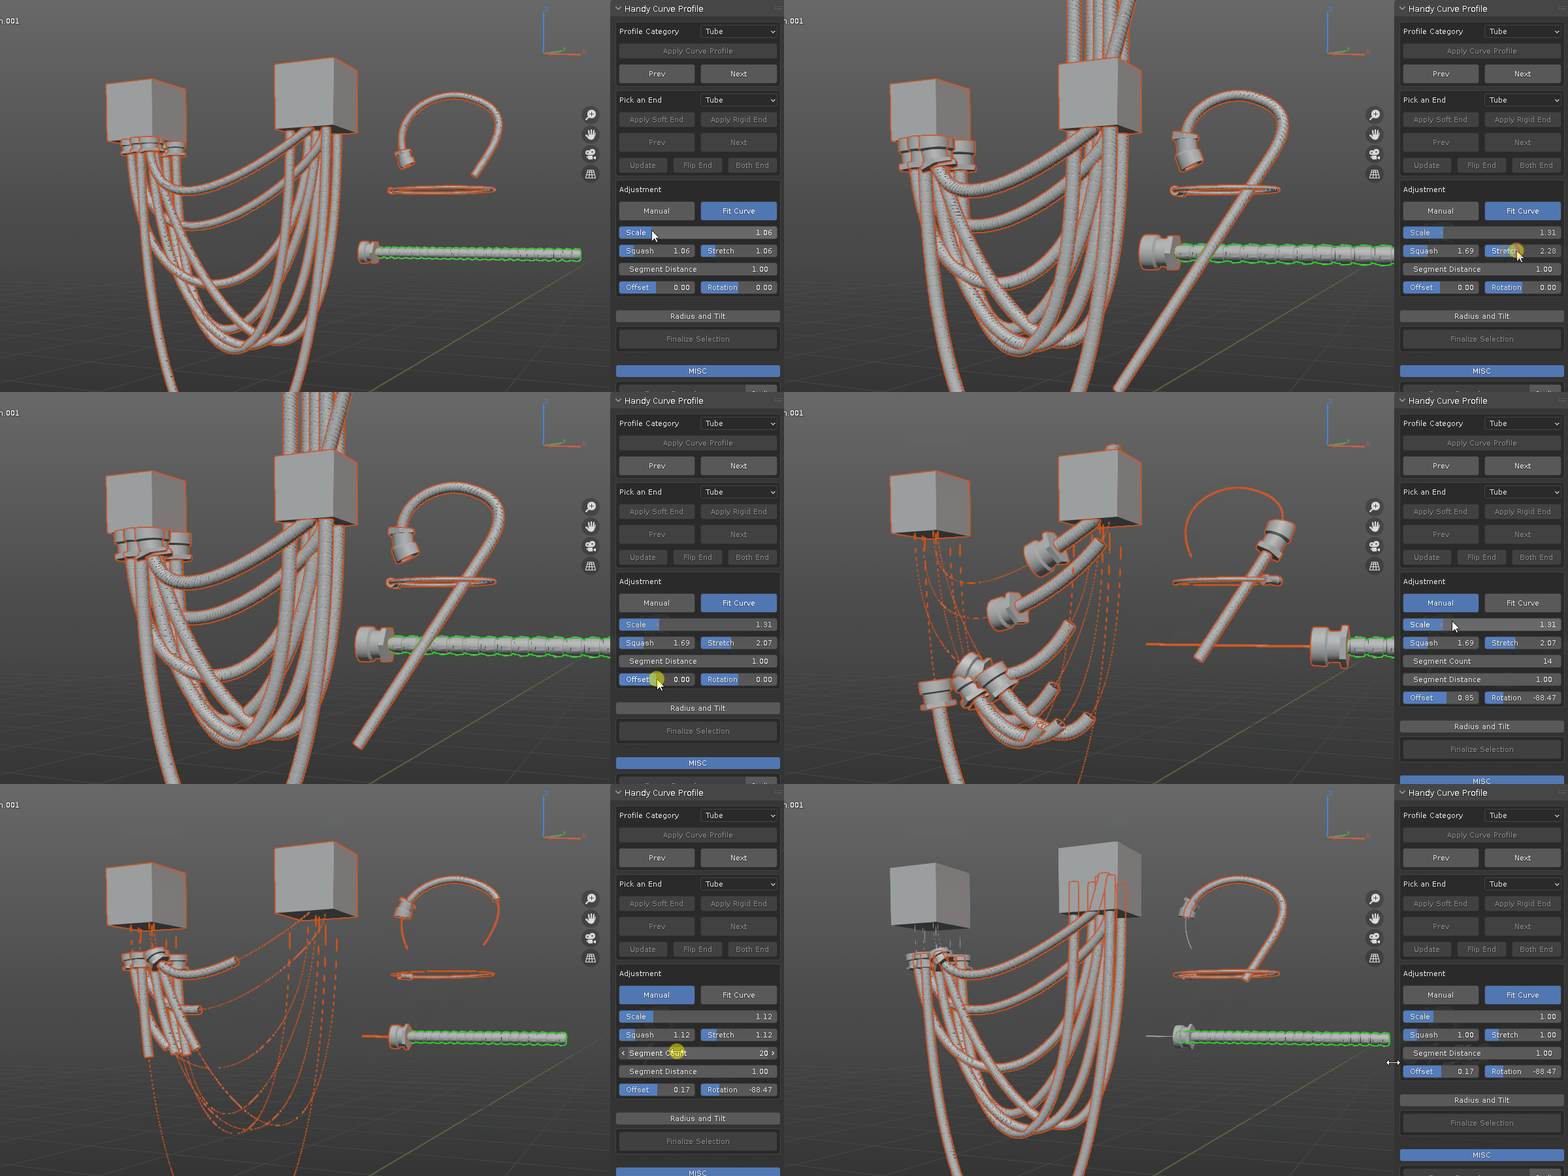
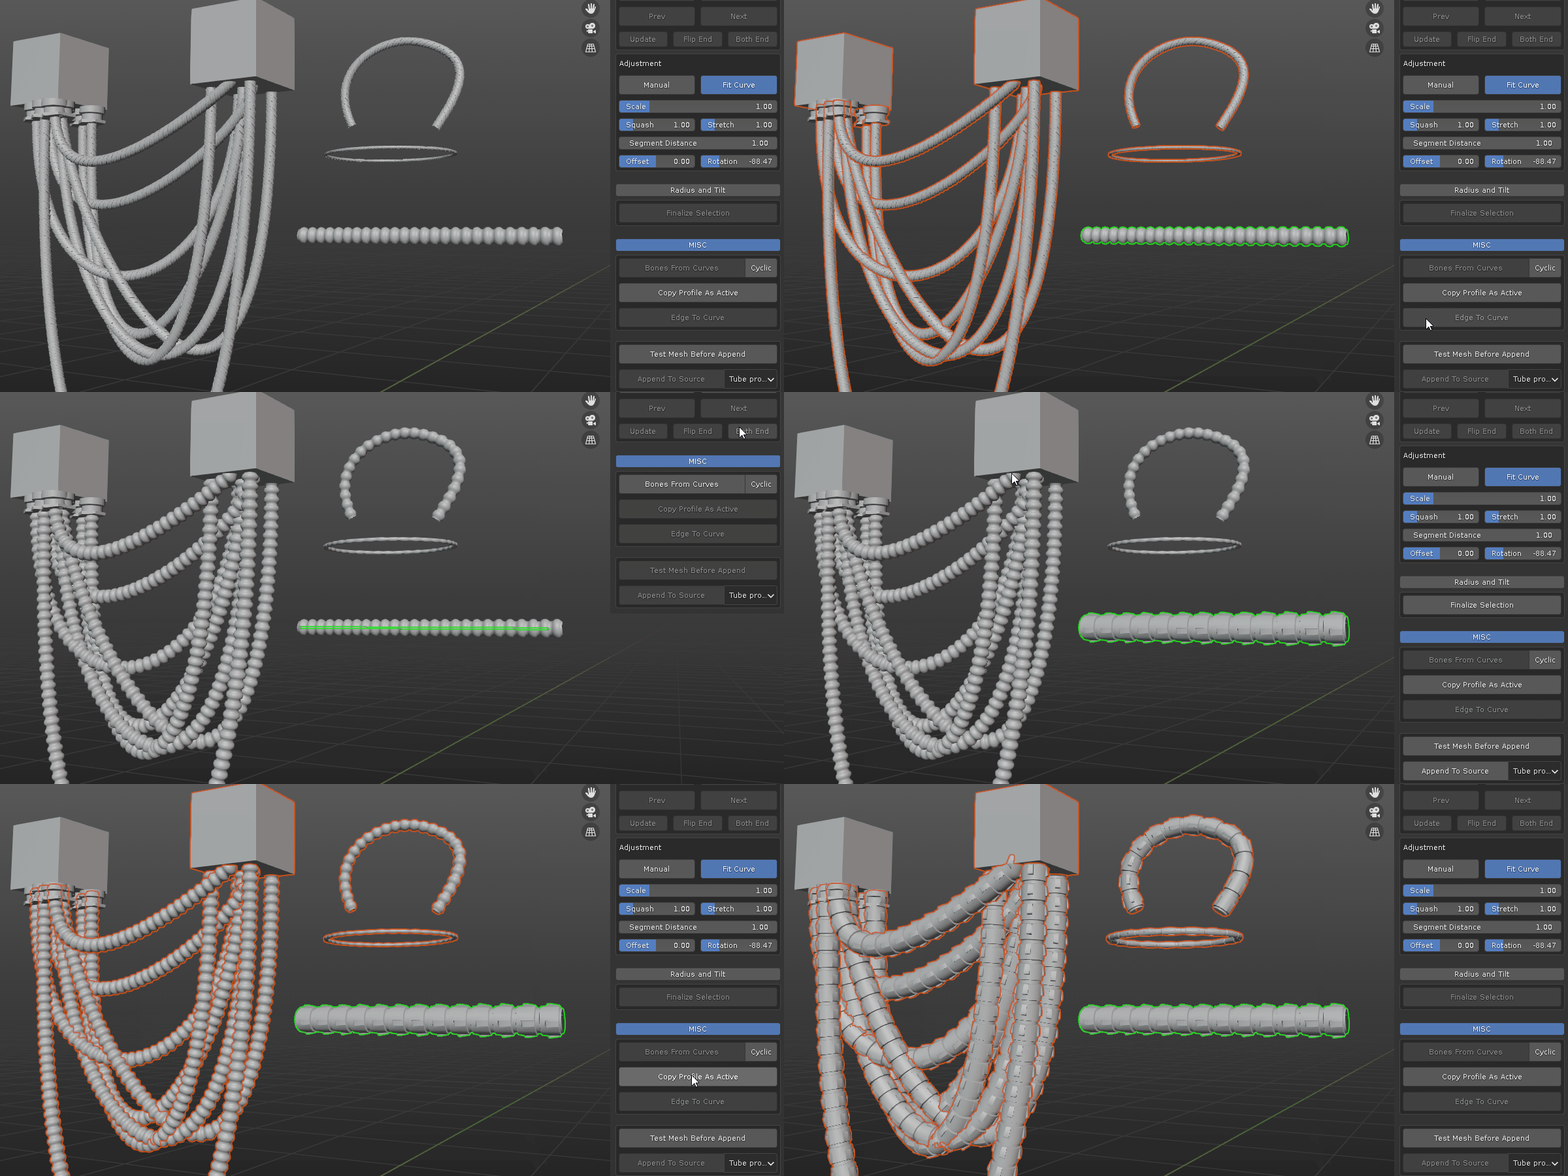
- Copy profile from active object to others
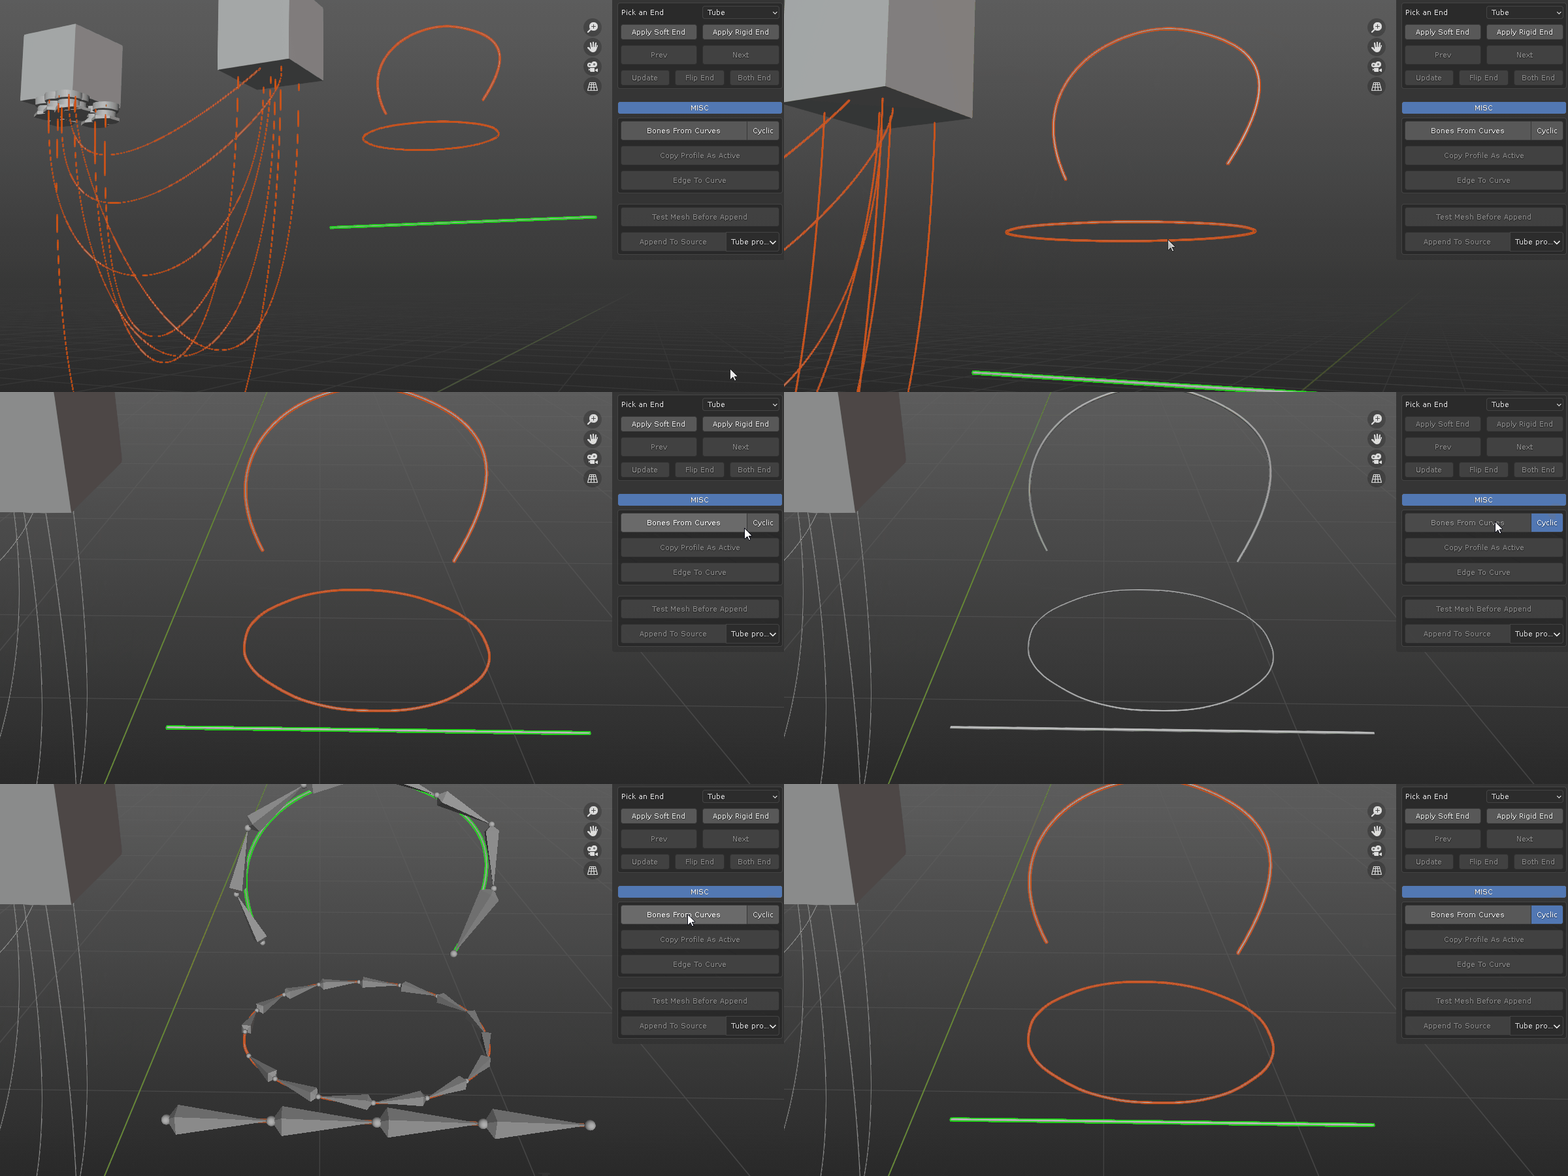
- Create Bones from Curves, open or closed loop
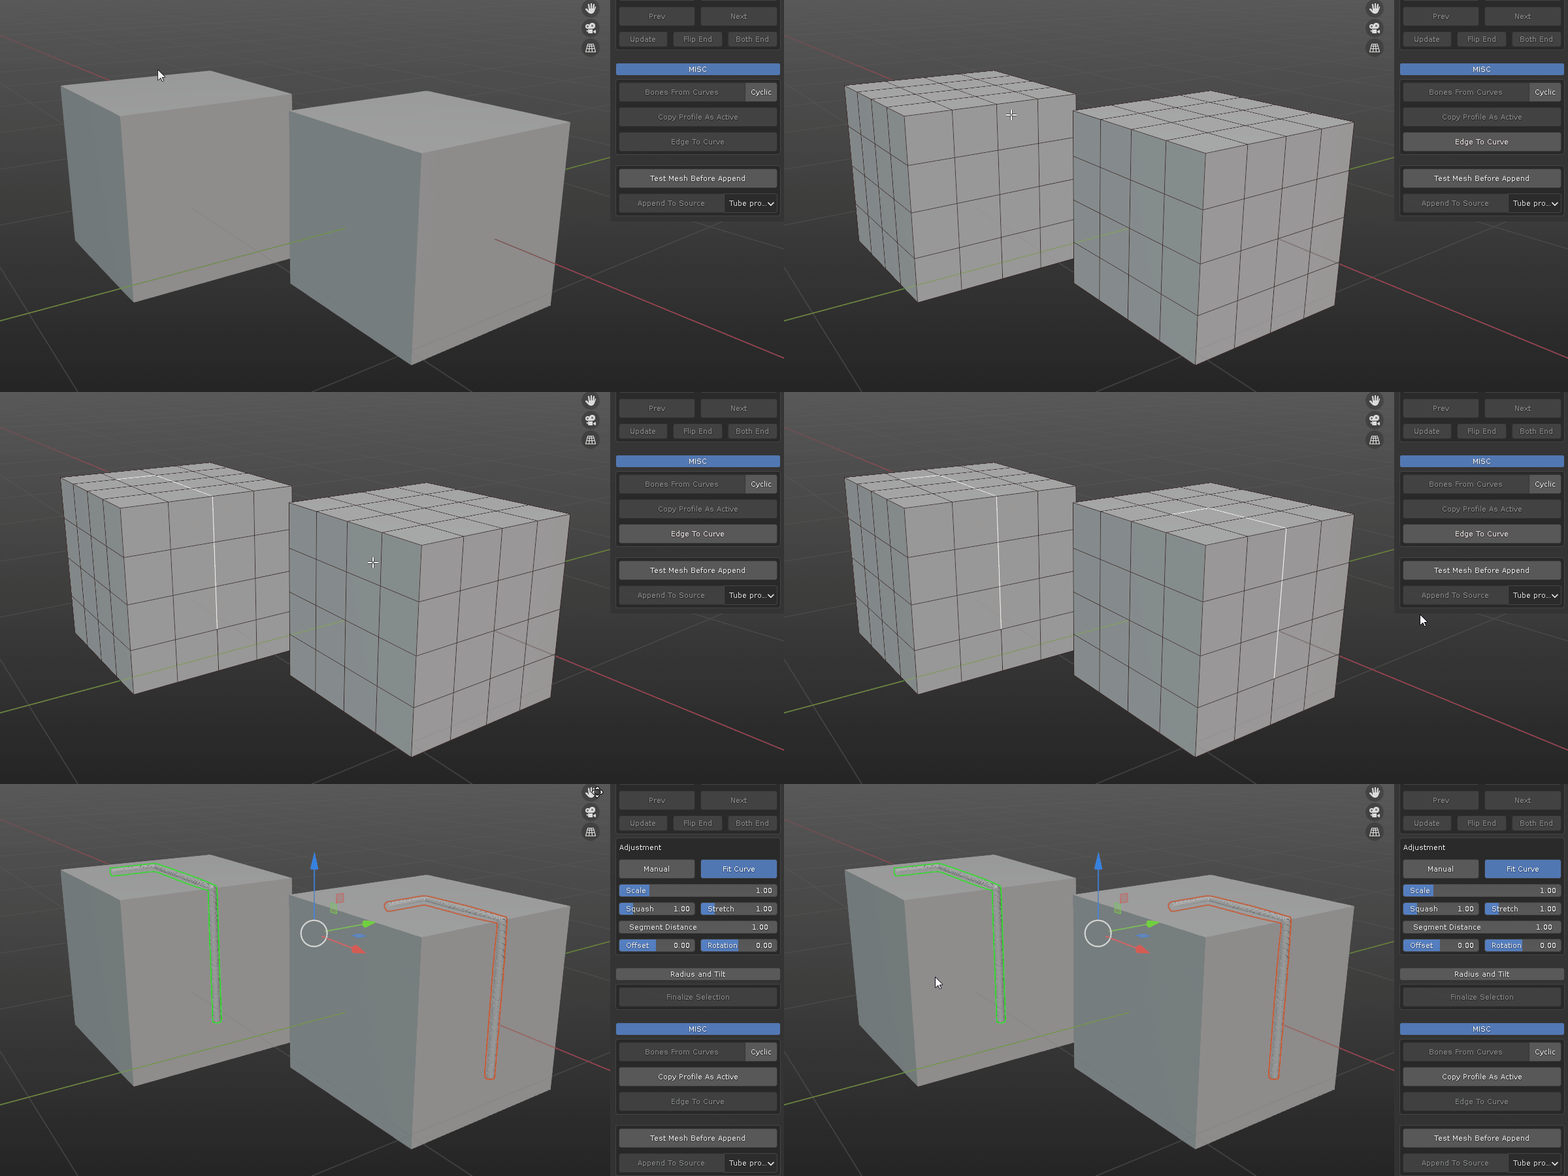
- create curves from selected edges
- Draw curve on mesh surface

- Finalize profile mesh and clean up relevant proxy objects

- One button click to append new mesh to source file and ready for future use.
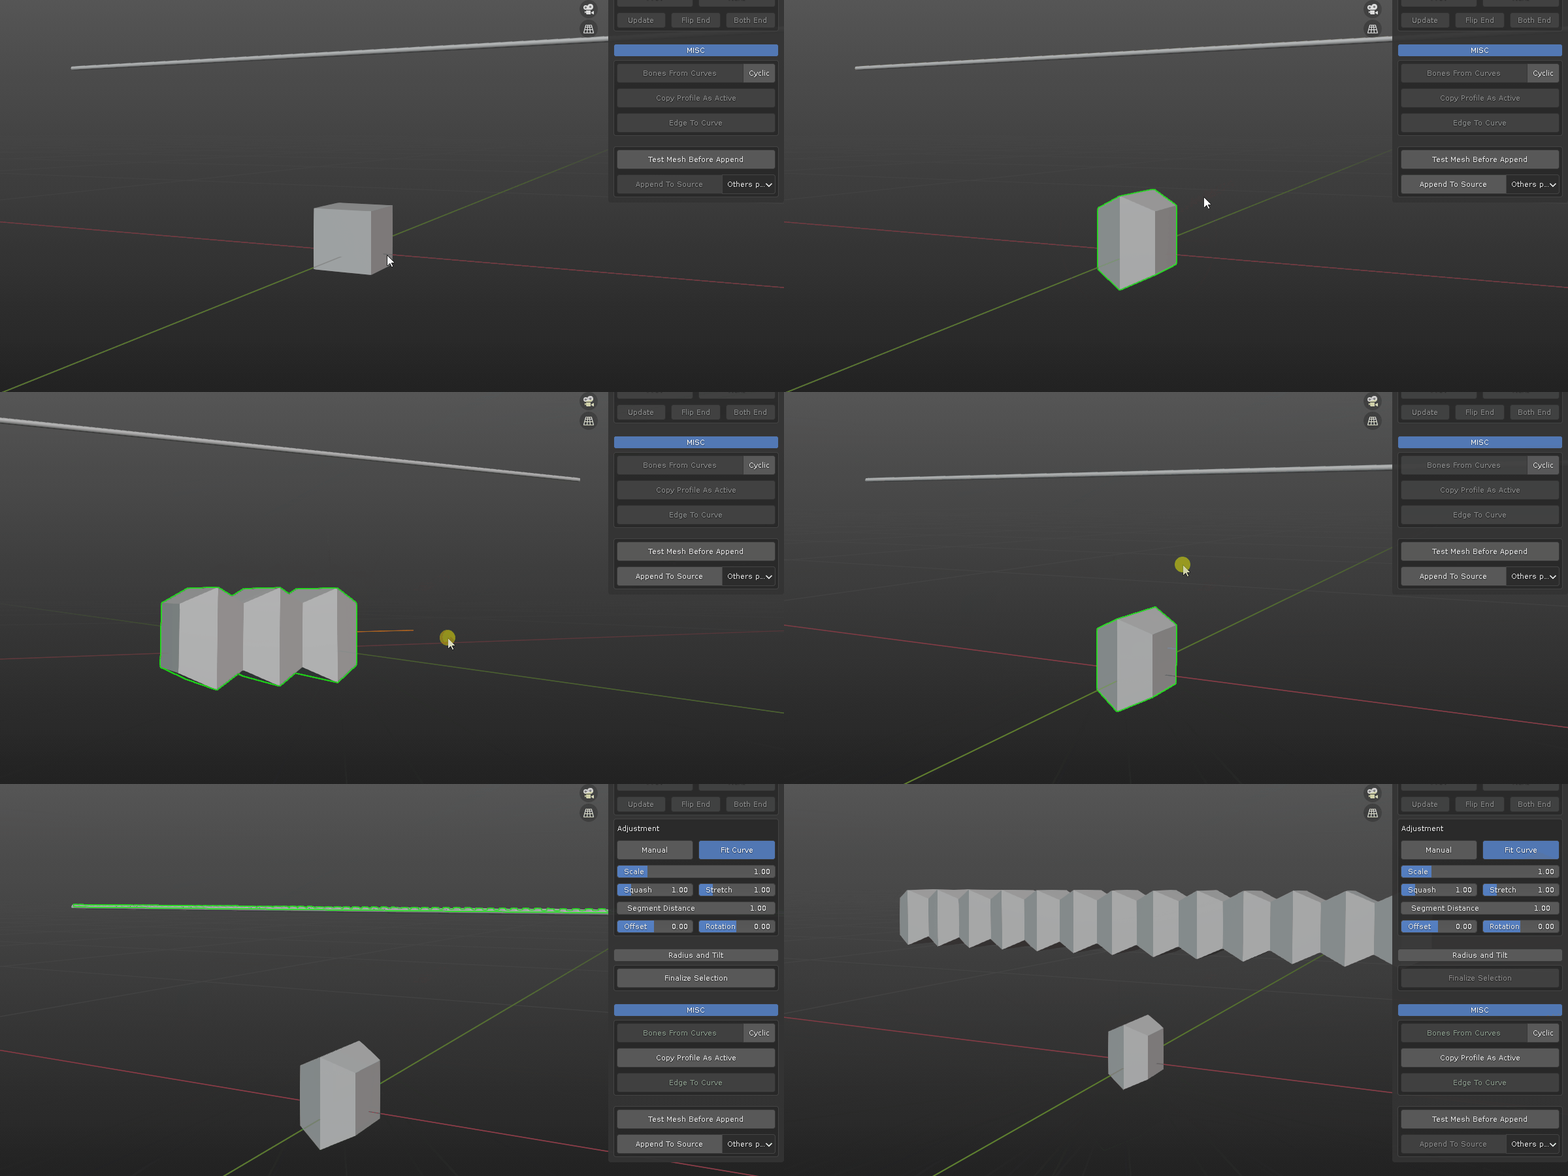
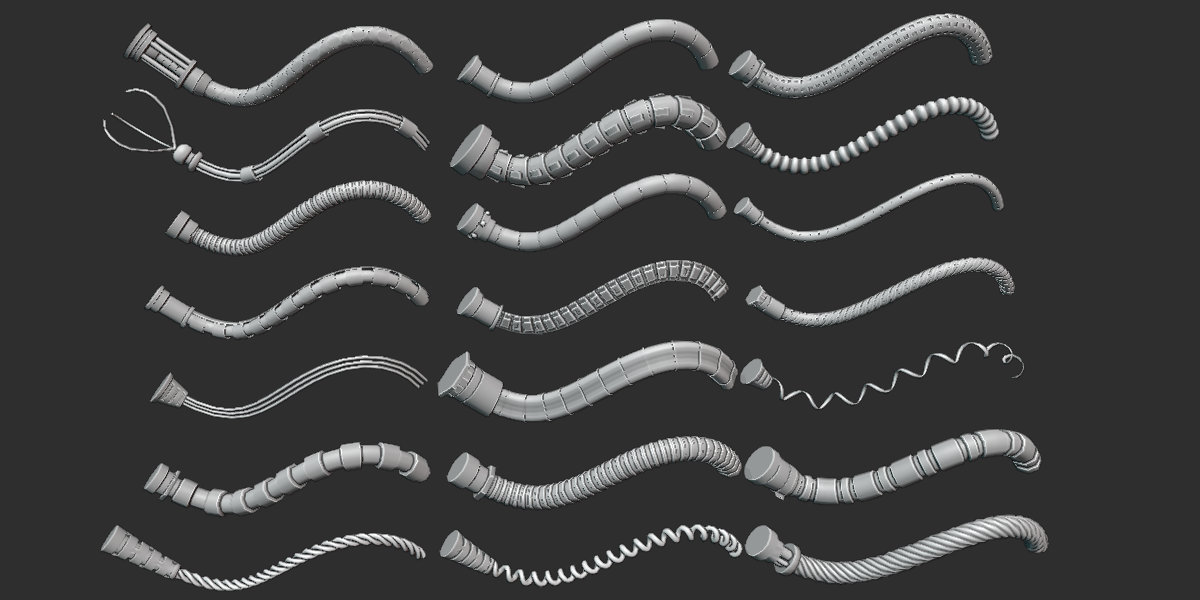
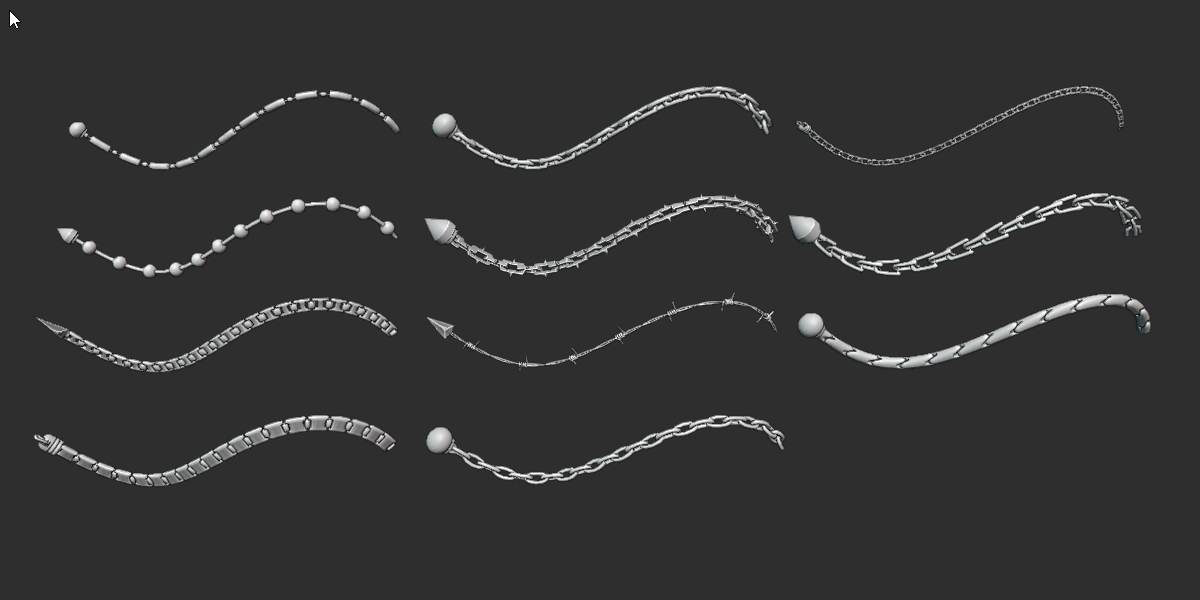
it comes with over 100 pre-made mesh shapes to jump start.
next time, whether building your robot, machinery items or organic creatures, place your curve, click and choose. it is that simple.
*********************** updates ***********************
update 1.5:
reformat to meet Blender 4.2 extension platform standard
update 1.4.5:
fix compatibility with Blender 4.0
update 1.4.4:
for cleaner outliner, all profile meshes are appended to separate scene.
rework appending profile mesh logic, now it supports unlimited category. please see document page for more detail.
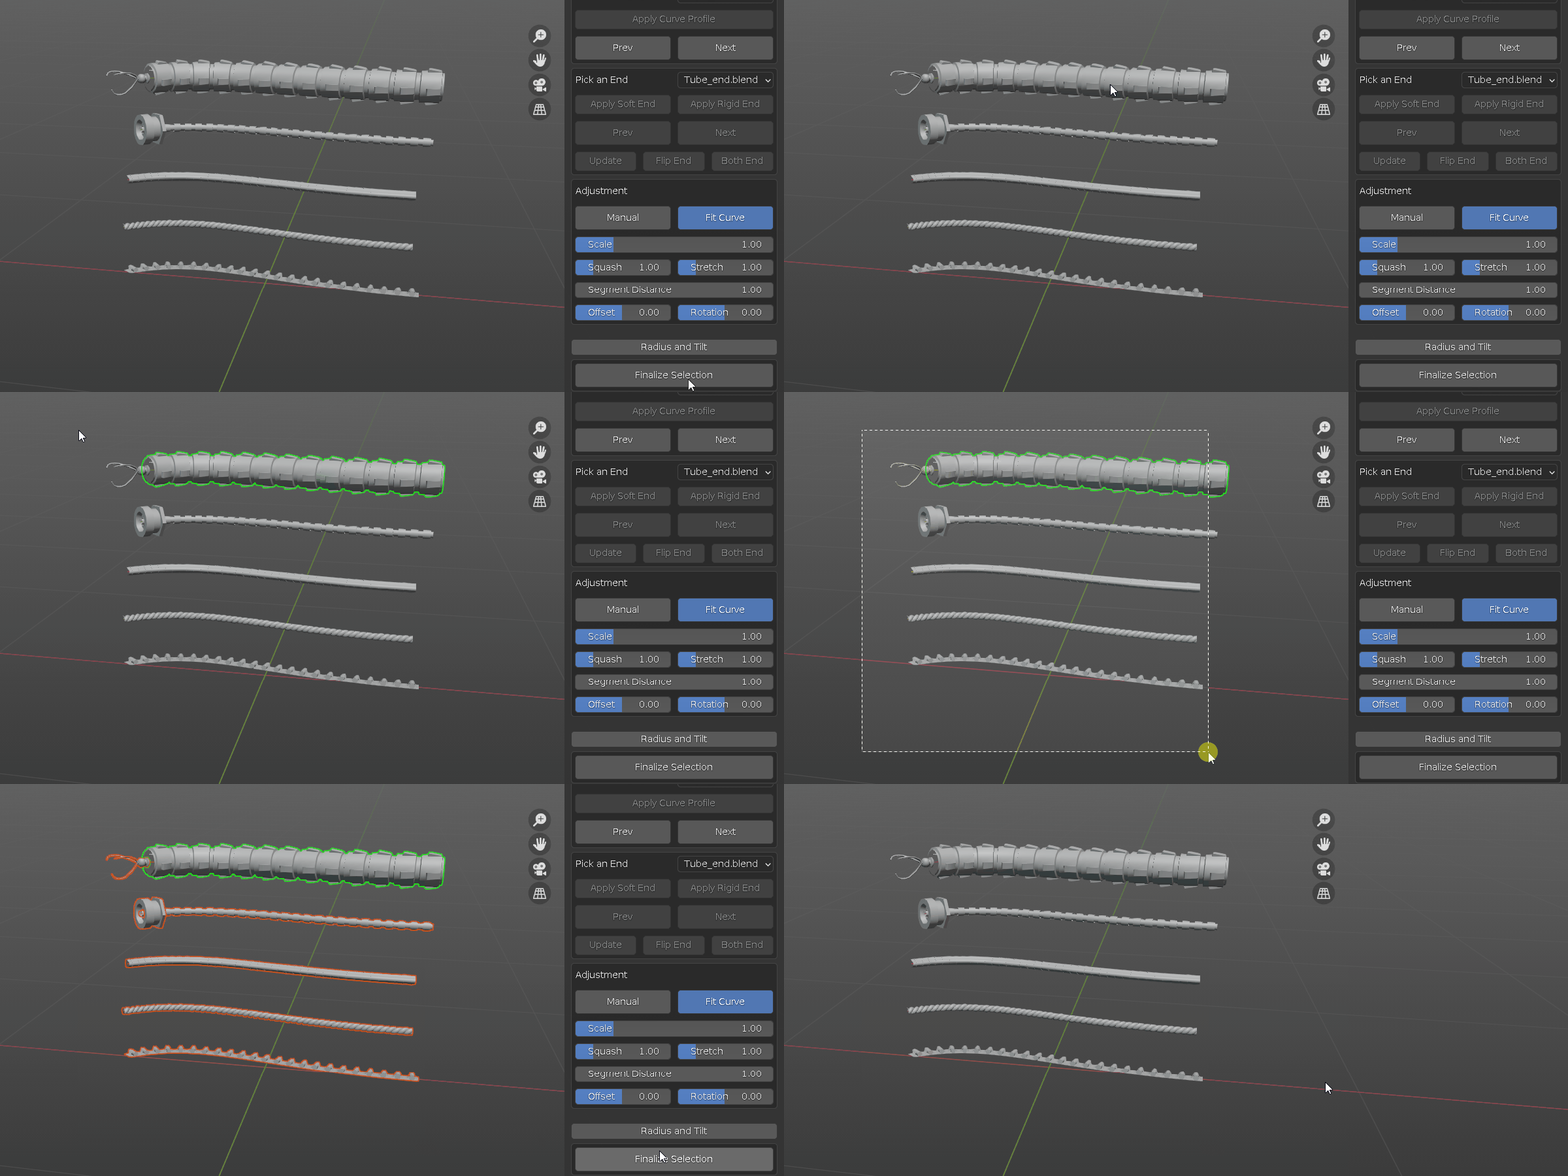
simplify operator "Finalize Selection". instead of one mesh at a time, drag select and finalize all selected.
update 1.4.3:
fix file path error for Mac OS users.
update 1.4.2:
added: custom folder path.
by default, the addon looks for "Handy Curve Profile.blend" inside the addon folder which is deep buried inside system drive. now under preference addon tab, there is an option to choose a user defined folder. like show in the below screenshot, I saved the "Handy Curve Profile.blend" in my D drive, a folder named "MyCustomMesh". I select the folder as custom path and it is all done. it is a lot easier to manage and avoid accidental overwrite when updating addons. at the same time, you can load different profiles with different projects.
if the path is left empty, the script will look for what is inside the addon folder.

added: refresh curve mesh profiles button.
when pressed, if curve profile collection present in current scene, it will update it to what you have selected in the custom folder.
WARNING: if you have appended new mesh to source file, save it elsewhere before update.
update 1.4.1:
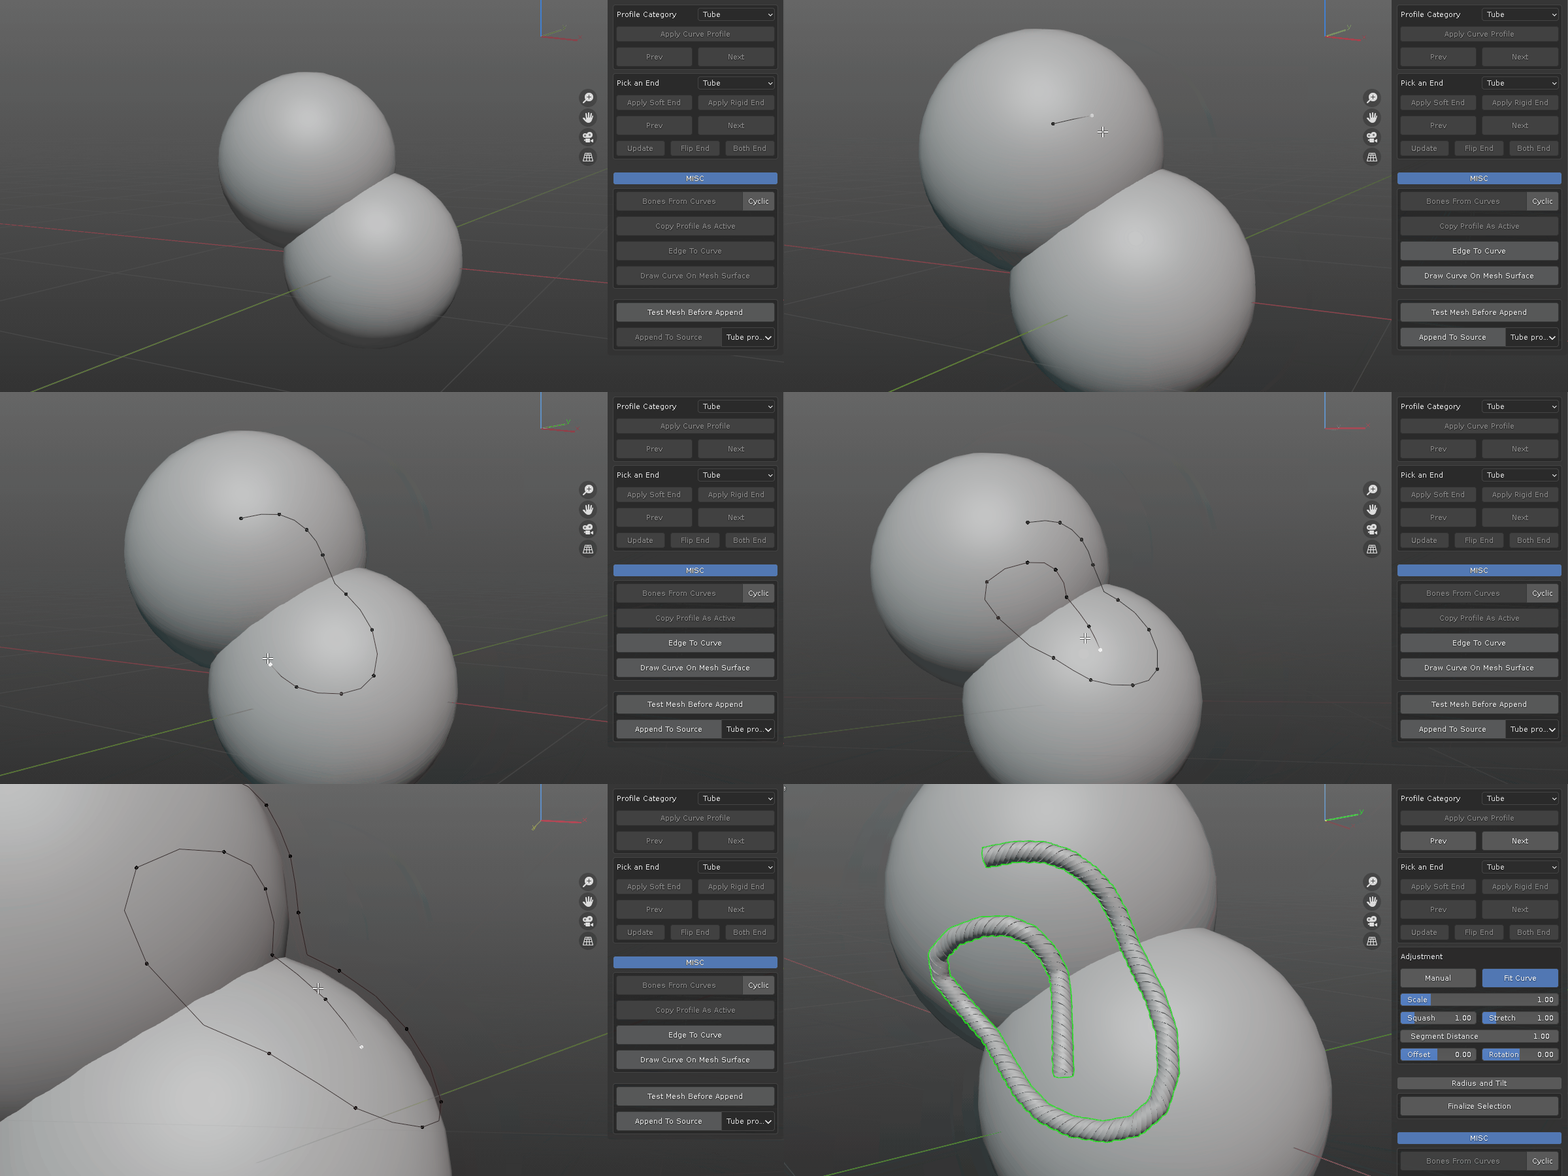
added: modal operator to draw curve on selected mesh surface
how to use: select one or more mesh as target surface, press "Draw on surface" button to enter modal mode.
left click to add point on surface, "W" and "S" to offset distance from surface, Spacebar/Enter to confirm result, right click/ ESC to cancel.
update 1.4:
script logic was re-written for smoother workflow. Updated code can now apply and control multiple profile meshes at the same time instead of only one at a time.
added: new editing controls, switch between manual or fit curve length, segment distance.
added: new category "Connection Segment" in profiles category
added: create bones from curve points, toggle with open or closed loop
added: copy profile from active object to others
added: create curves from selected edges
added: one button click to append to source file. no need to open source file to add custom mesh. simply select mesh and click within current blend file and it is done. uninterrupted workflow.
source mesh size are scaled down, if your scene has different scale, scale the mesh objects in source file accordingly.
update 1.3.1:
this minor update is mainly for organization purpose.
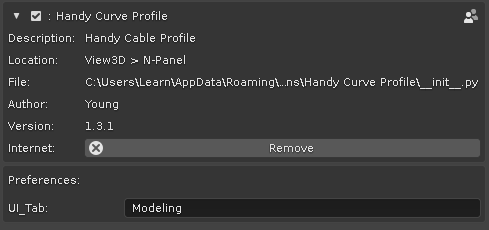
added user defined tab rename. when choose same tab name as others, they will merge together. save preference and restart blender to take effect.
update 1.3:
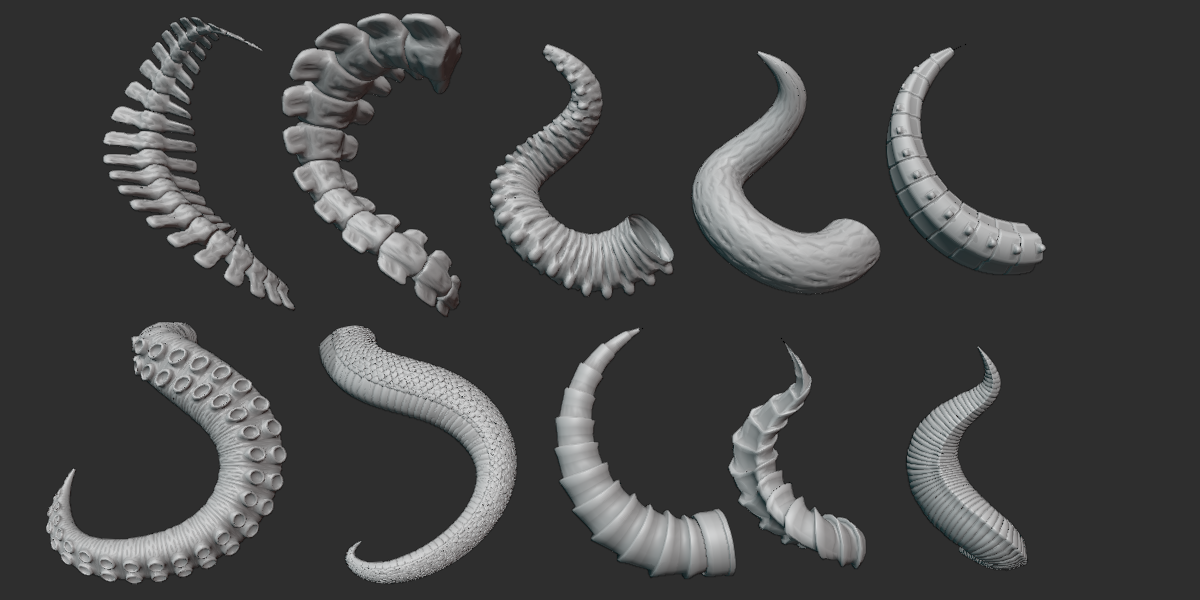
added new category "Organic", new meshes added with total over 100.
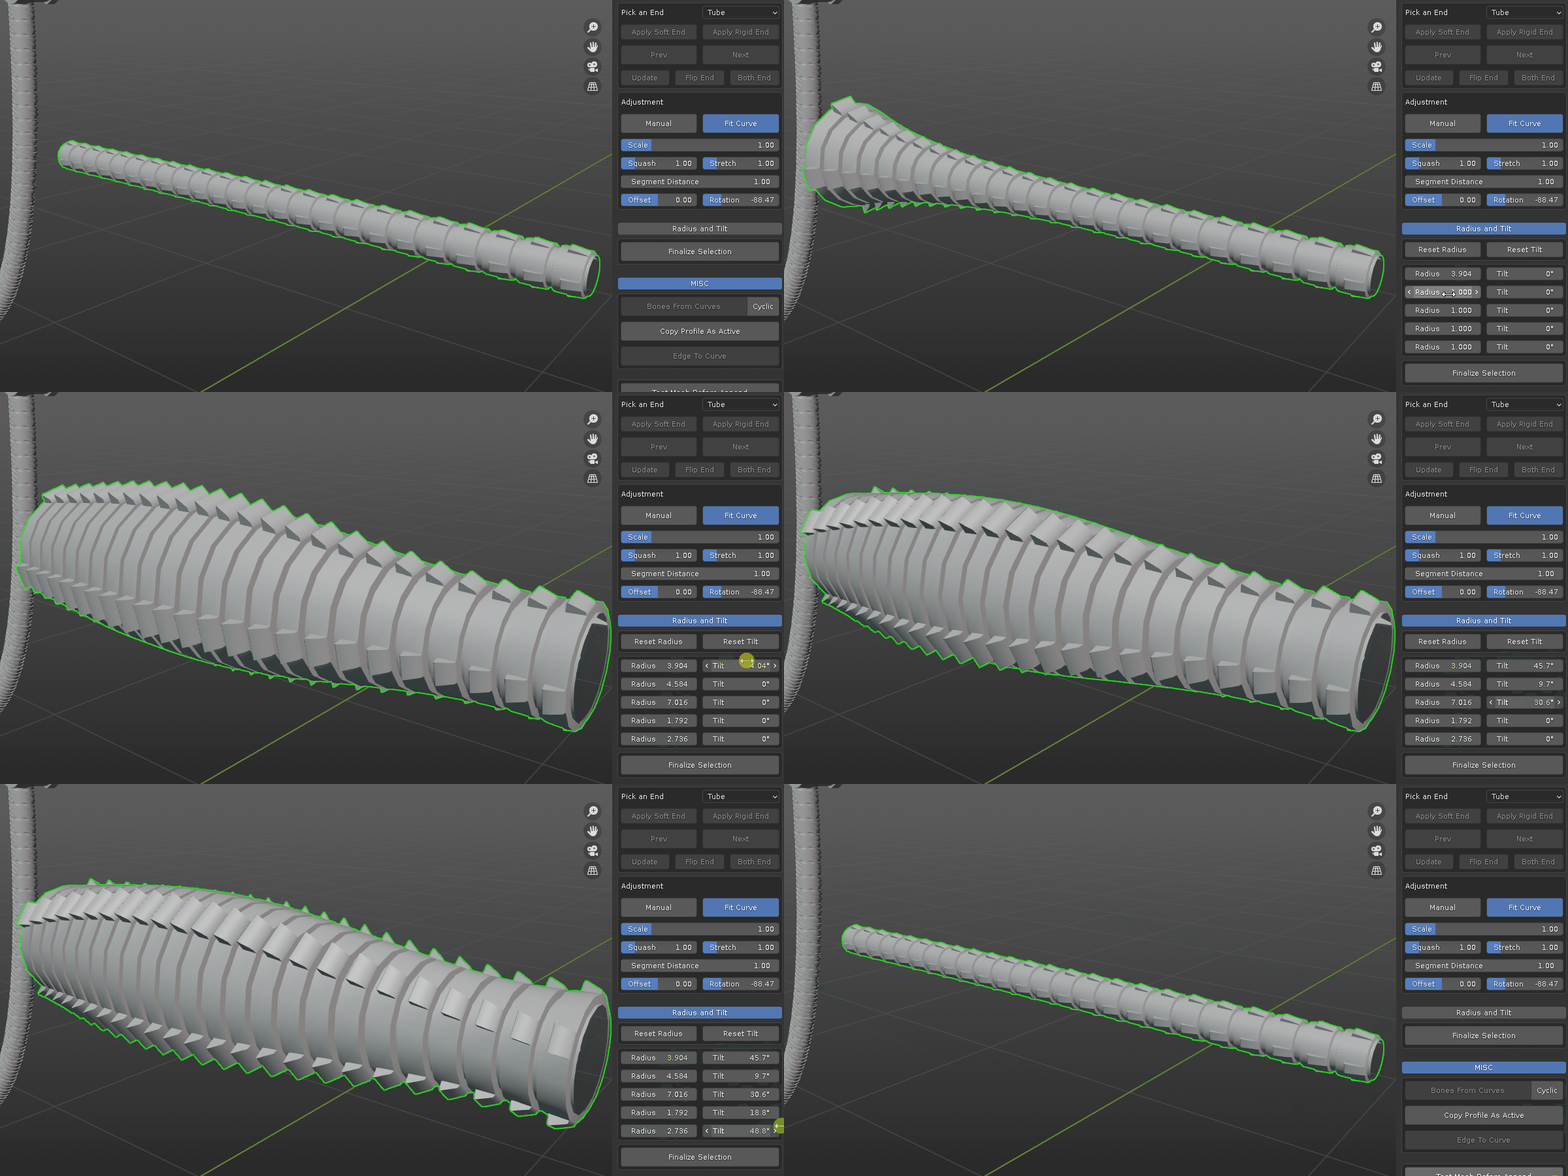
added new sub-panel "Radius and Tilt". when a curve profile is selected, each point's radius and tilt can be adjusted.
with the new addition, it is possible to make horn, tale or tentacle alike, and speed up your creature creation.
update 1.2:
removed " Apply Curve End ".
added: two scenarios: " Apply Soft End " and " Apply Rigid End ".
as their names suggests, some mesh make sense deforming along the curve, but others don't. so choose appropriate type when apply mesh to curve end.
please note that, when " Apply Rigid End " is used, due to its structural difference, the "Squash" and "Stretch" sliders only work AFTER "Finalize Selection" is clicked on the rigid end mesh.
update 1.1:
added up to 80 new various meshes to populate your curve.
added new function to add mesh to the end cap of the curve.
added several categories to choose from, since 80 mesh is finger tiring to cycle through.
streamline adding your own mesh process.
IMPORTANT: please BACK UP your own mesh before remove the 1.0 version.
to update to 1.1: locate the old 1.0 version in your preference and de-activate/remove it. install the 1.1 version as new addon.
Discover more products like this
summer24 curve tentacle bash sci-fi pipes pipes kitbash horn 3d modeling base meshes tales cablerator Cable winter24 creating cables bfcm24 fantasy sci fi loveblender Basemesh asset pack hard surface spring24 hair creature rope Pipe presets curvebasher

