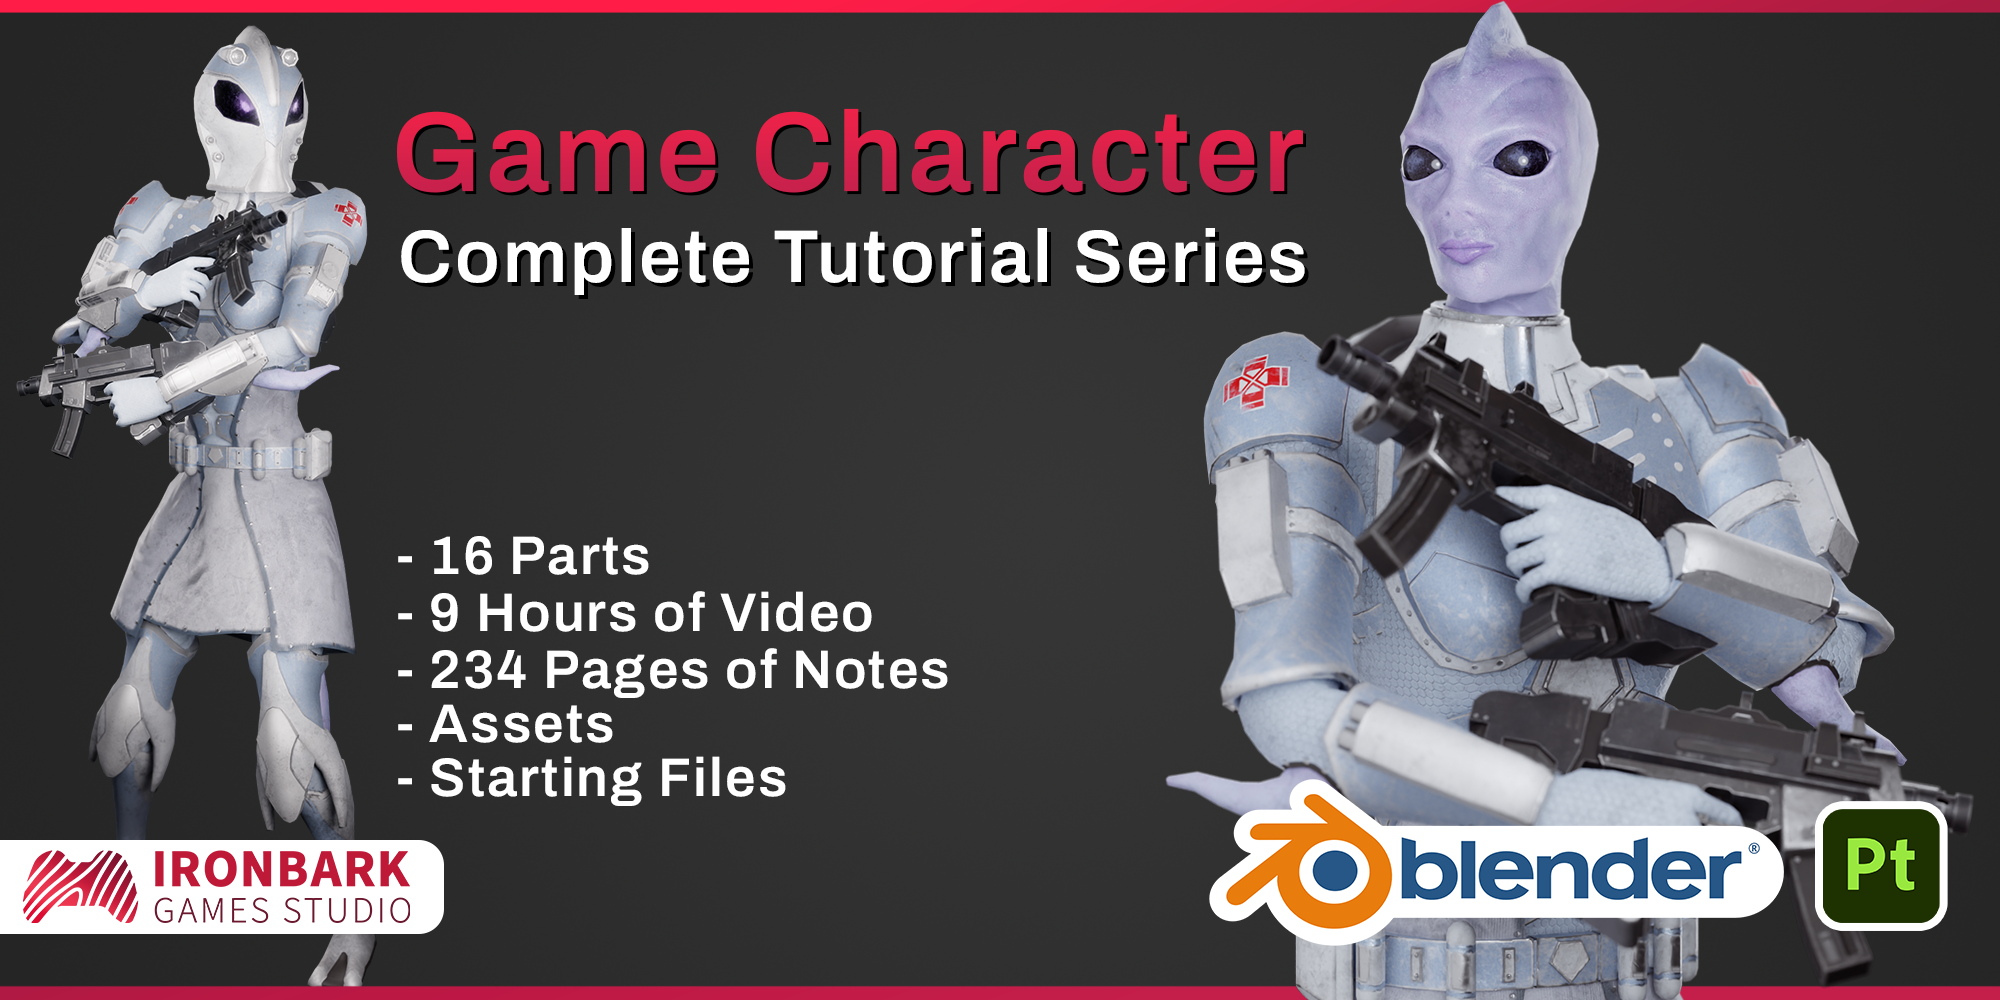
The Complete Game Character Tutorial Series


Are you wanting to create characters for your game but don't know where to start?
Can't string together enough of the right tutorials to get the full process?
Not to worry! This complete tutorial series will take you through the full development process to create a game ready and animated character which can be used in the Unity or Unreal game engine. Using Blender you will model, sculpt, retopo and UV map your character before bringing it into Substance Painter to texture. Then, back in Blender you will create a rig for your character, bind it and animate some basic cycles to export into your game engine of choice.
This series is aimed at beginners and goes over each step in detail, however you should have a basic understanding of the Blender interface before jumping in (like how to move around in the 3D viewport). Some more intermediate level techniques are introduced throughout the course and by the end you should be confident in the full workflow required to create a game character. If you're looking for highly advanced techniques, this is not the course for you.
So what do you get?
This series is broken down into 16 parts, including over 9 hours of edited and narrated video demonstration.
Each part is accompanied by a detailed set of PDF tutorial notes with step-by-step instructions totally 234 pages.
You also get starting files and assets for each part. So if you want to skip a section or just focus on one part of the series, you can get straight to it with that section's starting file.
Here's a breakdown of what you'll be learning:
Part 1: Modelling a Base Mesh | Part 2: Modelling Armour and Accessories
Starting from a cube and modelling the basic structure of a humanoid character with a focus on good edge flow. Followed by modelling the armour and other items on the character.

Part 3: Head Sculpting | Part 4: Head Retopology
Using the sculpting tools in Blender to create a character's head, then reducing the polycount with retopology so it's low poly and game ready.
Part 5: High Poly Modelling | Part 6: UV Mapping
Creating some additional high poly details and then UV unwrapping the low poly mesh ready for texturing.
Part 7: Substance Painter Baking and Cleanup | Part 8: Substance Painter Texturing
Into the Substance Painter section by baking all of the high poly details onto the low poly mesh and then creating some pretty textures.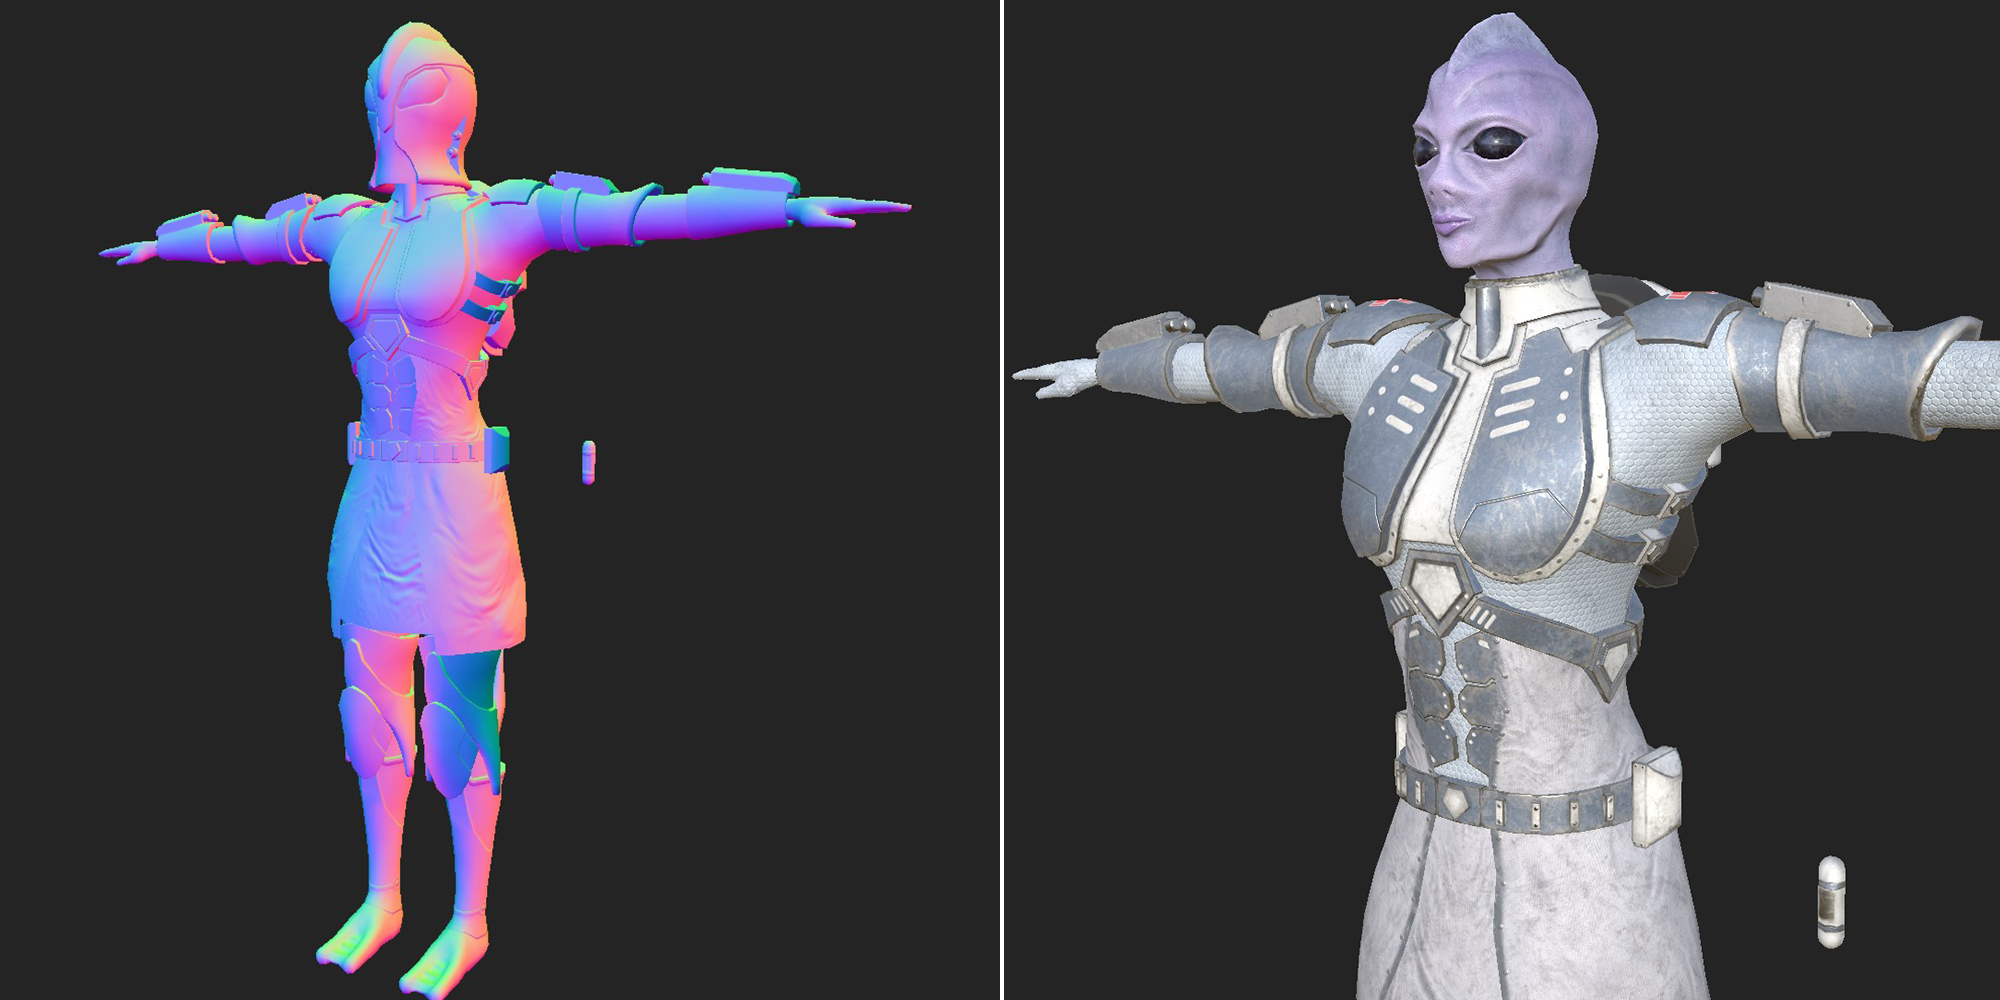
Part 9: PBR Materials in Blender
Exporting the textures from Substance Painter and applying them to the model in Blender.
Part 10: Rigging | Part 11: Skinning
Creating a rig for the character and then binding that rig to the mesh.
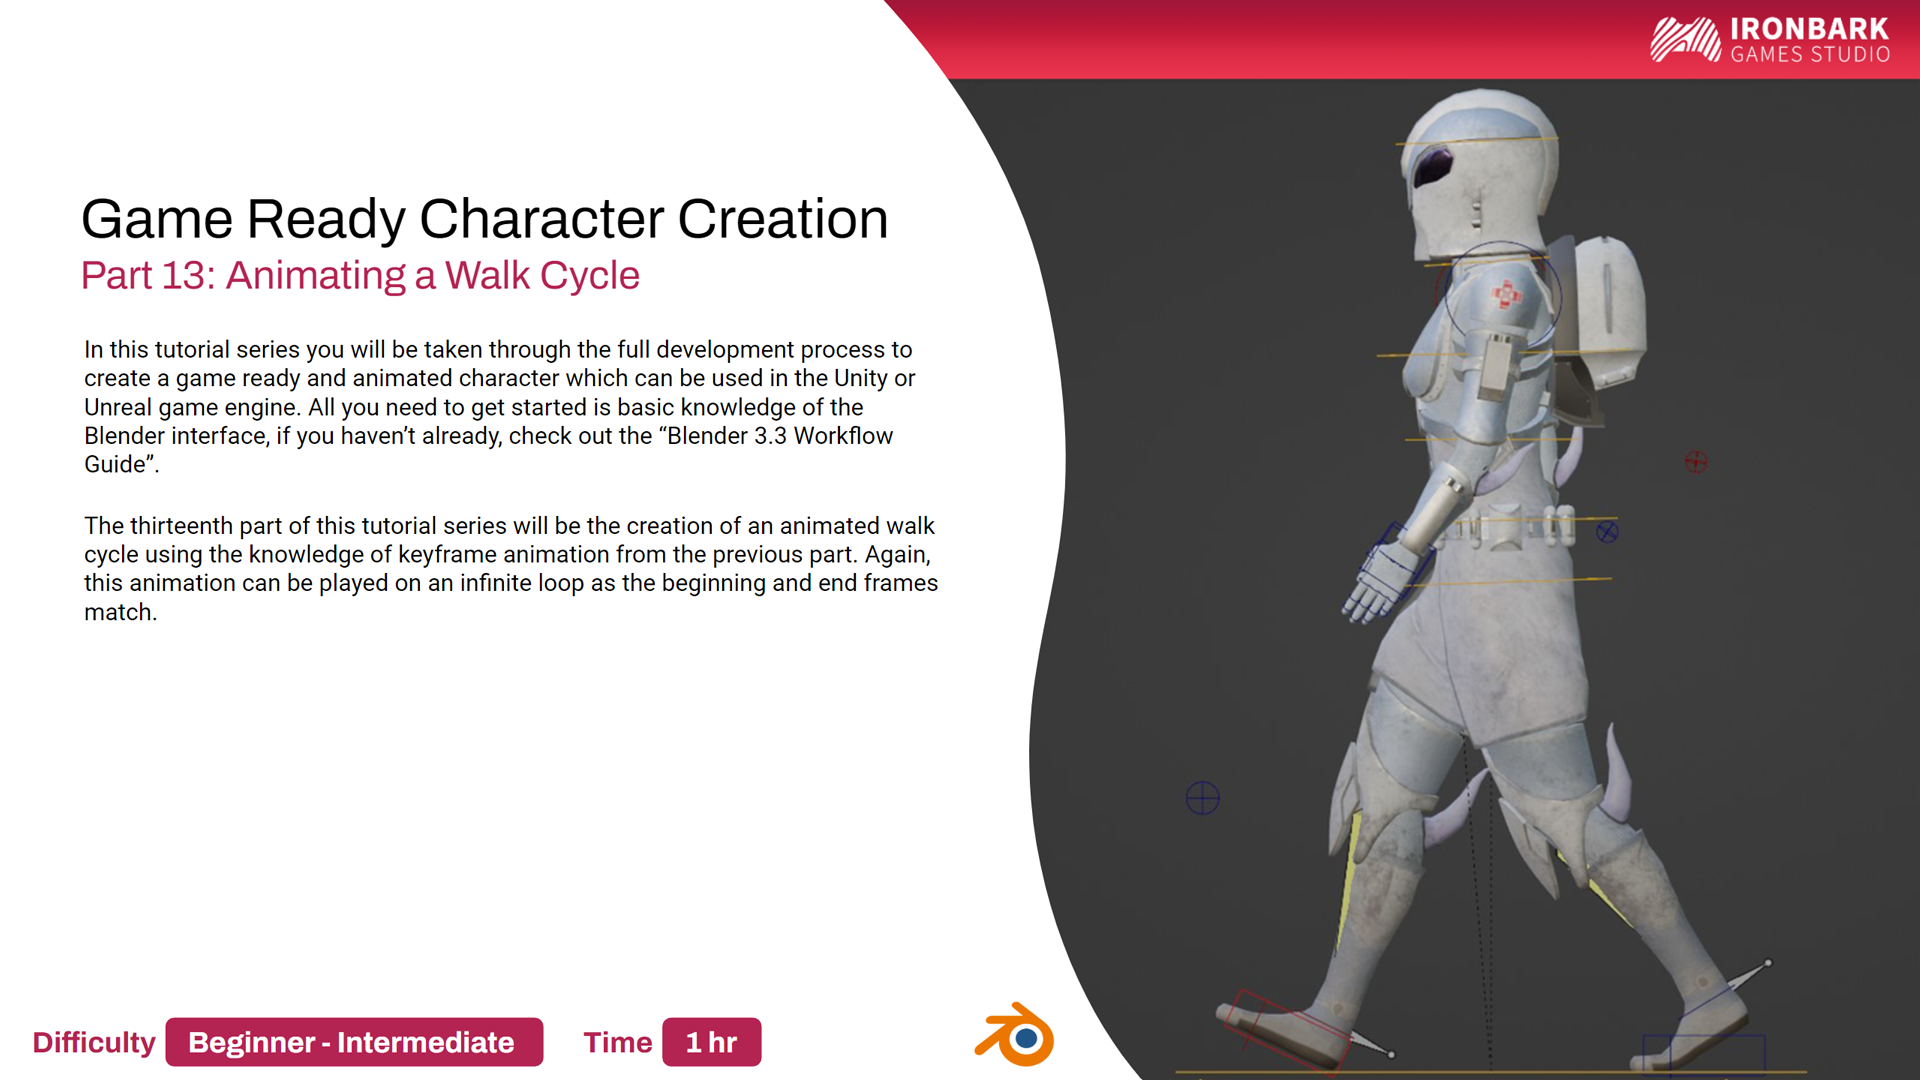
Part 12: Animating an Idle Cycle | Part 13: Animating a Walk Cycle
An introduction to animation by creating both idle and walk cycles.
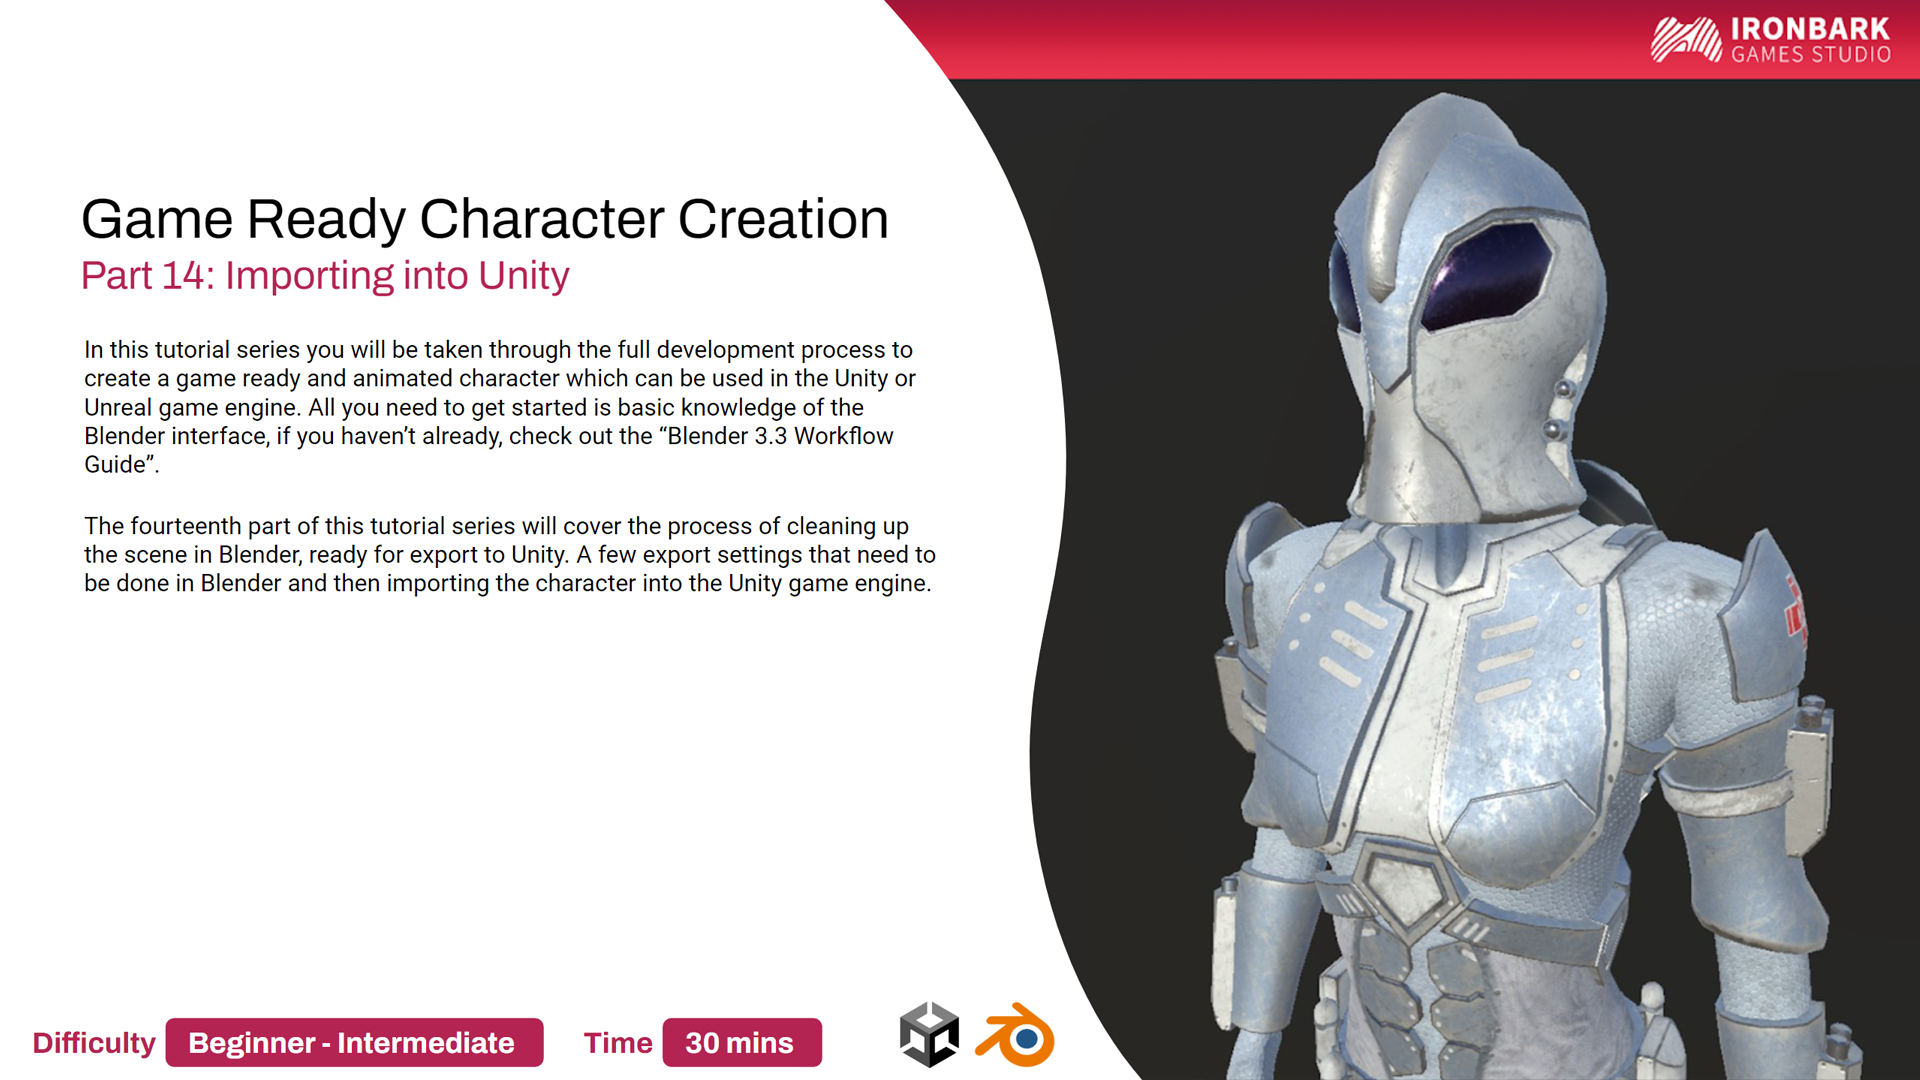
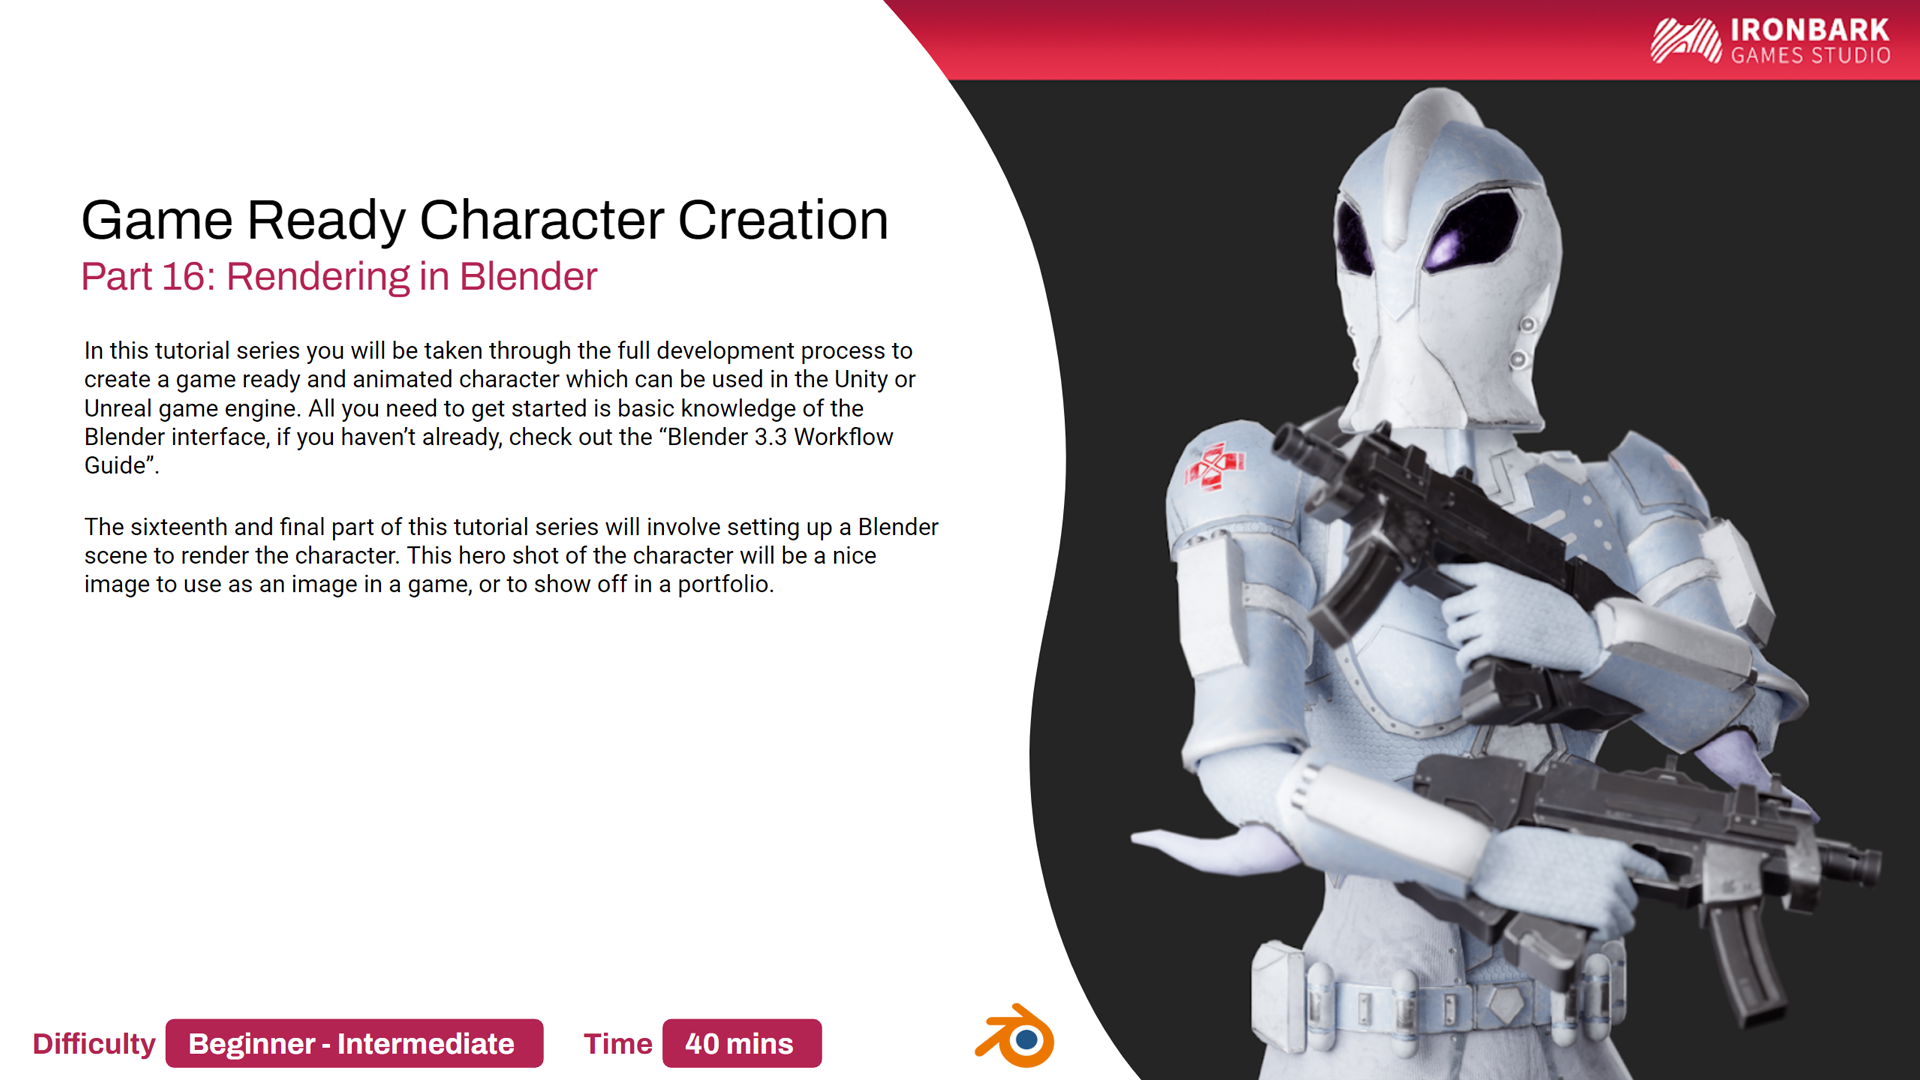
Part 14: Importing into Unity | Part 15: Importing into Unreal | Part 16: Rendering in Blender
Creating the best export settings to bring the character into either the Unity or Unreal game engine. Then to top it off creating a nice render in Blender.
Please do not hesitate to ask any questions about the course.
Good luck and have fun!
Discover more products like this
game ready blender tutorial series 3d animation 3d character Substance painter blender character creation animation 3dblender game ready 3d model Blender-to-Unity tutorial series sculpting Character rigging substance 3d modeling tutorial 3dtutorial humanoid notes blender to unreal alien videos 3D blender learning 3D-game 3dCharacter rigging starting 3D training course PDF armour