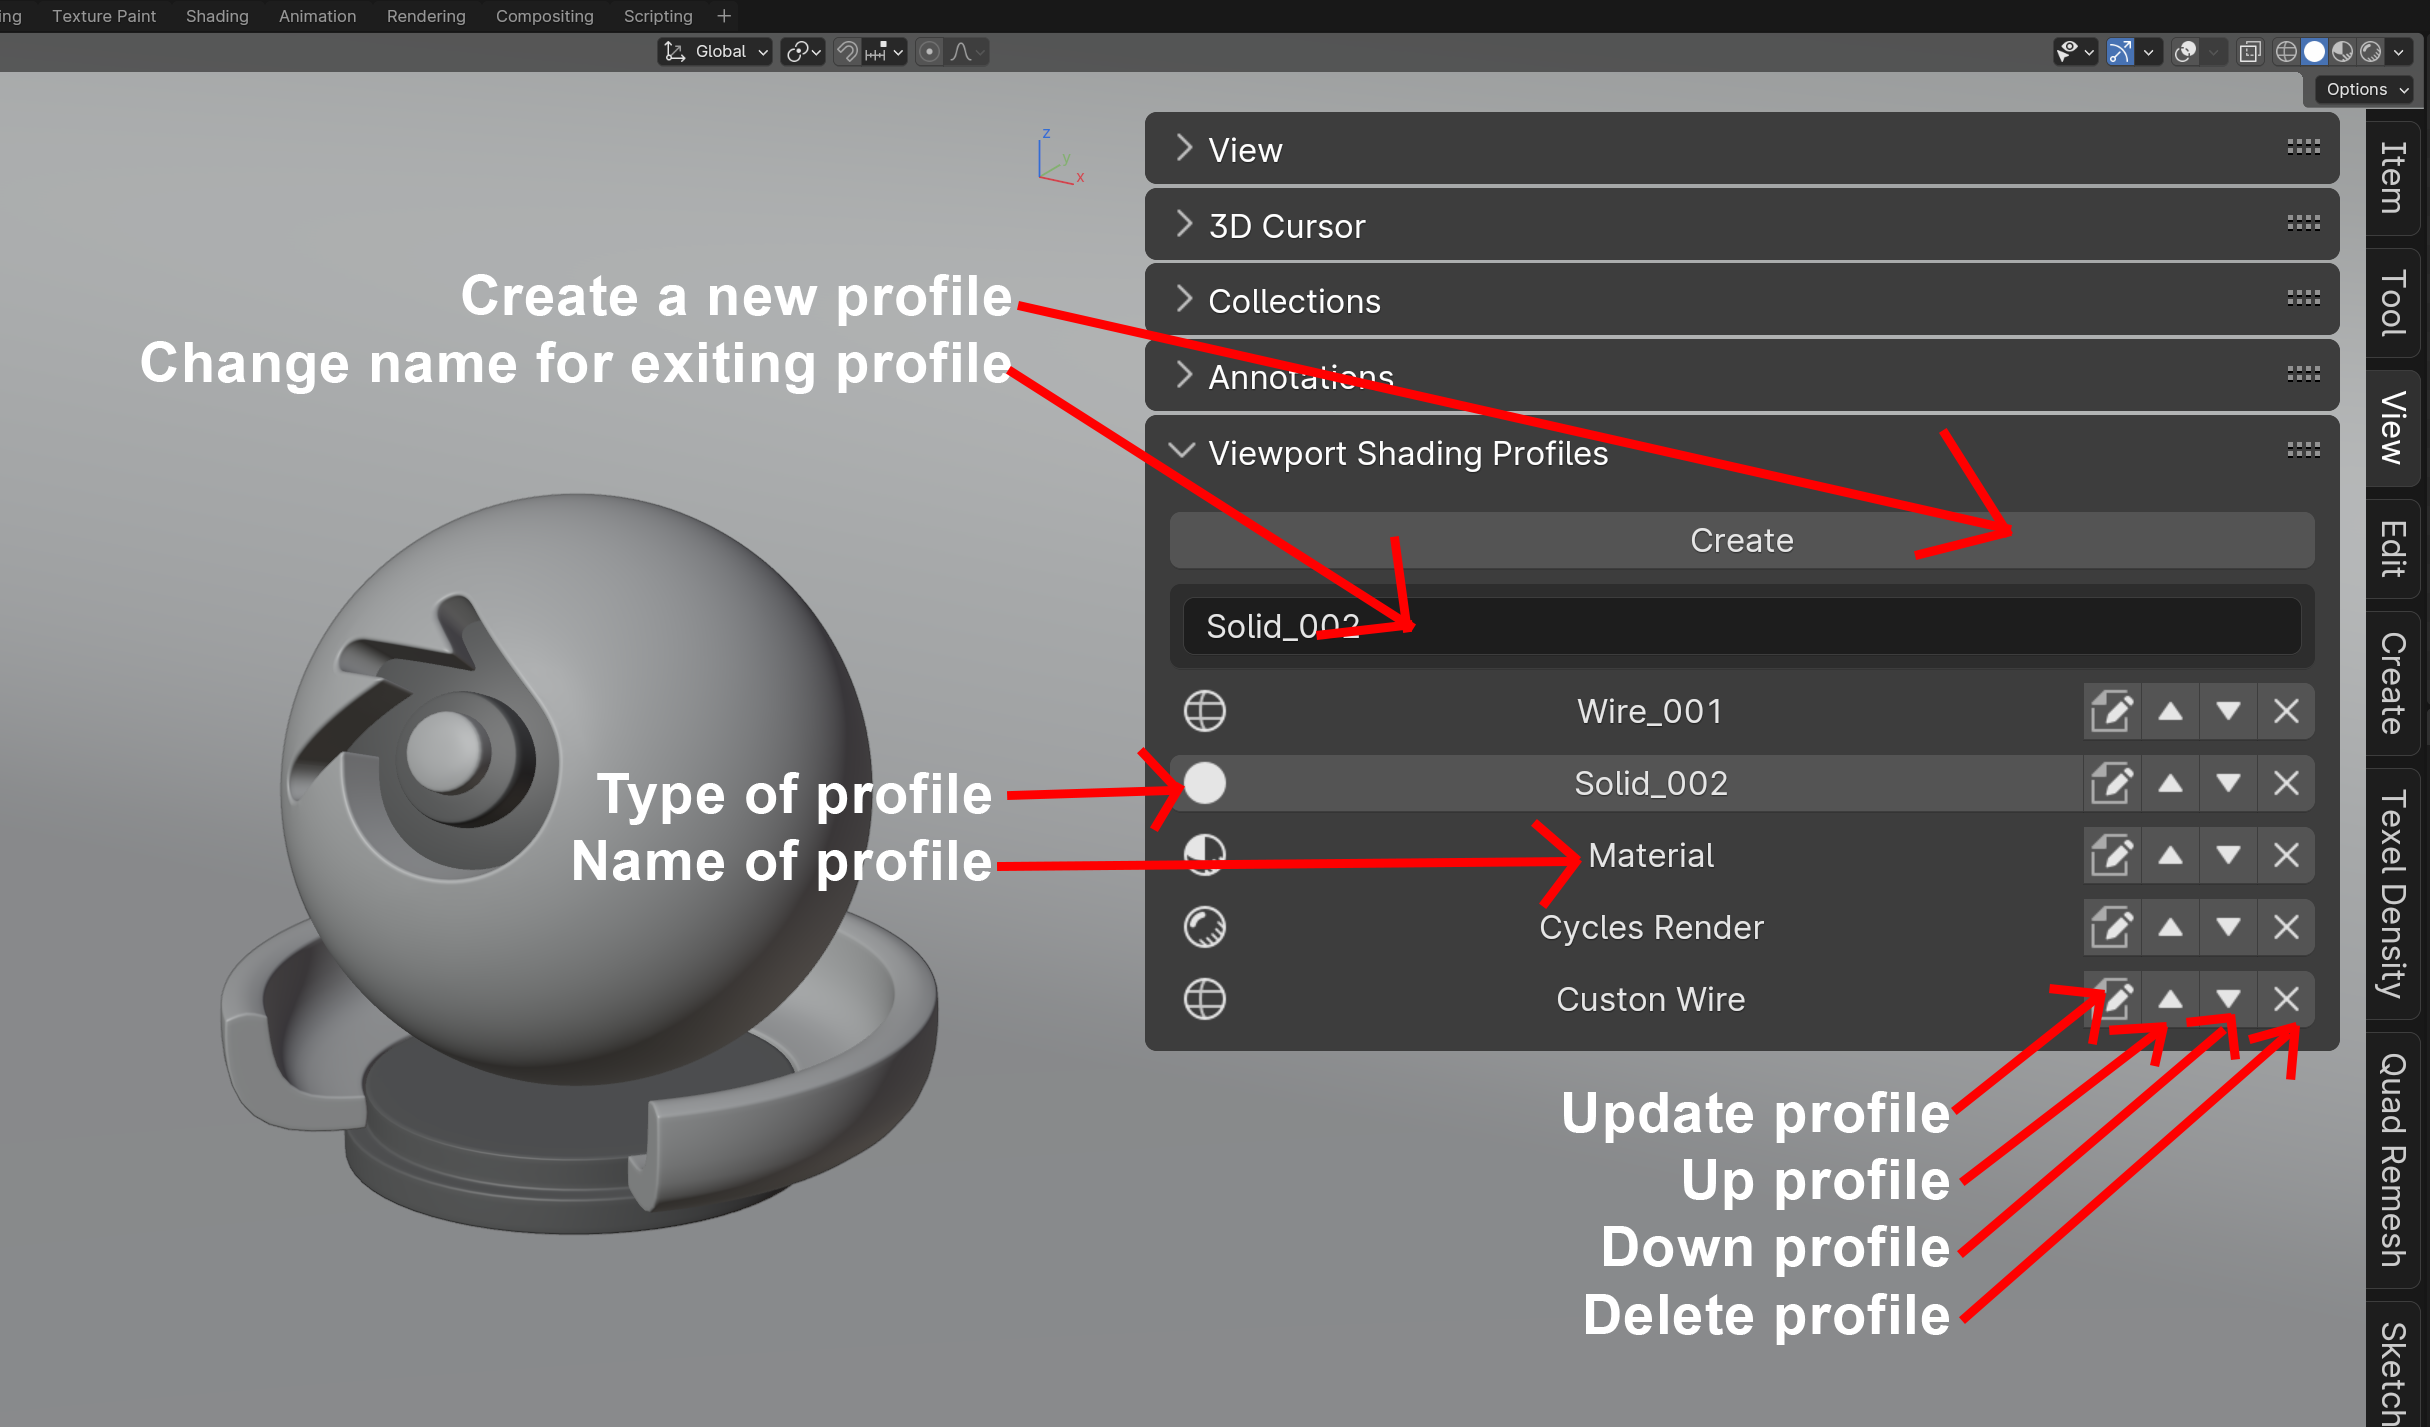
Viewport Shading Profiles
Blender Shading Profiles Addon 1_1_0
Enhance your Blender modeling and rendering experience with our Shading Profiles addon! Designed for 3D artists and visual creators, this plugin provides an intuitive set of tools for efficiently managing shading profiles.Key Features:
1. Advanced Profile Management: Organize and customize your shading settings effortlessly. Create profiles for different scenes, projects, or creative needs.
2. Detailed Control of Visual Environment: Fine-tune lighting, color, contours, and more with specific parameters. Achieve stunning visual results with precise settings.
3. Smooth Workflow Integration: Quickly access your shading profiles from the toolbar in 3D view. Streamline your workflow and save time on repetitive adjustments.
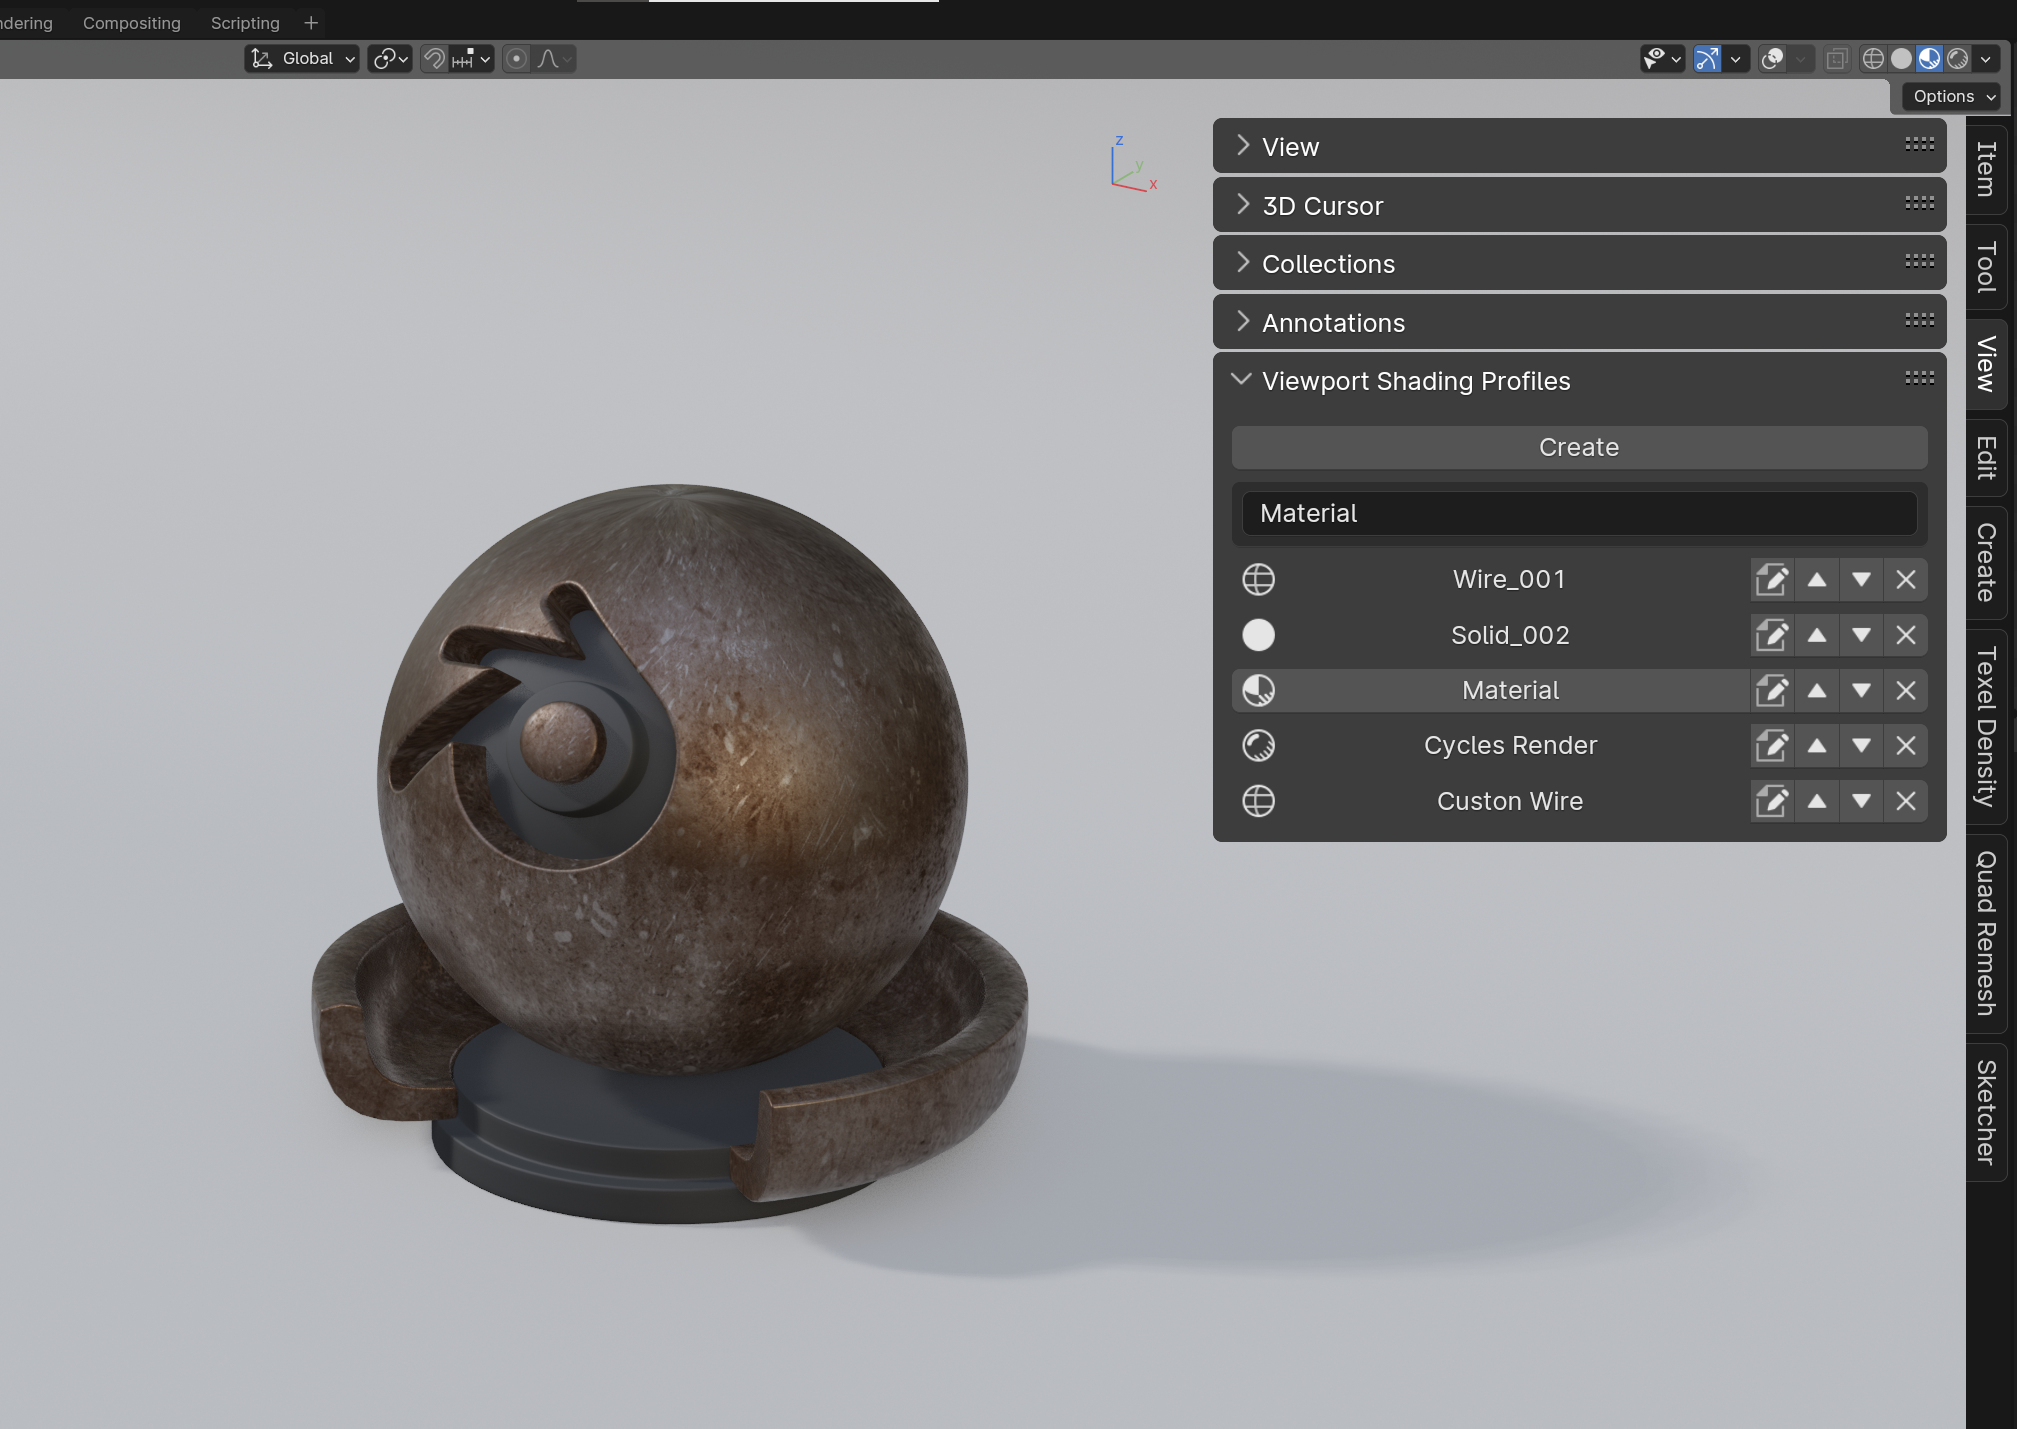
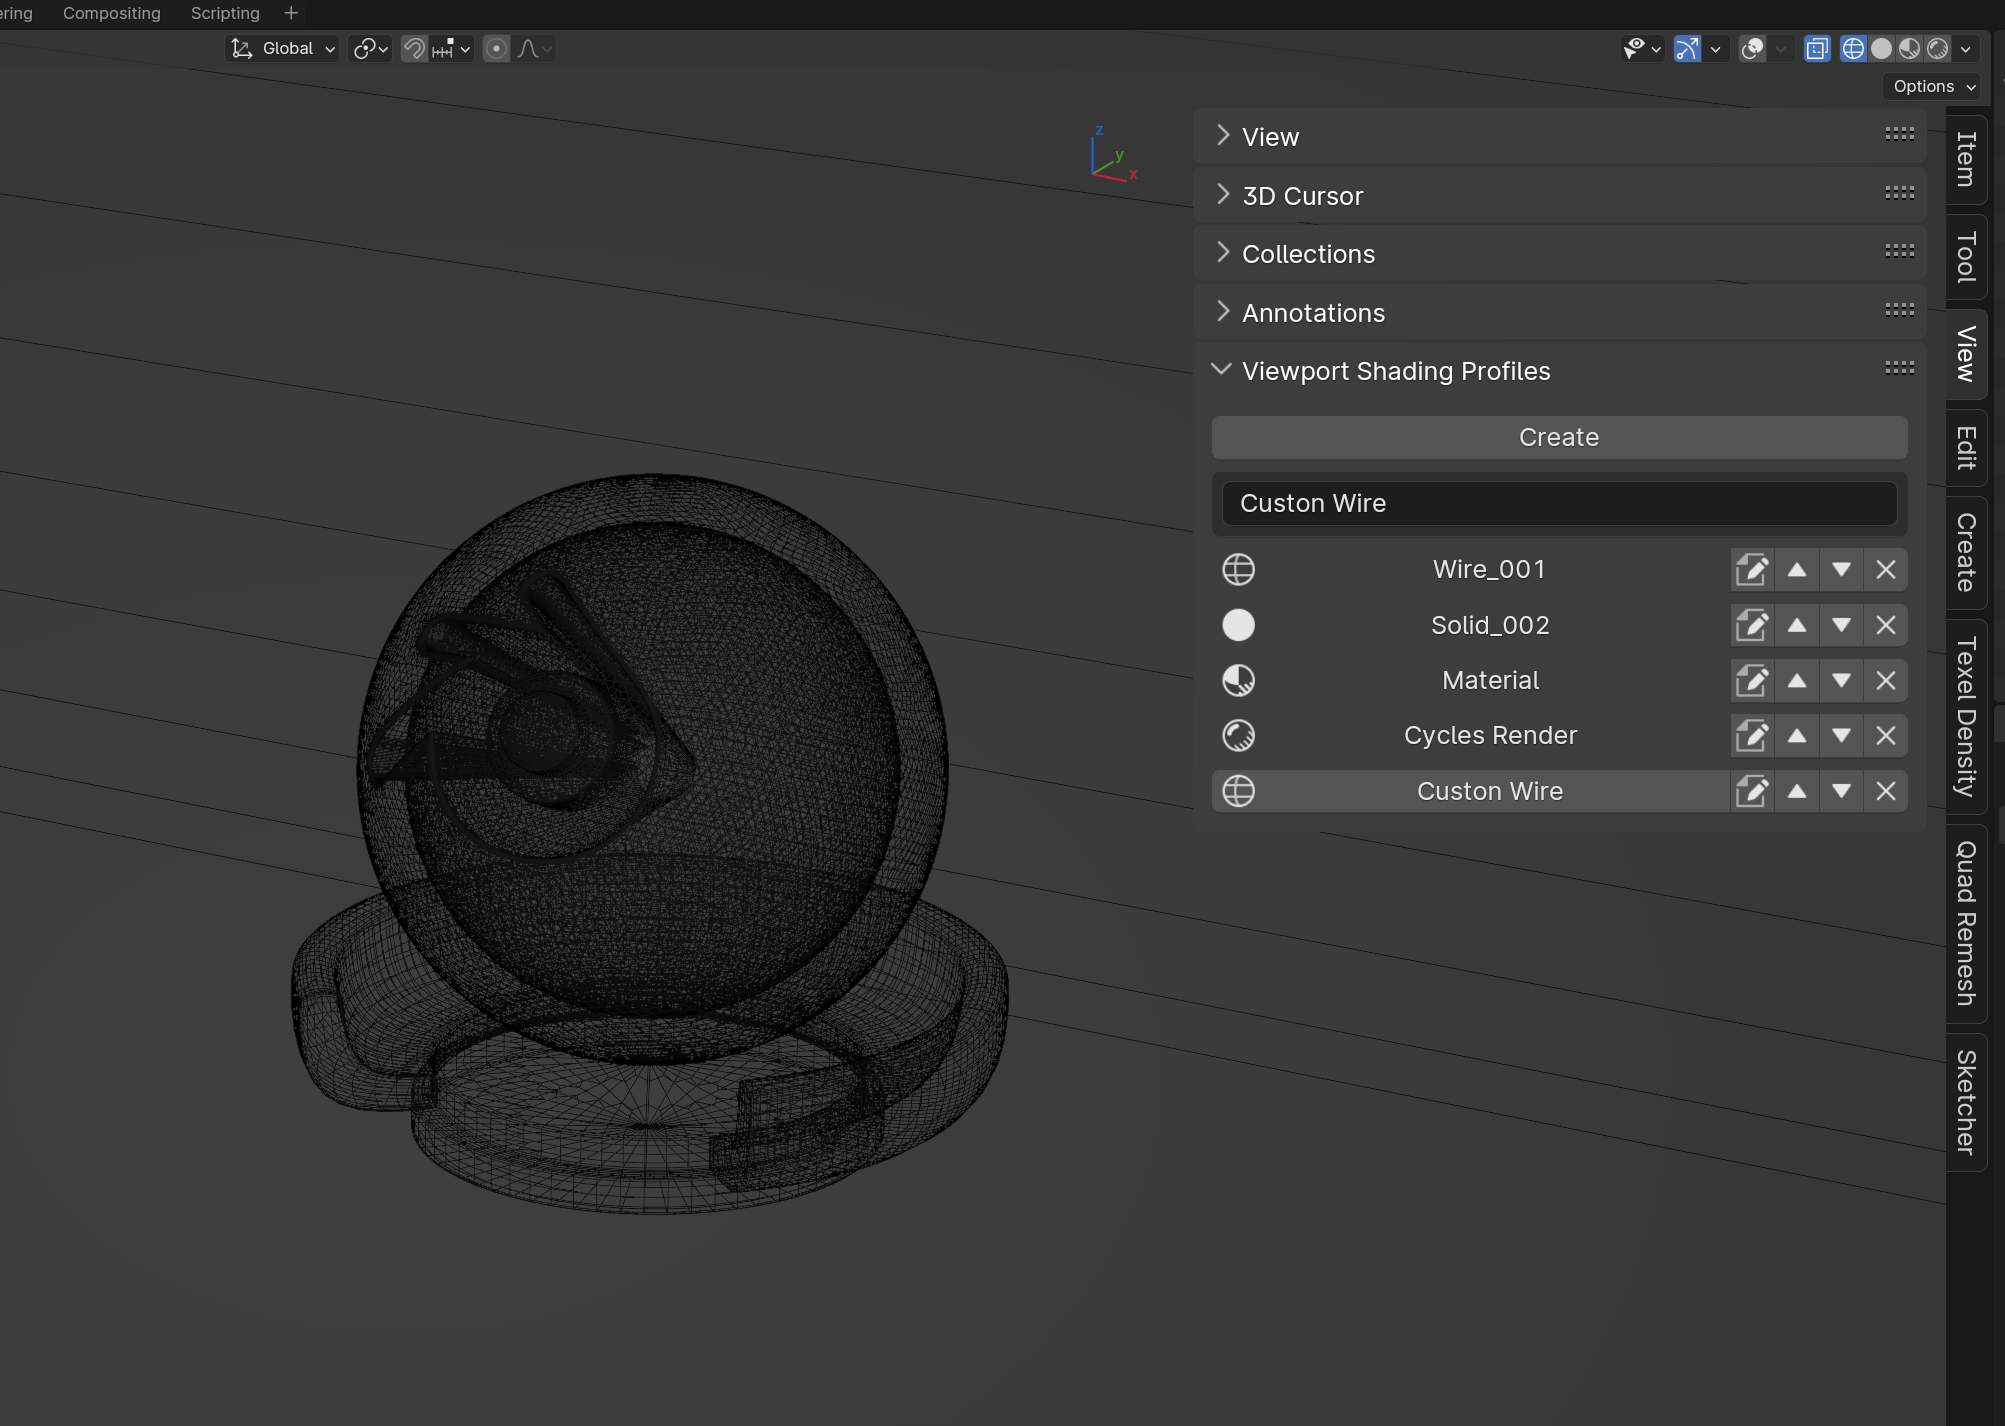
4. Instant Preview: Instantly visualize how your models will look with different shading configurations. Experiment with styles without compromising efficiency.
5. Complete Customization: From wireframe settings to object presentation, customize every aspect of shading to suit your creative needs.
6. Workspace Integration: Synchronize your shading profiles with the current workspace. Effortlessly switch between configurations to adapt to different moments in your creative process.
Why Choose Our Shading Profiles Addon?
Ease of Use: User-friendly interface accessible to users of all levels.
Productivity Boost: Streamline your creative processes and focus on artistic expression.
Adaptability: Adjust shading according to the specific requirements of each project.
-
Transform your Blender experience and take your 3D projects to the next level with our Shading Profiles addon. Download it now and discover a new standard in visual quality and creative flexibility, with easy access to your saved profiles for seamless experimentation!
Instructions
Installation:
- 1. Download the addon file in ZIP format from the official source.
- 2. Open Blender and go to
Edit -> Preferences. - 3. In the Preferences window, select the
Add-onstab. - 4. Click
Installand choose the downloaded ZIP file. - 5. Activate the addon by checking the box next to "Shading Profiles."
Accessing the Addon:
- 1. After installation, navigate to the 3D workspace in Blender.
- 2. Find the new tab called "View" in the toolbar.0
- 3. Within the "View" tab, you'll see the "Shading Profiles" panel.
Creating a New Shading Profile:
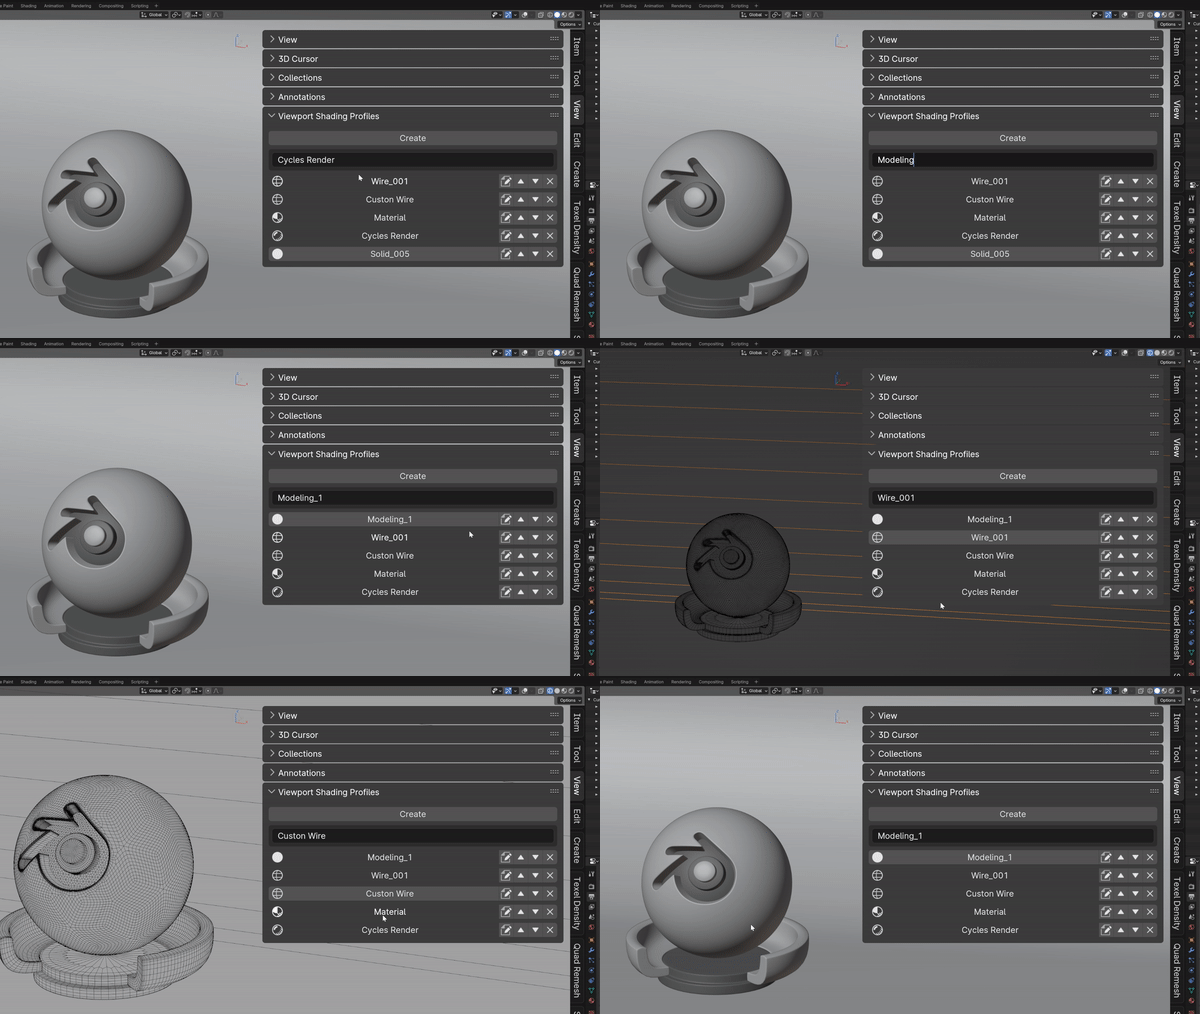
- Click the "Create" button in the "Shading Profiles" tab.
- A new profile will be generated with the current viewport settings.
Modifying an Existing Profile:
- 1. Select the profile you want to adjust in the "Shading Profiles" tab.
- 2. Make the necessary changes to the shading configurations.
- 3. Click "Save" to update the profile.
- Changing the Name of a Profile:
Select the profile in the "Shading Profiles" tab.
In the text box, update the name to your preference.
Click "Apply Name" to save the changes.
-
Changing the Order of Profiles:
- In the "Shading Profiles" tab, select the profile you want to move.
- Use the "Move Up" or "Move Down" buttons to adjust the order according to your preferences.
Deleting a Profile:
- Simply click the "Delete" button.
Changes in version 1.1
-Now Render Passes can be saved in Cycles -Some bugs fixed
