Surface Trails
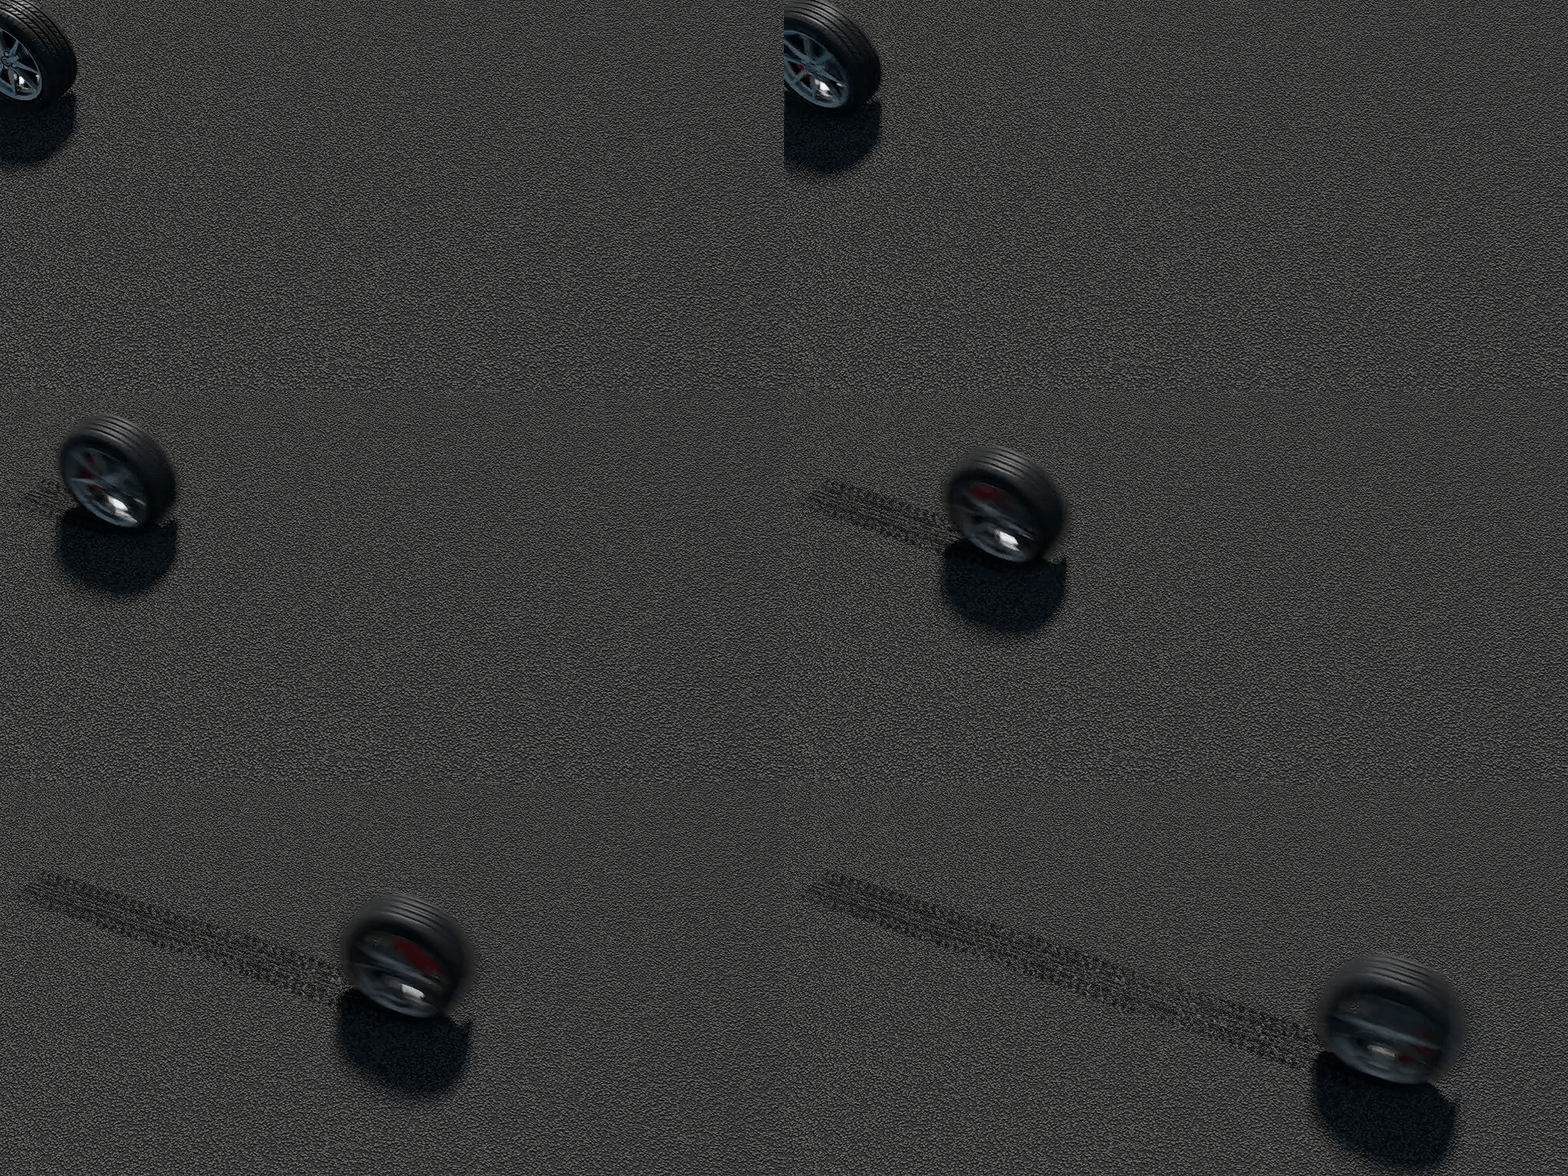
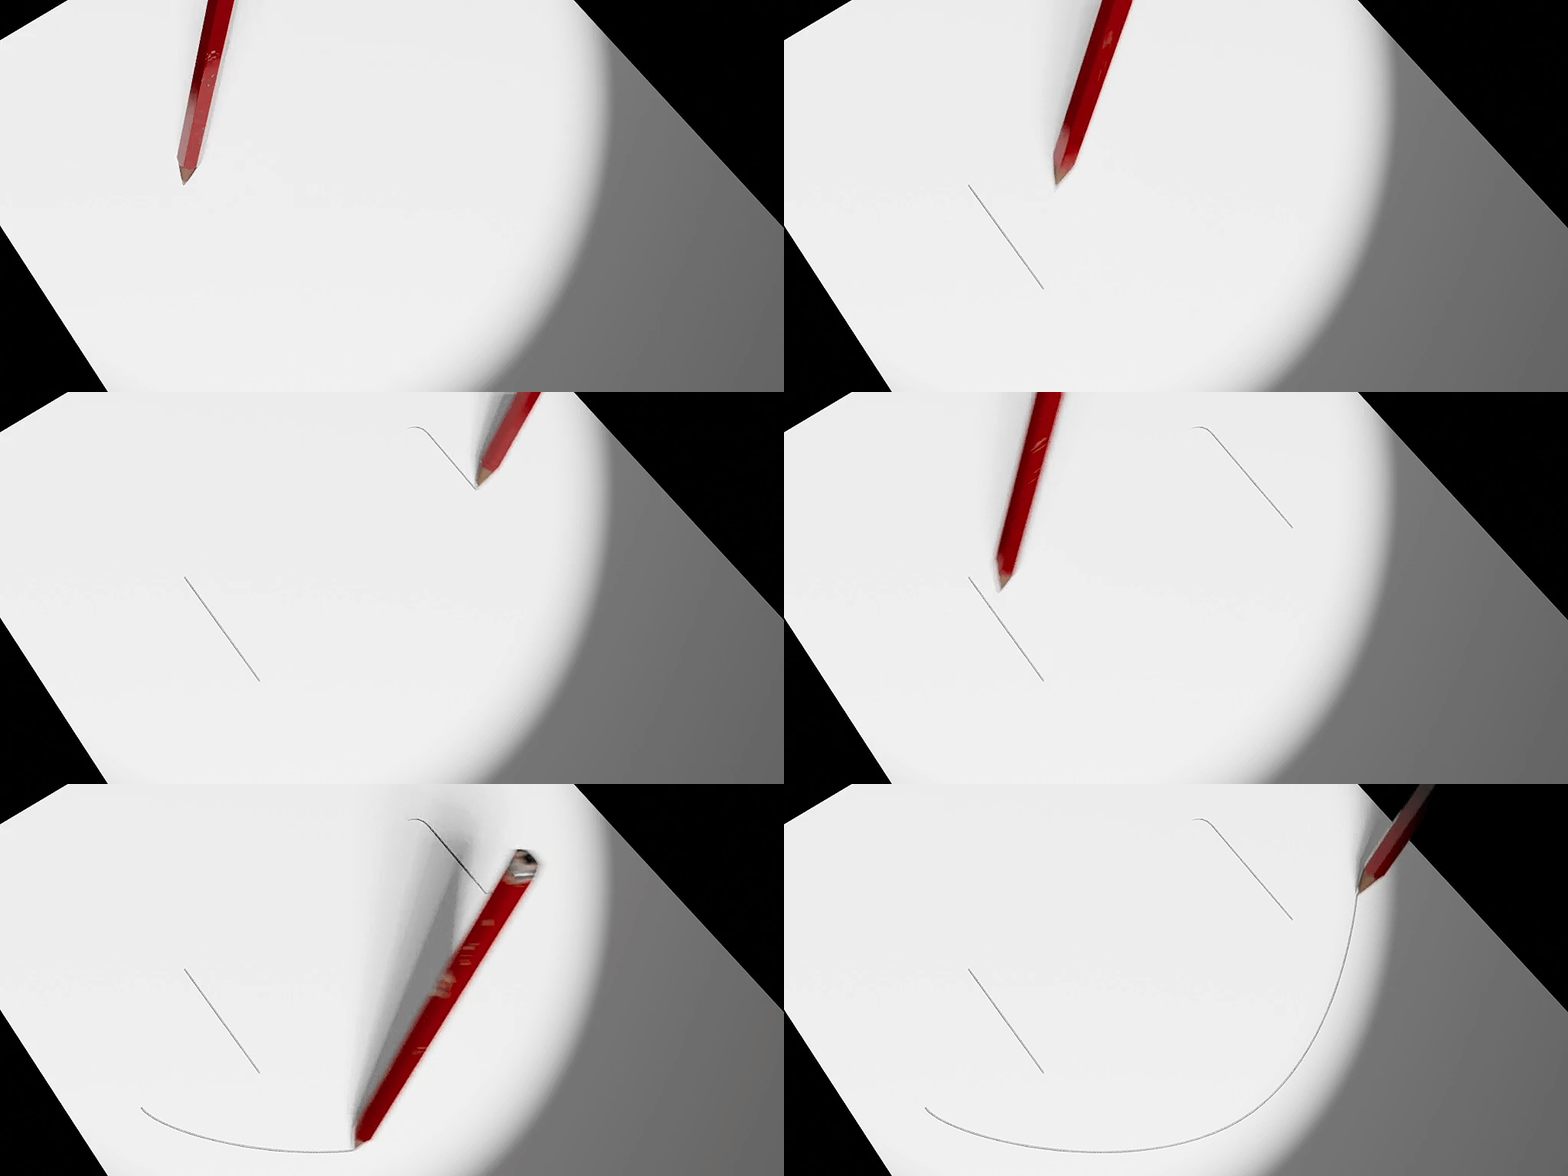
This unique tool can automatically generate trail lines based on the proximity of 2 objects. Its very simple to use and comes with 4 trail modes.

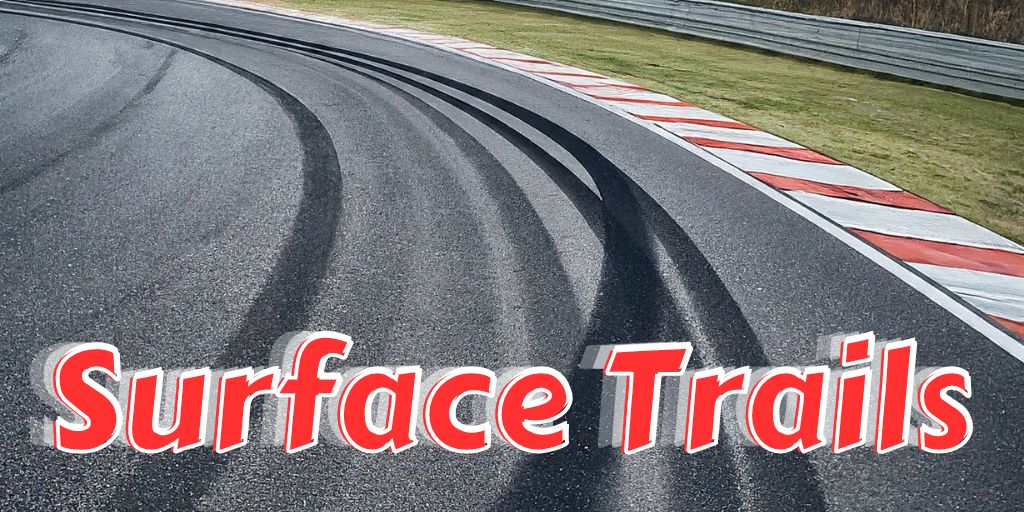
1-Stroke = This mode generates a flat geometry on the surface and can be used to simulate a wide variety of effects, such as pencil traces, scratches, tire marks...
It has an UV that is stored as an Attribute called "trailUV" and can be used to map your textures.
2-Carve = This mode will carve lines in the areas where there is contact between the 2 objects.
3-Curves = This mode generates curves in the areas where there is contact between the 2 objects and can be used further in many ways.
4-Tubes = This mode generates a tube on the surface of the object set a the receiver, in the areas where there is contact between the 2 objects.
HOW TO INSTALL?
To use that, you just need to drag the Surface Trails on the top of any mesh that will gonna be used to hold the trail geometry or Append the "Surface Trails.blend" file to your scene, wile selecting the "Surface Trails" inside de "NodeTree" folder. After that you should be able to find the modifier on the Geometry Nodes lisT.
YOU CAN WATCH THE VIDEO BELOW TO LEARN MORE ABOUT IT
WHAT EACH CONTROL DOES?
Trail Mode = the trail generation modes: 1-Strokes 2-Carve 3-Curves 4-Tubes.
Trail Emitter = This is the object used that will emit the trails on the surface of the object.
Surface Object = The mesh used to generate and project the trails when it is near to the emitter object.
Emission Distance = This is the most important control and will determine the distance from the emitter and the surface objects to start generating the trails. It also will affect the pressure simulation and the disconnection of the curves. This setting also controls the precision of the trails. The lower the value, the closer the strokes to the tip of a pen will be.
Smoothing Iterations = Use that to smooth the traced lines.
Trail Radius = The width of the trail lines.
Profile Resolution = It controls the resolution of the generated mesh profiles.
Distance Threshold = It disconnects the curves when the contact points of the emitter gets to far from the surface.
Fade Thickness = Higher values will simulate an expansion of the width of the trail lines along the time.
Viewport Downgrade = It reduces the resolution of the carved areas and the generated tubes in order to speed up the viewport, but keeps the full quality for the render time.
Pressure Simulation = It simulates pressure based on the distance between the emitter and the surface contact points.
Pressure Shape = This controls the shape of the end of the trails when using the Pressure Simulation.
Surface Offset = Increase this value to remove overlapping between the generated lines and the surface object.
Depth = This can be used to how deep the carve an the tubes will gonna be
Random Radius = This setting will randomize the radius of the generated lines.
Randomization Scale = The scale of the radius randomization.
Trail UV Attribute = You can use this with an Attribute node in the Shader Editor to map textures along the trail to meshes.
Surface UV Name = You need to type the name of the UV form the Surface Object here in order to map textures to this coordinate to the trails. After that, you can use a Attribute Node on the Shader Editor with this name to load the UVs.
Pressure Attribute = you can use this Attribute name in the Shader Editor to control things like opacity of the materials. It stores a value that simulates pressure based on the distance between the surface and the emitter.
This product is included on my Blender Modifiers Bundle
https://blendermarket.com/products/blender-modifiers-bundles Bundle
| Dev Fund Contributor | |
| Published | 7 months ago |
| Blender Version | 4.3, 4.2, 4.1 |
| License | Royalty Free |
Have questions before purchasing?
Contact the Creator with your questions right now.
Login to Message


