Sculpting Brush Texture Editor
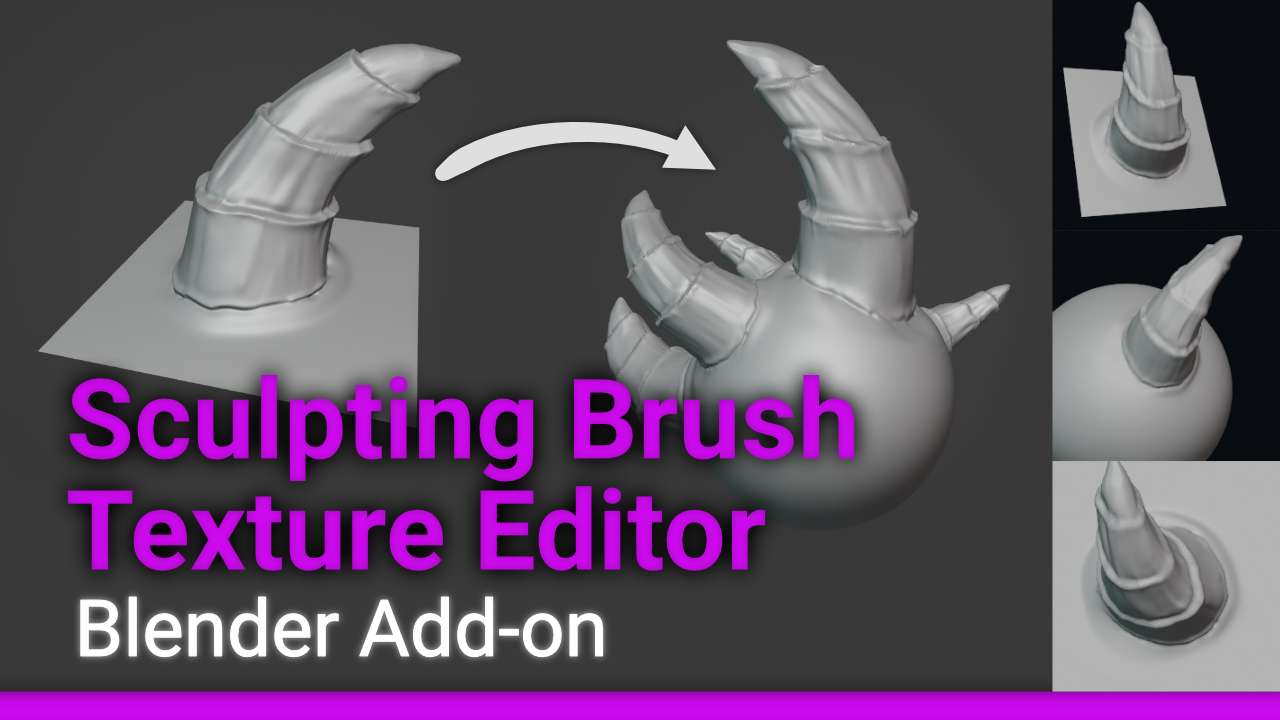
Create or load vector displacement and height map sculpting brushes easily in one click.
Previews are created automatically and all necessary settings are set. You can continue sculpting with your new brush immediately.
Need support?
If you have any problems with the add-on please don't hesitate to ask for support via mail. I'm happy to help you.
You can also reach out on the Blenderartist forums and start a discussion. I'm also happy to hear about feature requests. And I am more so thankful if you report bugs if you encounter any. 🙌
✨Blender 4.3 Update:
New brushes are marked as assets automatically
Brush preview now render with transparent background by default
Local textured brush previews can be rerendered all at once via a new operator

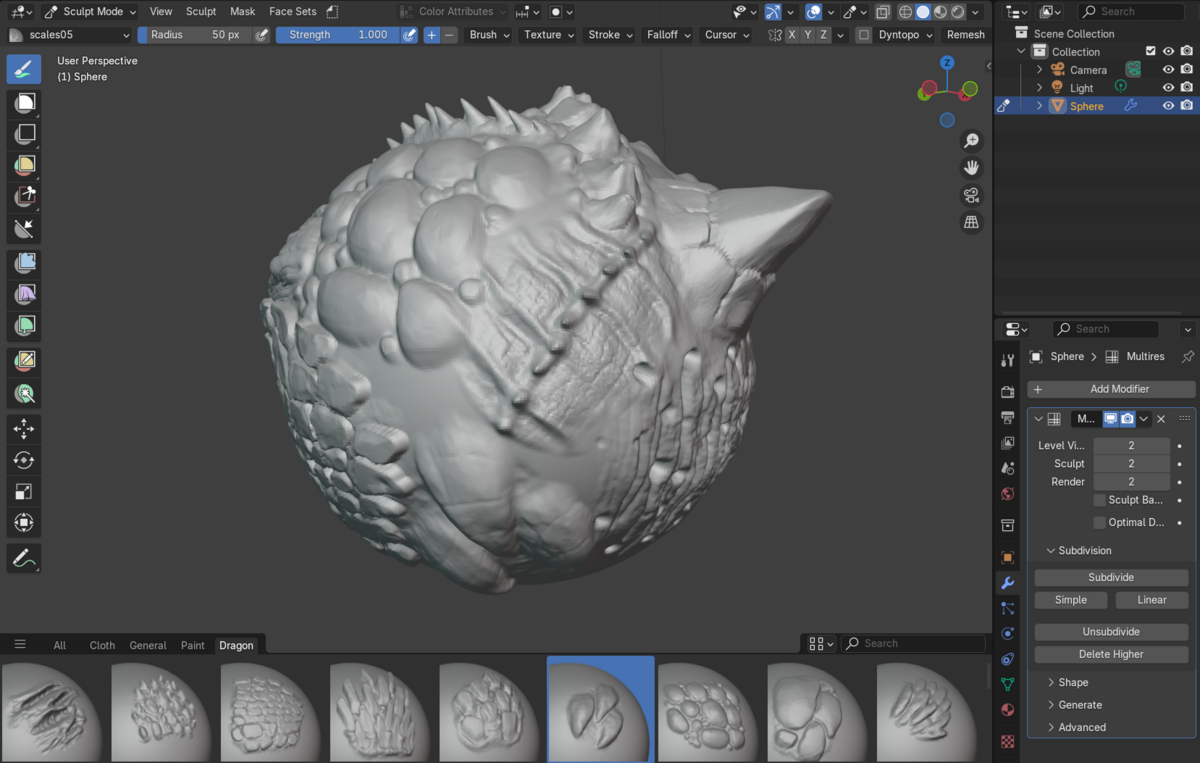
__Shown brushes are made by NSDesign__ 👈
Sculpt brushes manually from a plane:
VDM example
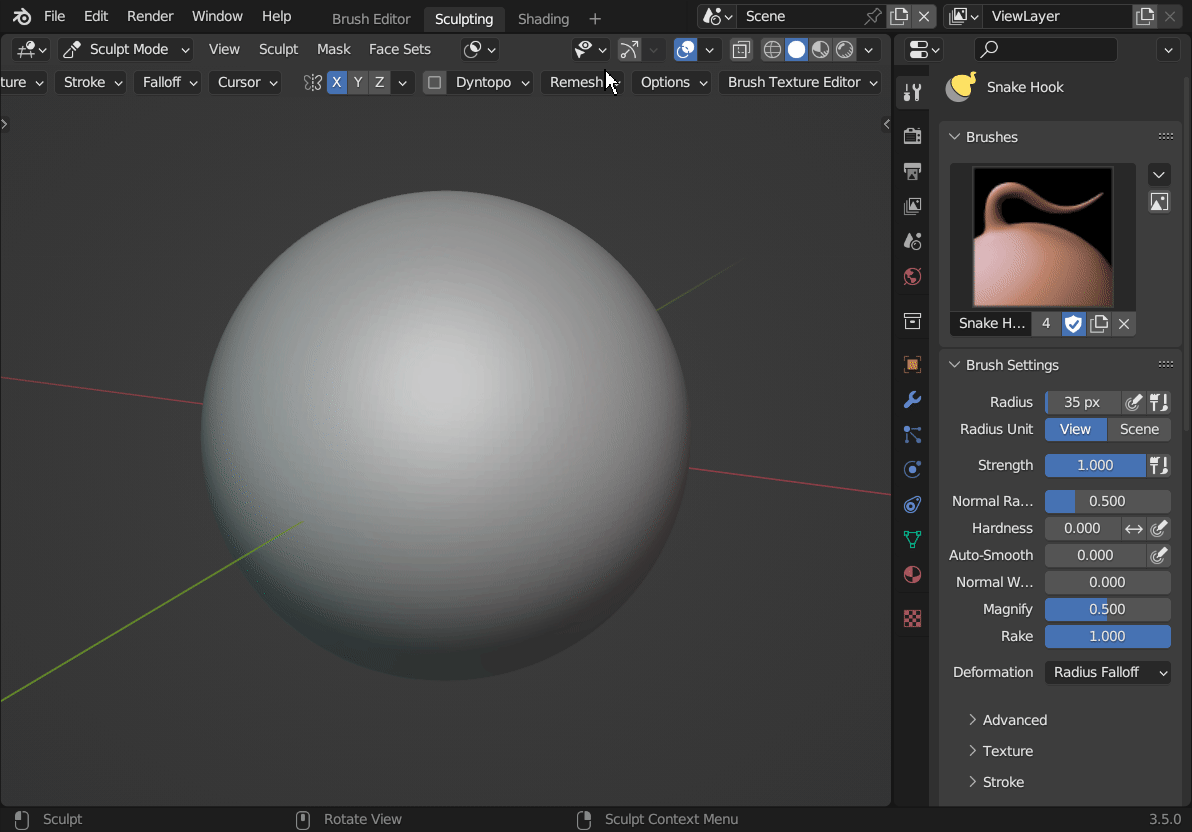
Vector displacement maps (VDMs) can have overhangs, unlike height maps.
Height map example
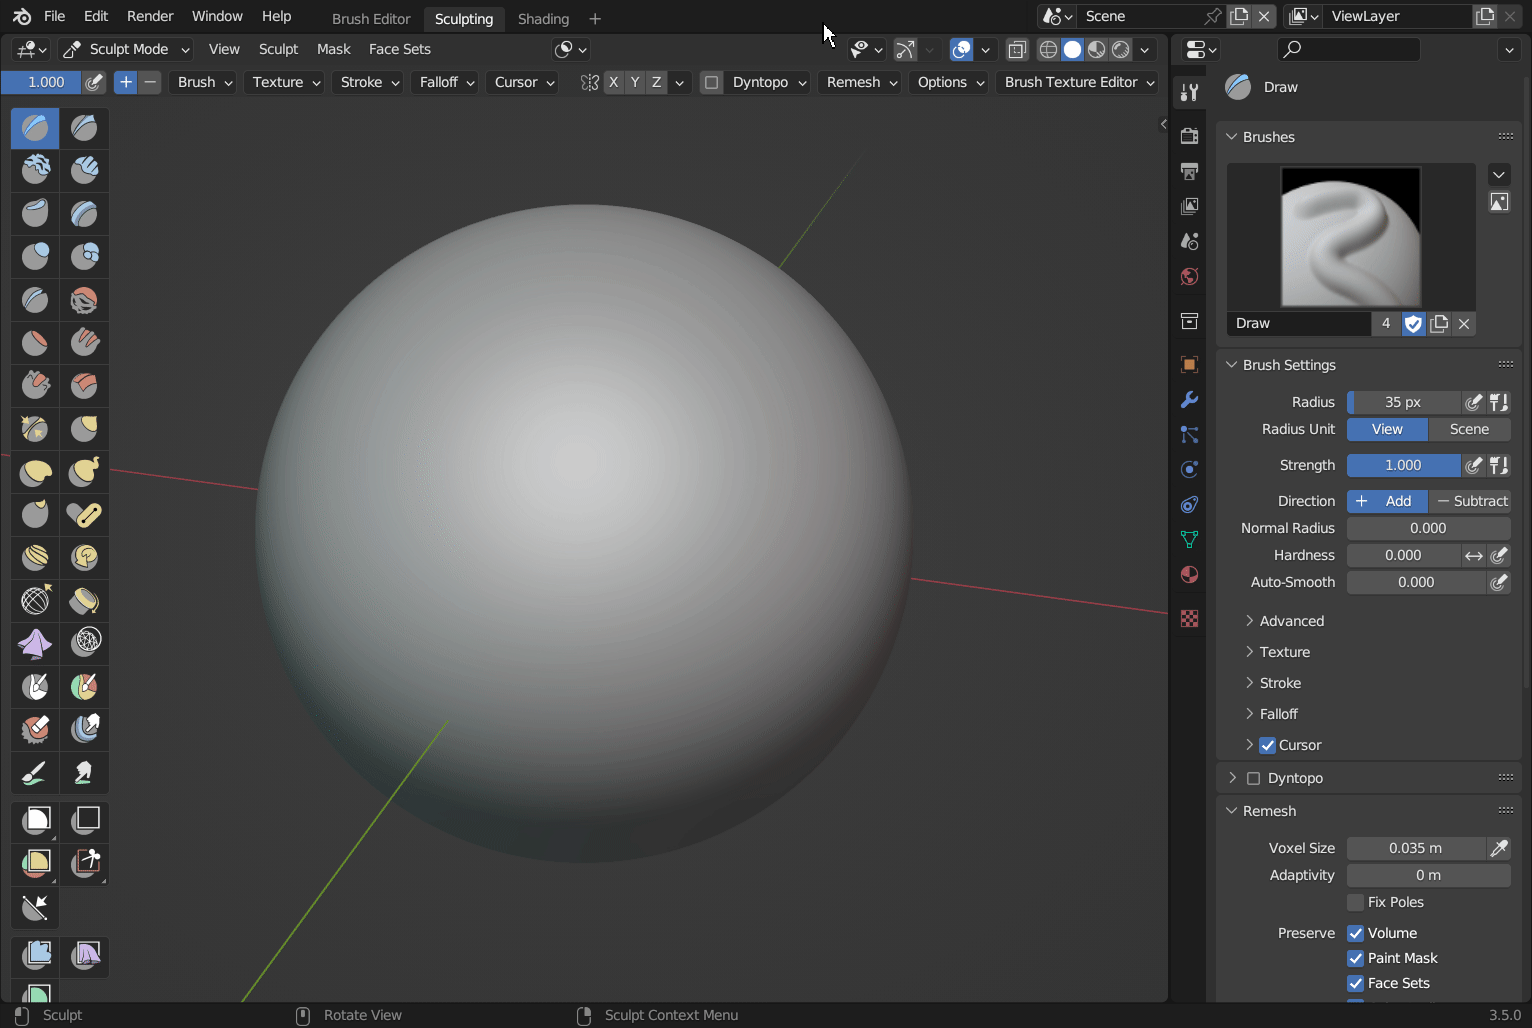
Height maps only displace vertices in surface normal direction but can be rendered from multiple objects.
Load exr/png image files to quickly create brushes in a batch process:
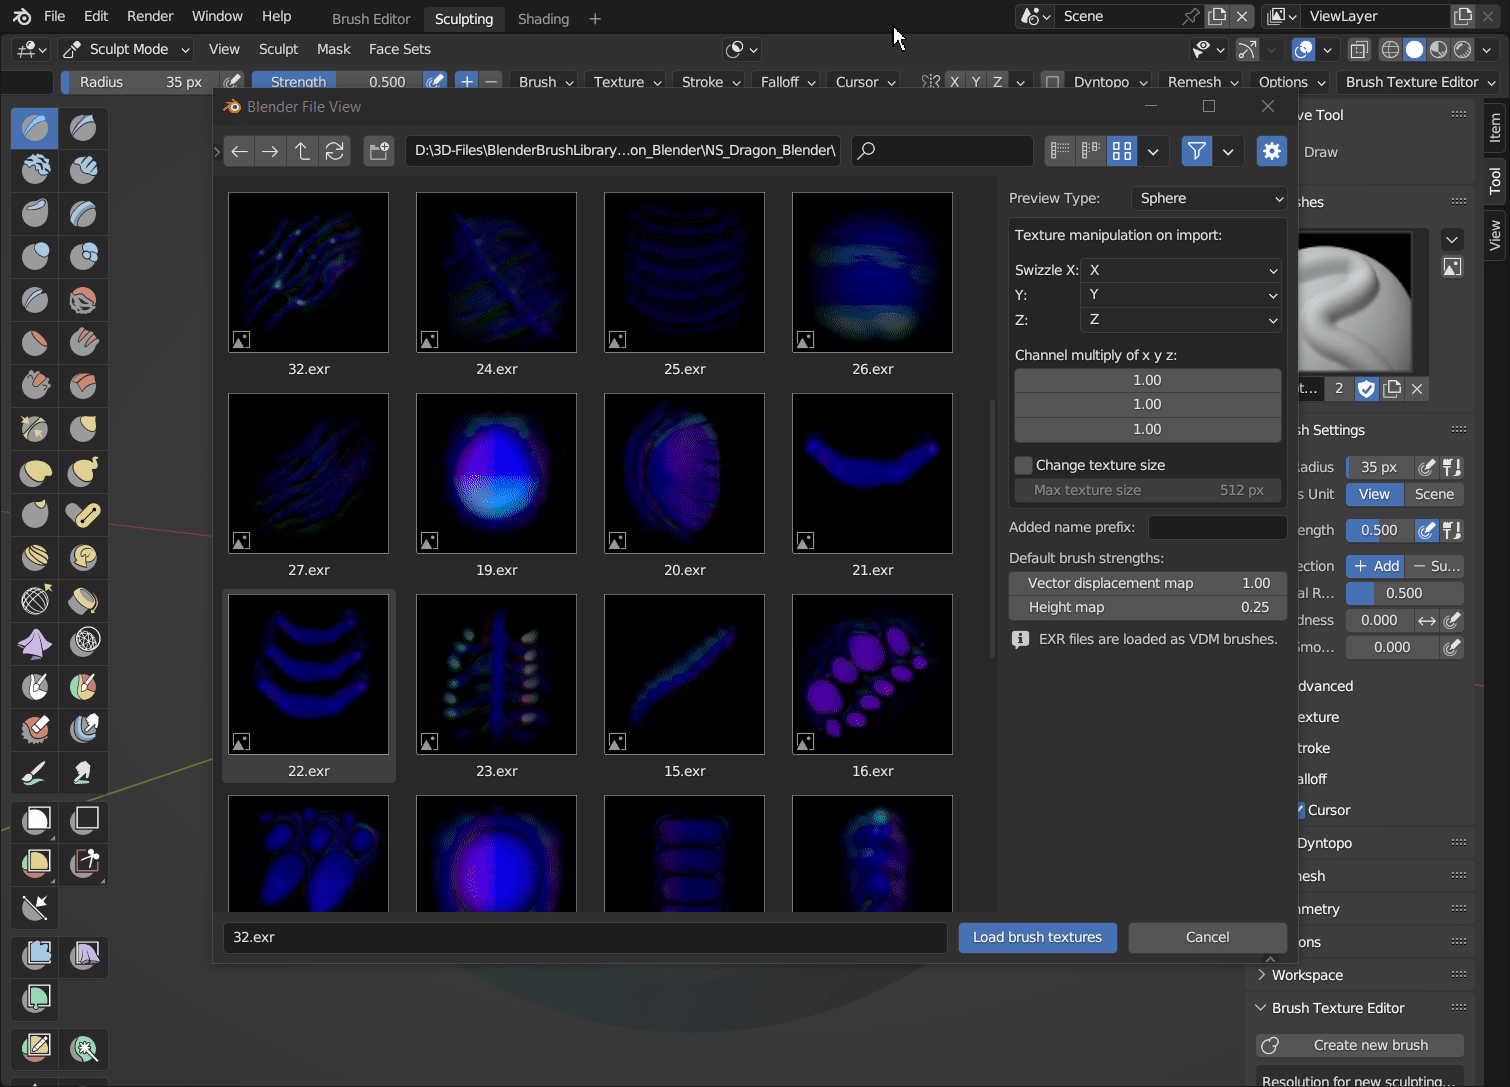
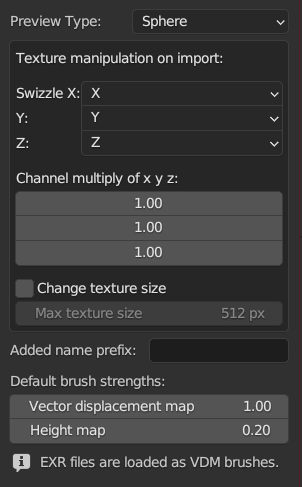
You can manipulate brush images before import. Swap color channels, reduce texture resolution (to save disk space), or add prefixes for example.
Brushes that come straight out of ZBrush use a different up-axis than Blender. So if you want to migrate your brushes, this might come in handy. (I recommend saving the blend file first. Changed images are saved near the blend file. Otherwise, they are saved in a 'tmp' folder that will be deleted when Blender gets closed)
More information on brush migration from ZBrush can be found in the FAQ.
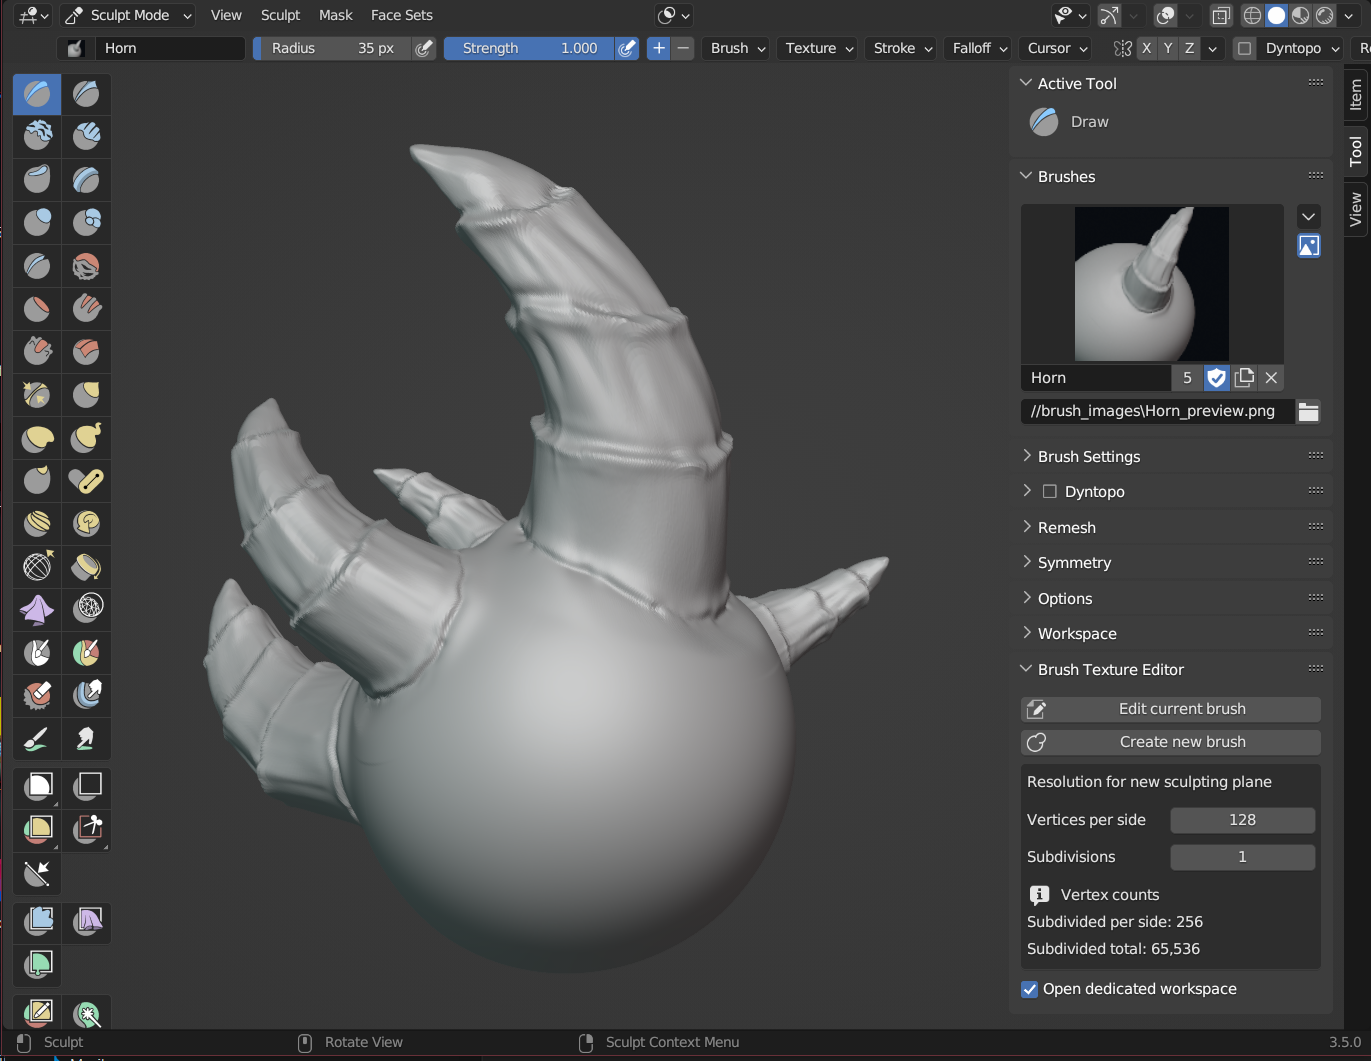
Edit every brush:
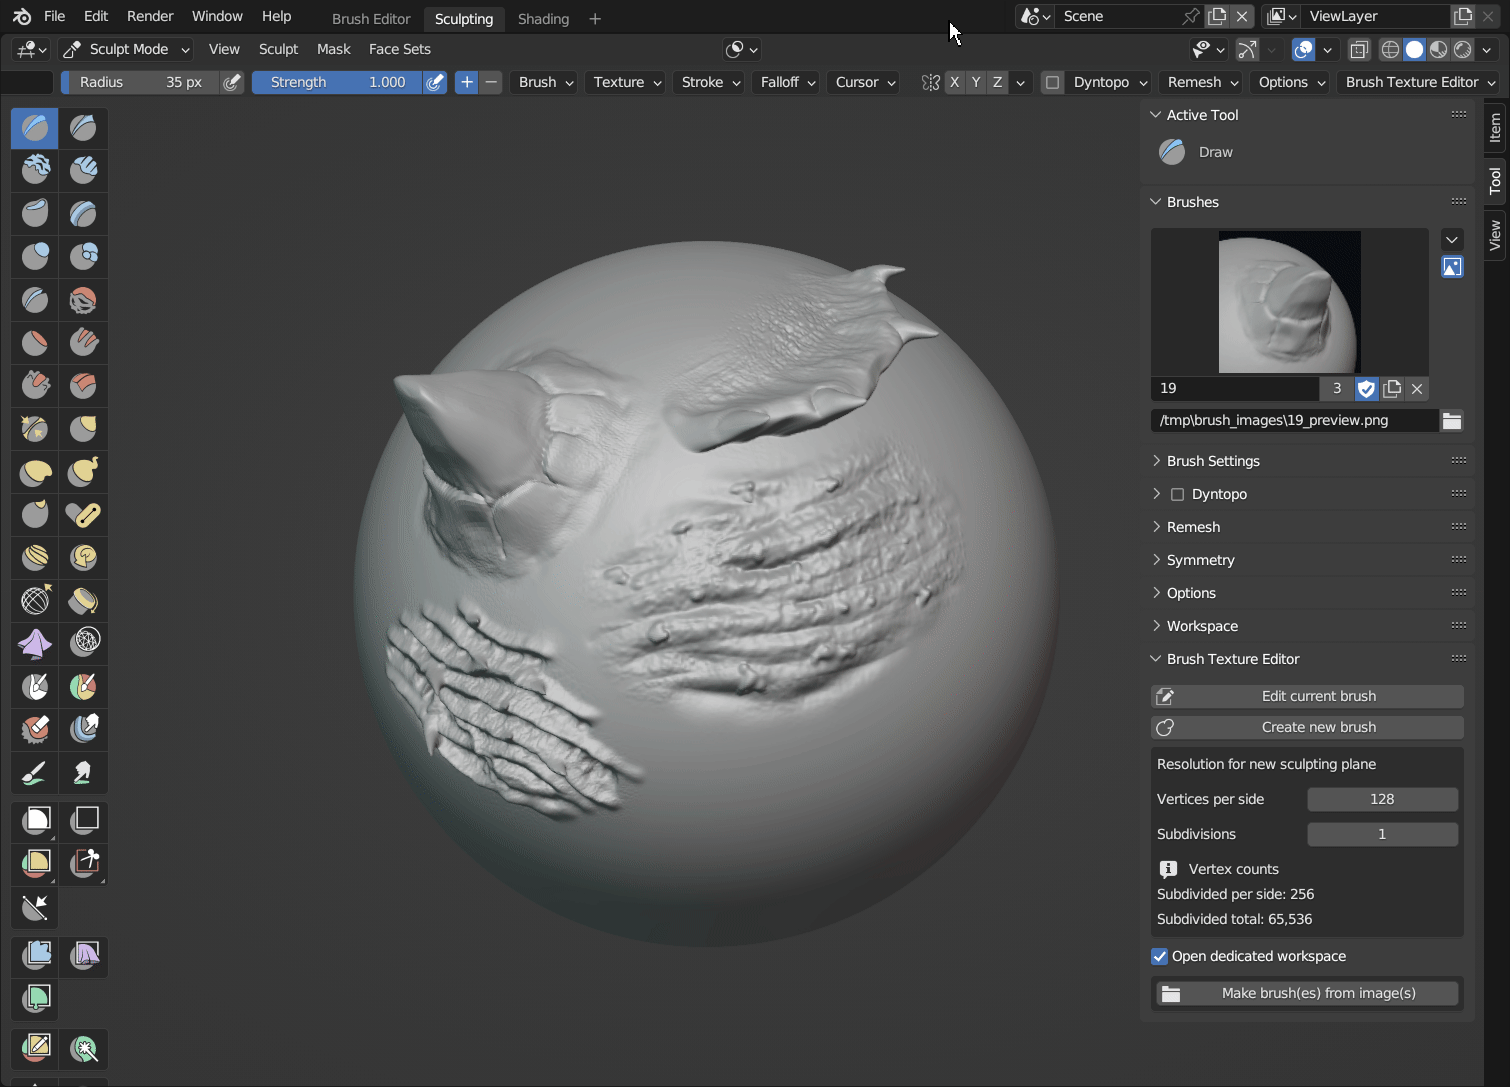
Brushes can be edited at any time. Loaded brushes use a geometry nodes modifier for quick settings.
How to access
The add-on can be accessed from within sculpt mode in View3D -> Properties -> Tools. Panel 'Brush Texture Editor'
This add-on needs at least Blender 3.5
How does it work?
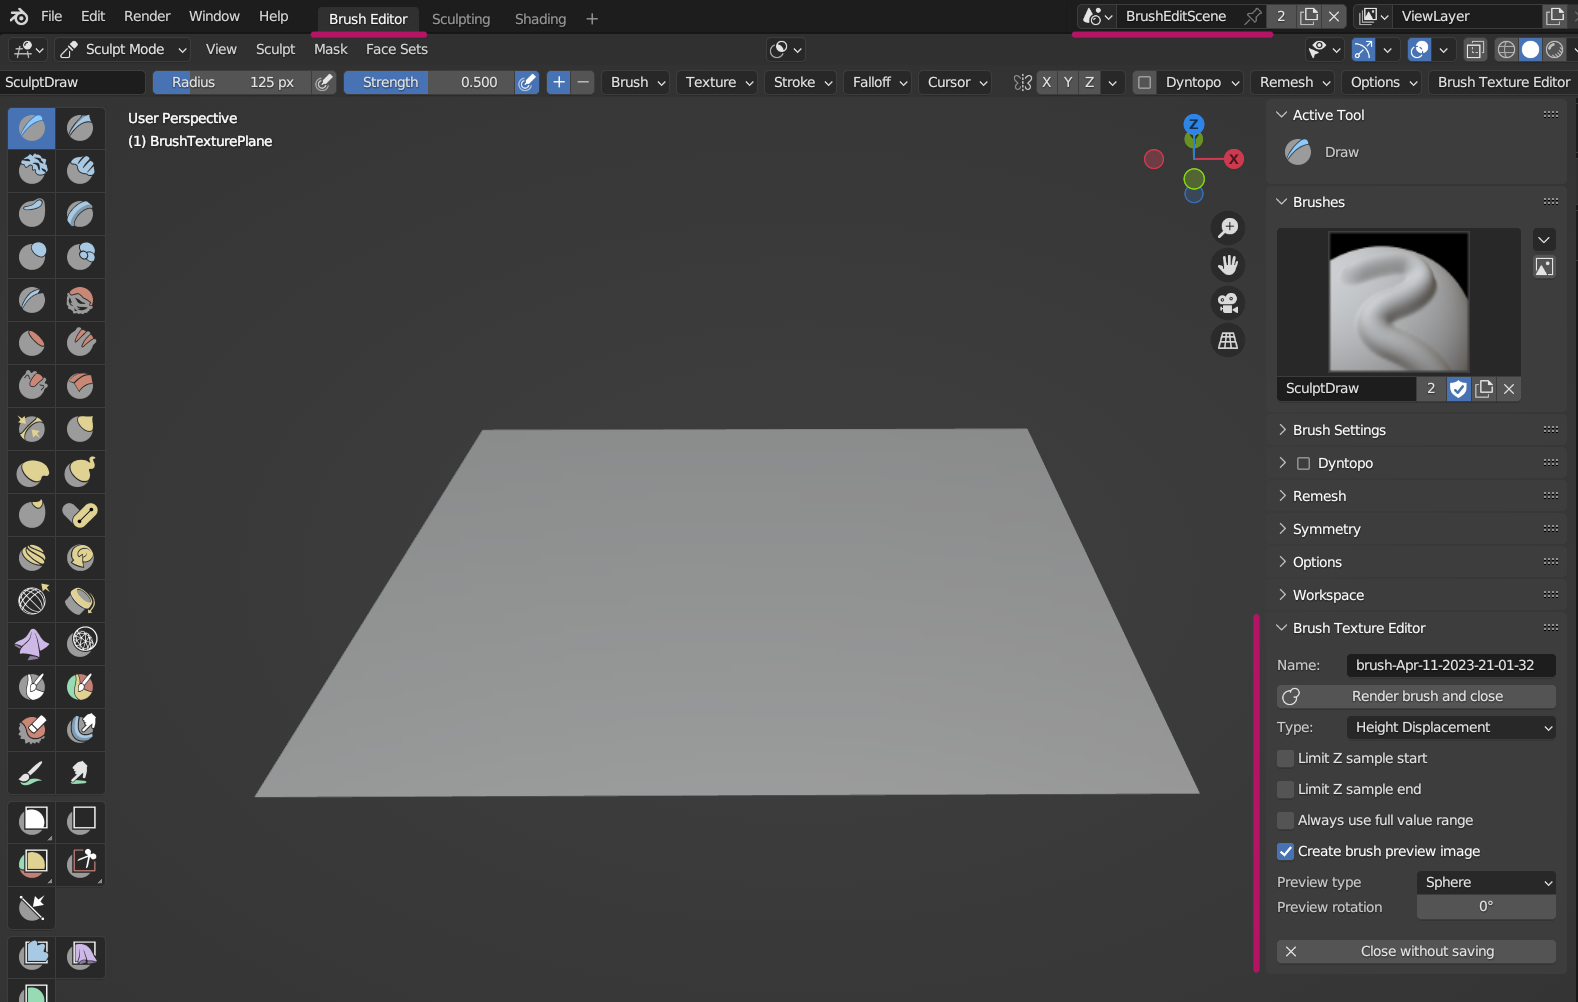
‘Create new brush’ opens a new scene and workspace and adds a plane to sculpt on.
Once you’re done sculpting, hit ‘Render brush and close’. The add-on will render a VDM or height map (depending on your setting), create a new brush, and a preview automatically. It will also return to your primary scene and switch to the brush you’ve just created.
I hope you like it. Please share it if you find this add-on useful. 😁
What can it be used for?
There are many possibilities for textured sculpting brushes and the new vector displacement feature (that allows for overhangs) makes them even more versatile!
Examples might be horns, scales, scars, cloth, and much more
A few tips for working with the addon
- Set up your default Blender workspace to use sculpt mode. That way you can continue sculpting immediately after you’ve created a brush. If you use the sculpting workspace, this is pre-set.
- Use the displacement eraser to flatten the plane and correct sculpting mistakes
- If your brushes get cut off at the corners you can either increase the size for all axes (to 1.1 or 1.2) in the texture panel of the brush or decrease the brush 'hardness' value.
- The texture resolutions can be changed among other things inside the add-on preferences.
Updates:
v 1.1.7 - 12/26/2024
Fixed output resolution of height map textures
v 1.1.6 - 12/26/2024
New brushes are marked as assets automatically
Brush preview now render with transparent background by default
Local textured brush previews can be rerendered all at once via a new operator
v 1.1.5 - 07/22/2024
Fixed issue with loading brushes as heightmap brushes
v 1.1.4 - 07/17/2024
- Fixed issue in Blender 4.2 with height map rendering.
v 1.1.3 - 01/21/2024
Fixed height map baking issue in Blender 4.0
Added import options for brush hardness, sample bias, and preview displacement intensity
Added brush hardness to preferences
v 1.1.2 - 05/01/2023
Exr and PNG can now be loaded to create brushes in a batch process quickly
Any brush with a texture can now be edited
Loaded brushes can be manipulated easily (swapping color channels, changing texture resolution) before import
Images are now saved with the correct compression
Color depth can be changed in preferences
Discover more products like this
bake vdm vdm baker 3d brushes vector displacement blender sculpting addons #3dsculpting Heightmap 3D art assets