Sculpt & Fix With Geometry Nodes
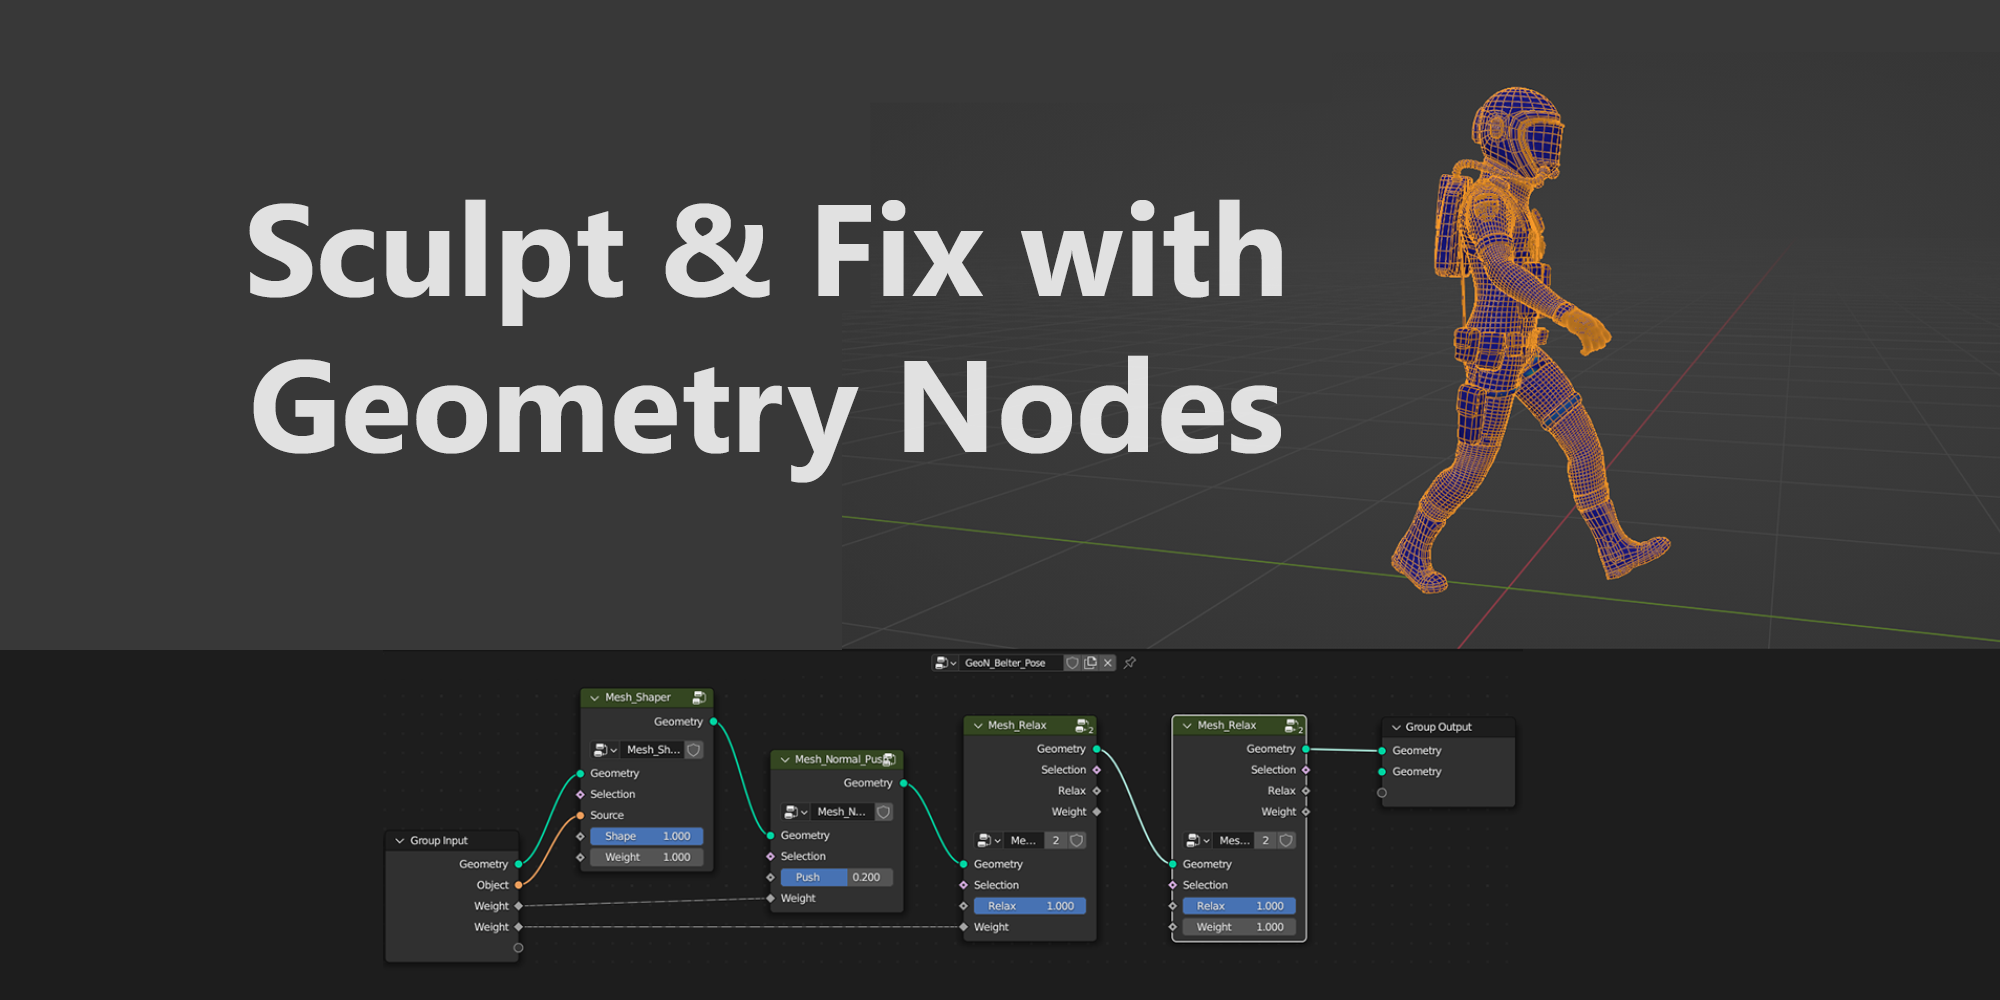
Sculpt & Fix with Geometry Nodes
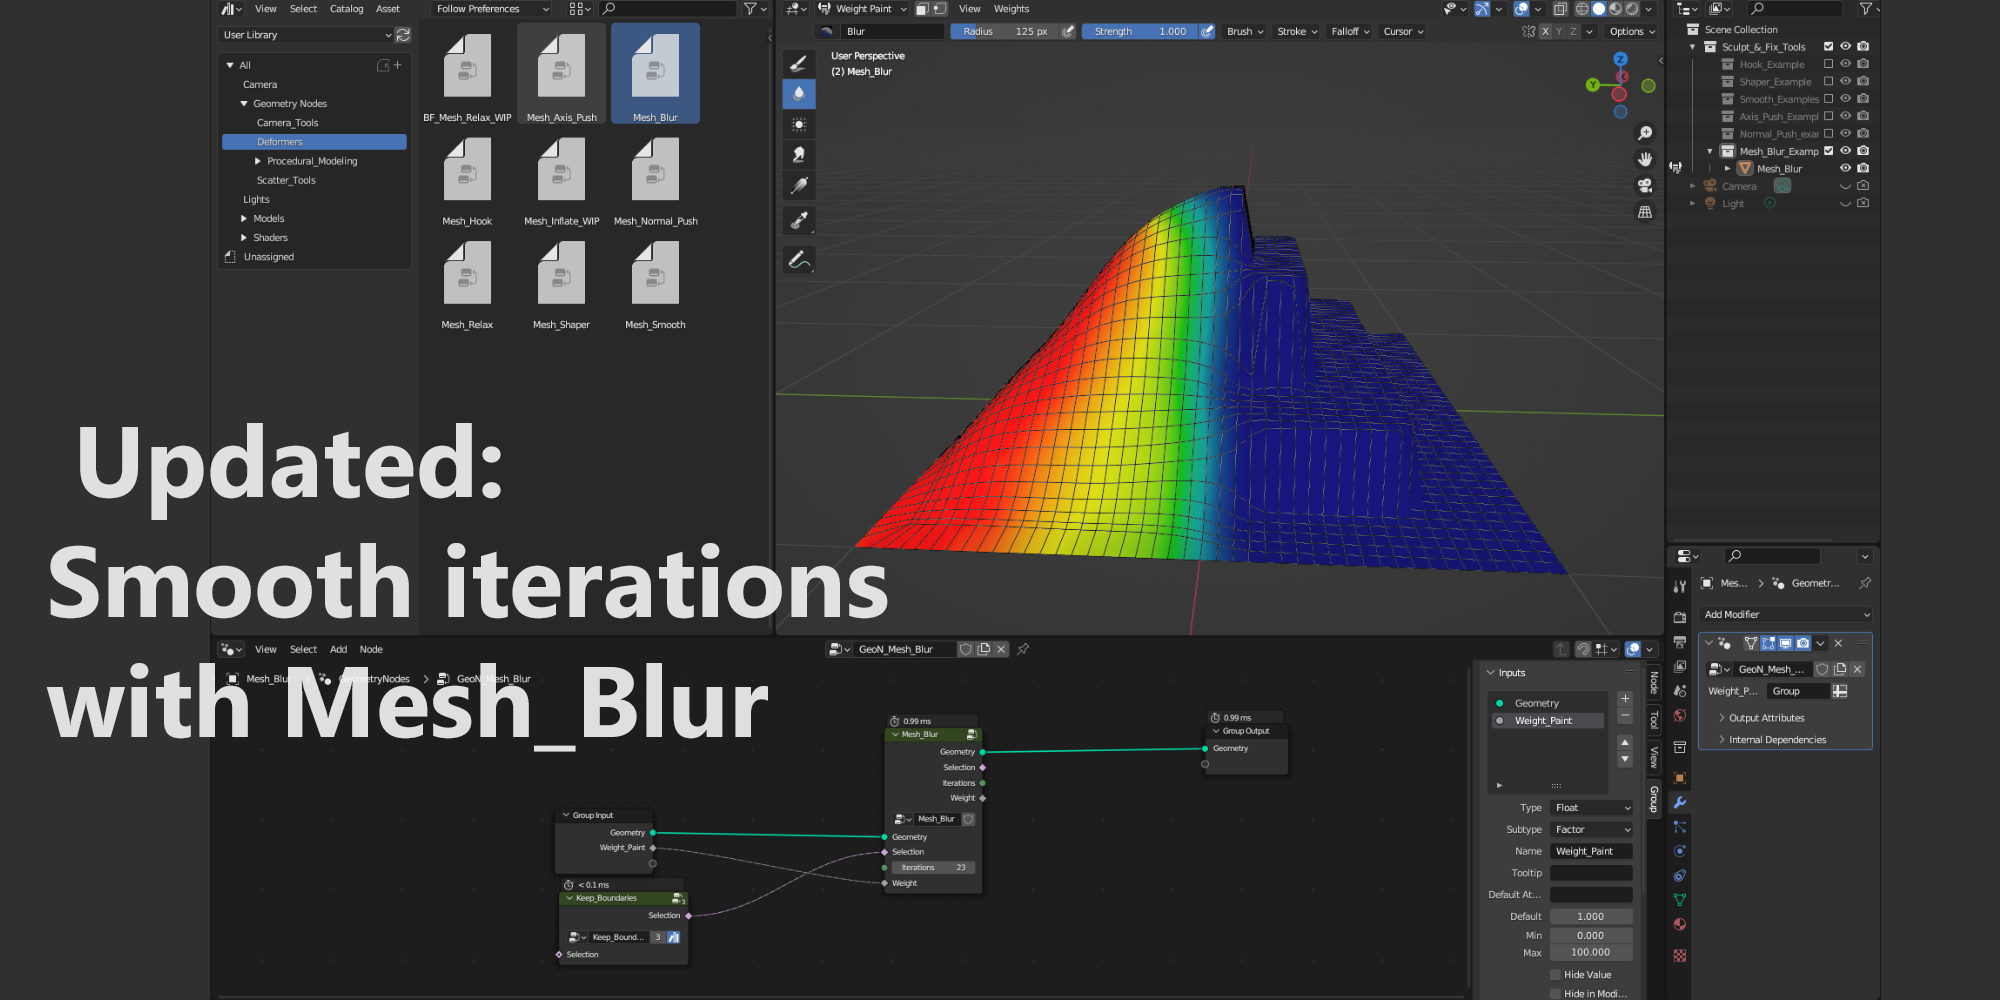
Updated: added a Mesh_Blur node, it performs a smooth with iterations
Content:
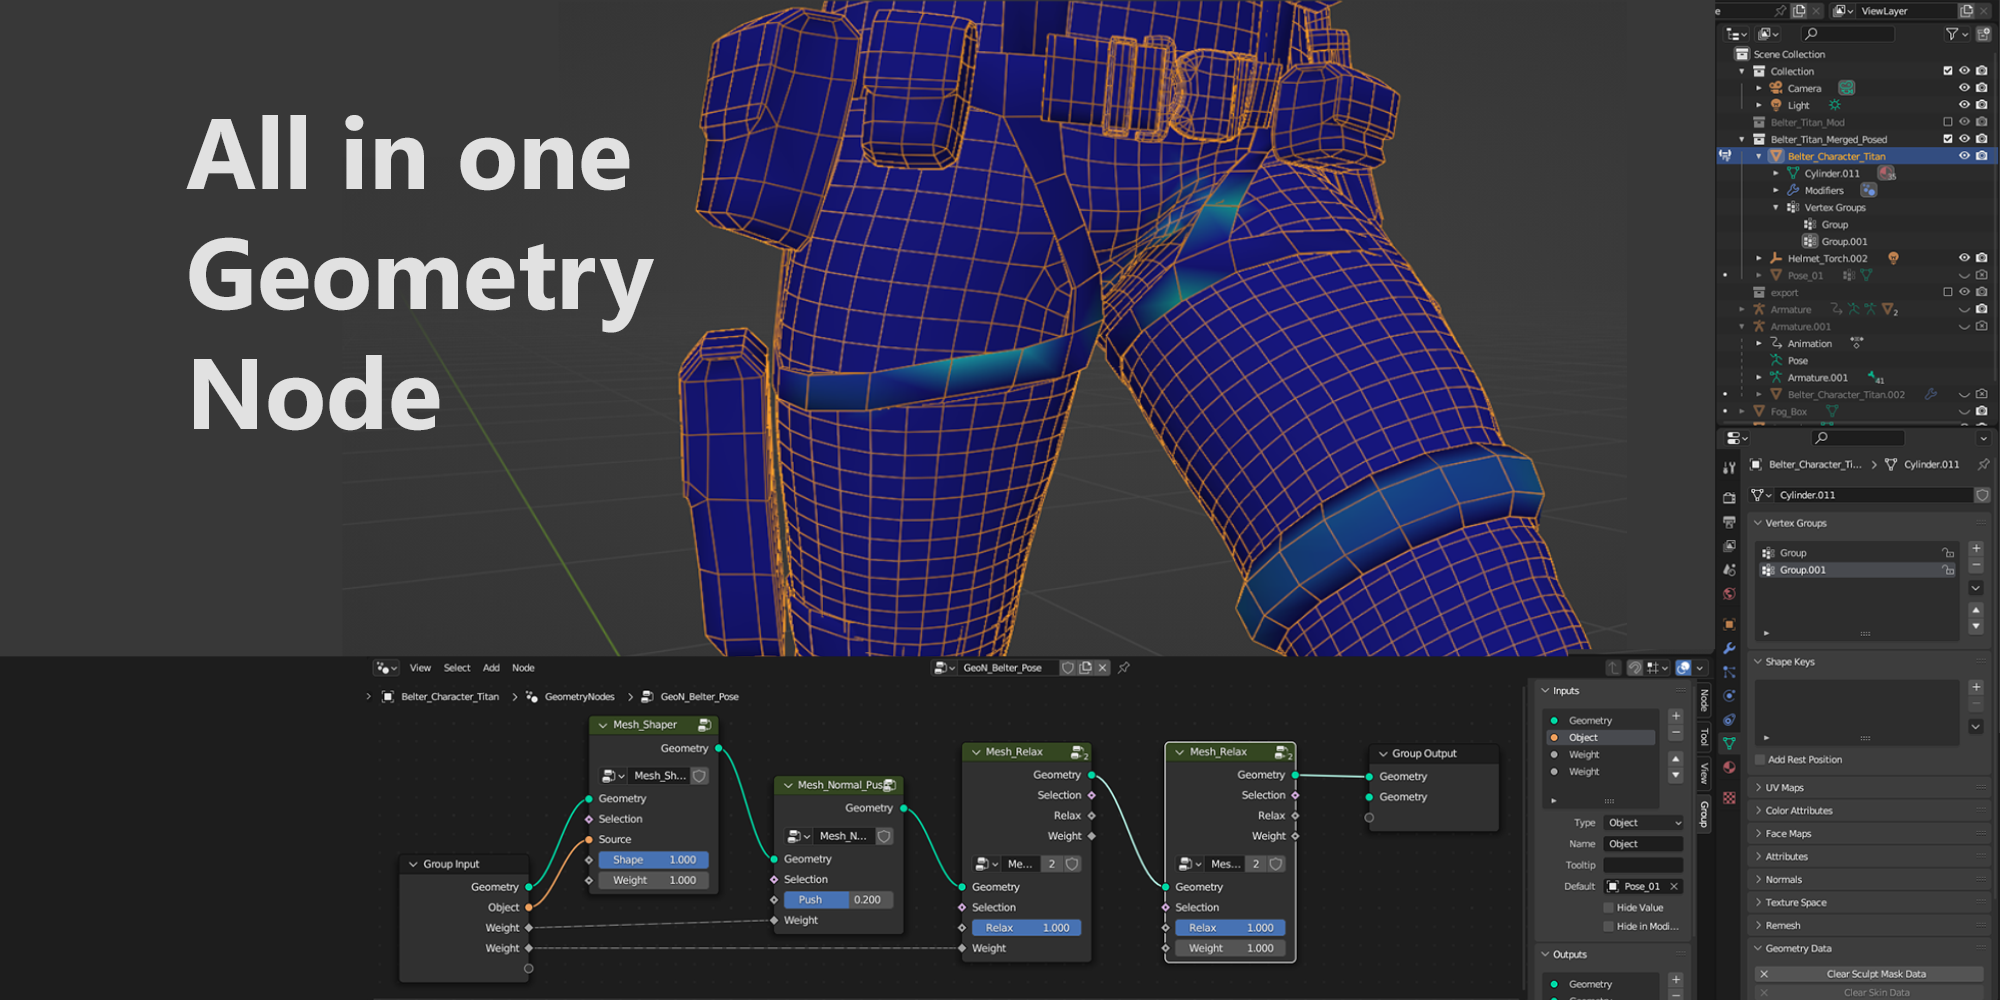
A set of deformers and fixing geometry nodes for 3.6 and beyond. They are non-destructive, fully editable and animatable nodes. They can be combined with weight maps on a relativly light single modifier. You can rebuild them to suit your needs as well.
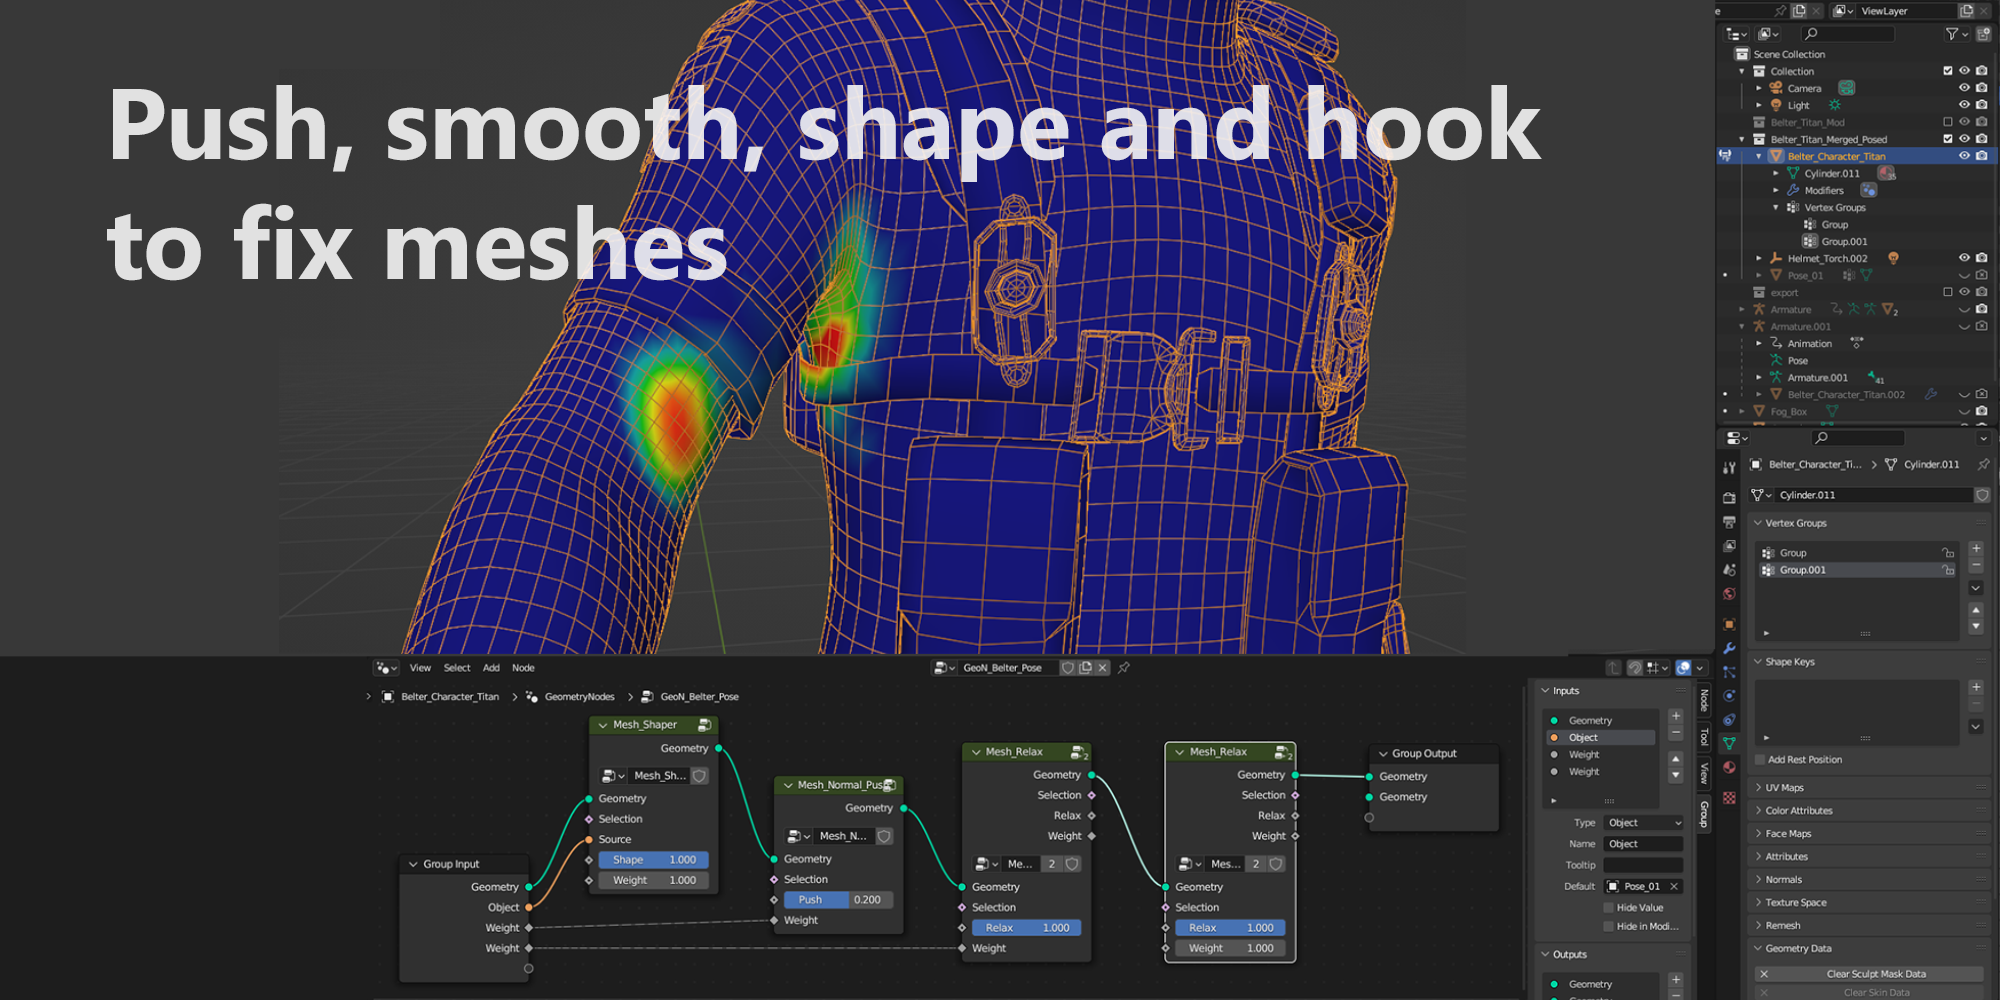
Inspired by my experience as cloth/FX artist on animated movies with Softimage and Maya, these tools allow a wide range of mesh fixing, animated or not.
When working on animated geometries involving several objects or heavy geometries, you may need these deformers to manage penetrations or overlappings. They will be especially usefull on animated characters to fix cloth, hair or self penetrations during simulations and fix deformation issues that always happen. They can either be set on a character model or used shot by shot between animation, simulation or rendering.
Or you can just use them as editable sculpt tools.
Summary
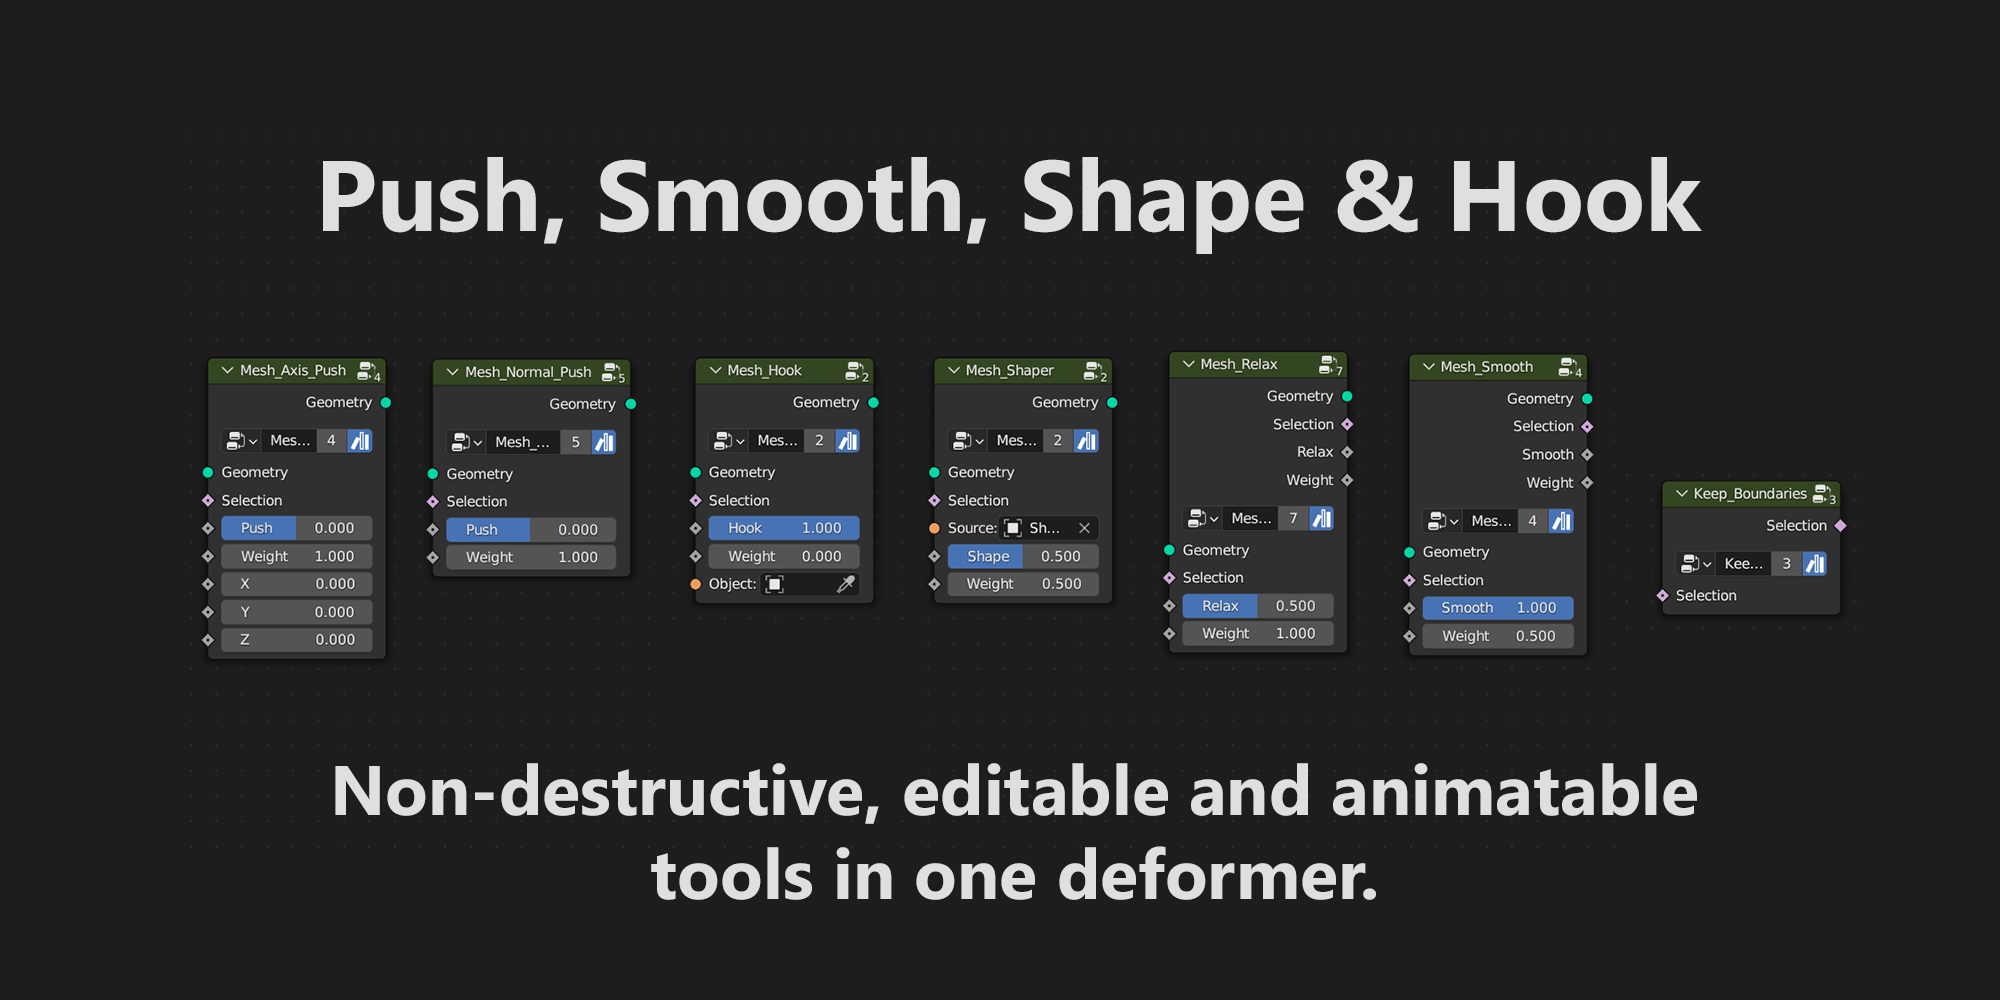
Push nodes:
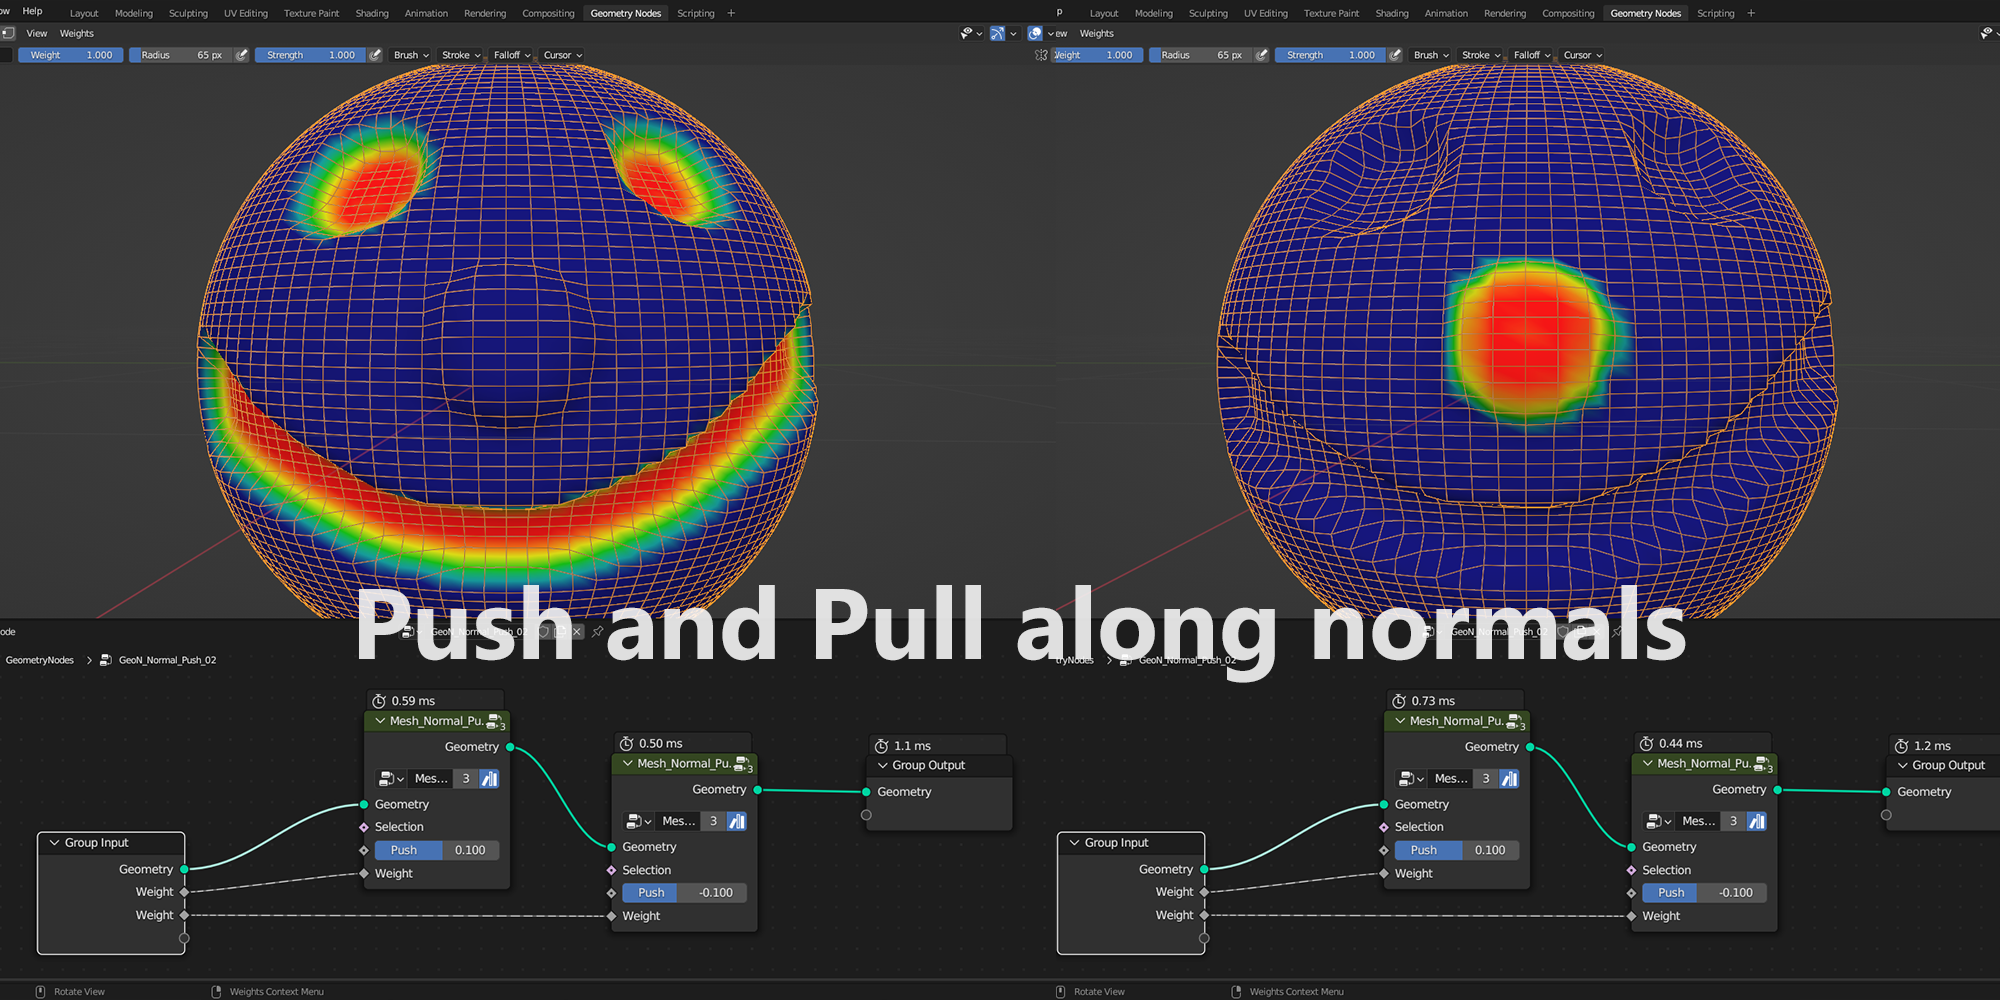
Mesh_Normals_Push
It will deform the mesh by Pushing \ Pulling points along their normals. The weigth input can be connected to a weight map.
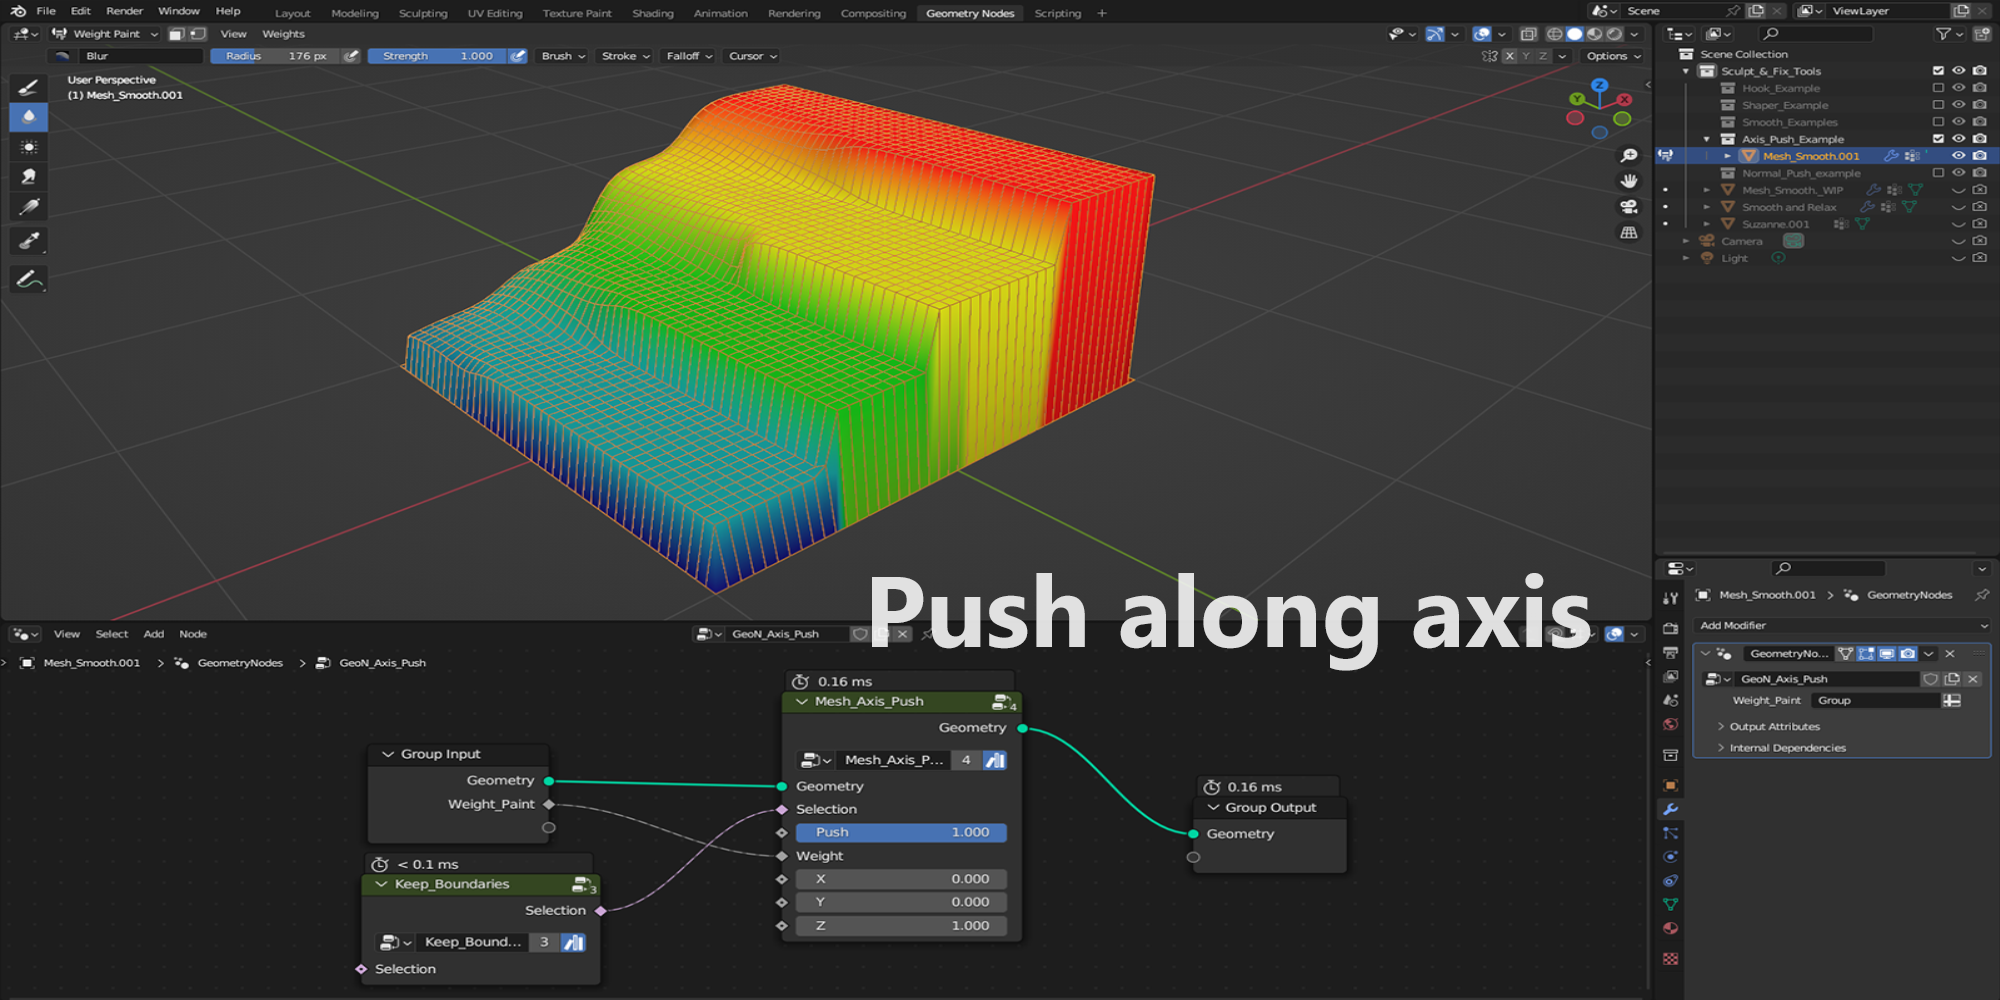
Mesh_Axis_Push
It will deform the mesh along a vector (default value is 0.0.0). Any vector can be set as input. The weigth input can be connected to a weight map.
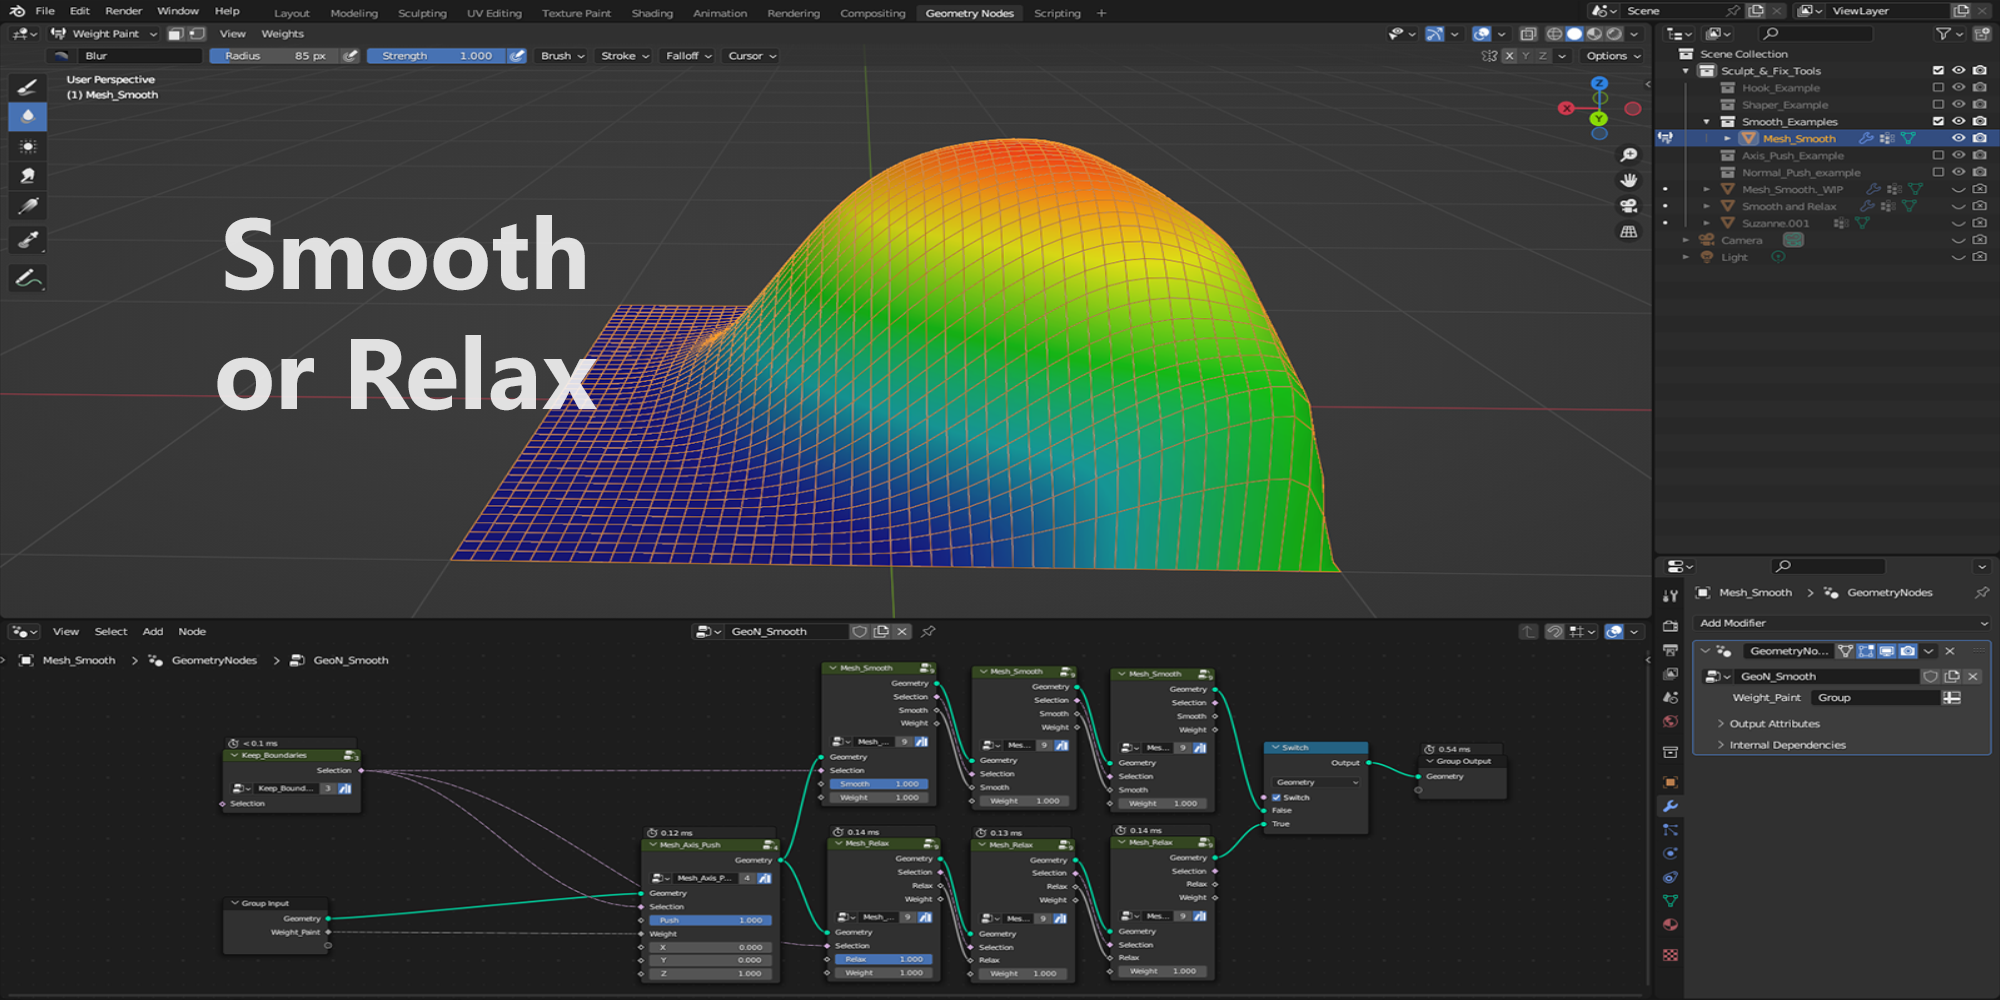
Smooth nodes):
Mesh_Smooth:
This node will smooth a mesh kinda like the deformer of the same name. The weigth input can be connected to a weight map.
Mesh_Relax:
This node gives a smoother mesh than the Mesh_Smooth, but the Keep_Boundaries node gives slightly less good results on boundary edges with it. The weigth input can be connected to a weight map.
Mesh_Blur:
A better overall smooth, based on the blur attribute node. It includes an iteration input, no more need to apply a smooth multiple times for a stronger effect.
Deformer nodes:
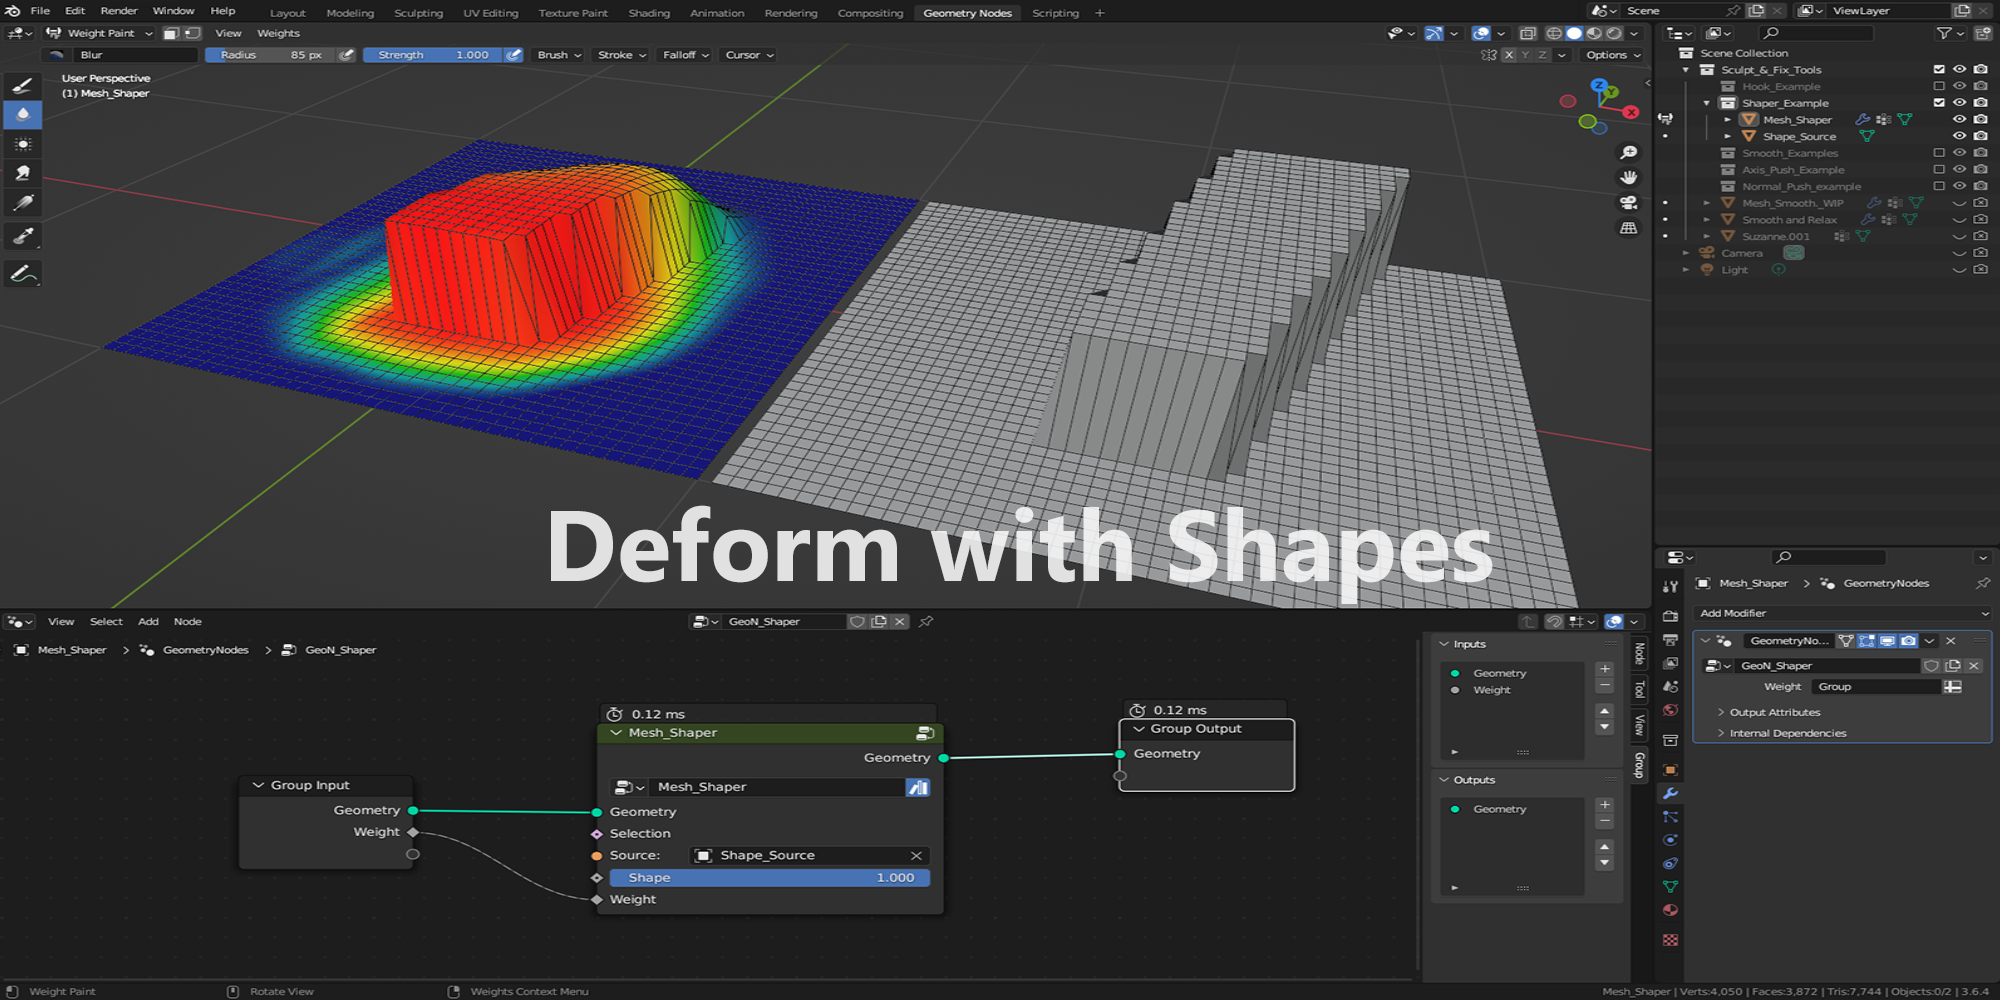
Mesh_Shaper:
Similar to Shape keys in effect. This node is driven by a source mesh (It must have the same number and order of points, basically a copy). The source mesh transforms have no effect, only the shape of points. The weigth input can be connected to a weight map.
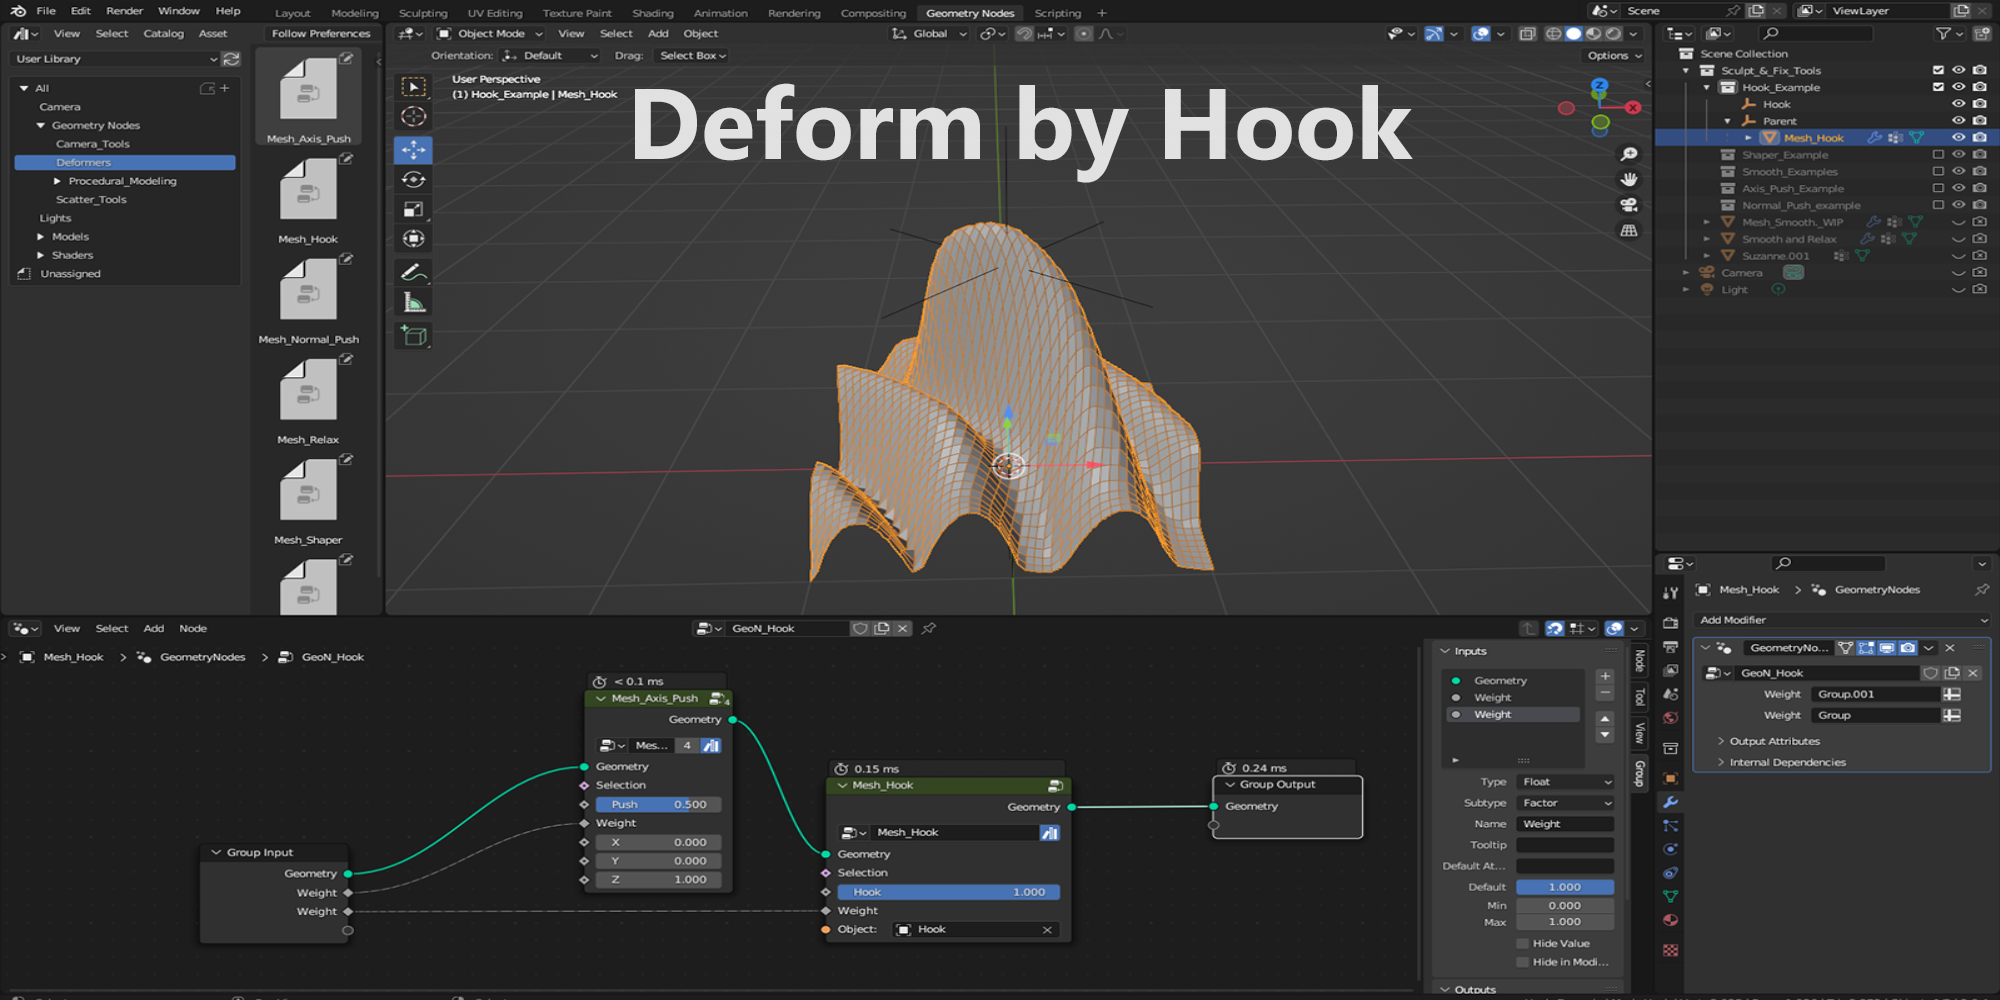
Mesh_Hook:
Similar to Blender's hook (or Maya's cluster). This old-school deformer makes points following the hook's (an empty idealy) relative position, rotation and scale, while the mesh is still driven by its parent or armature. The weigth input can be connected to a weight map.
other nodes:
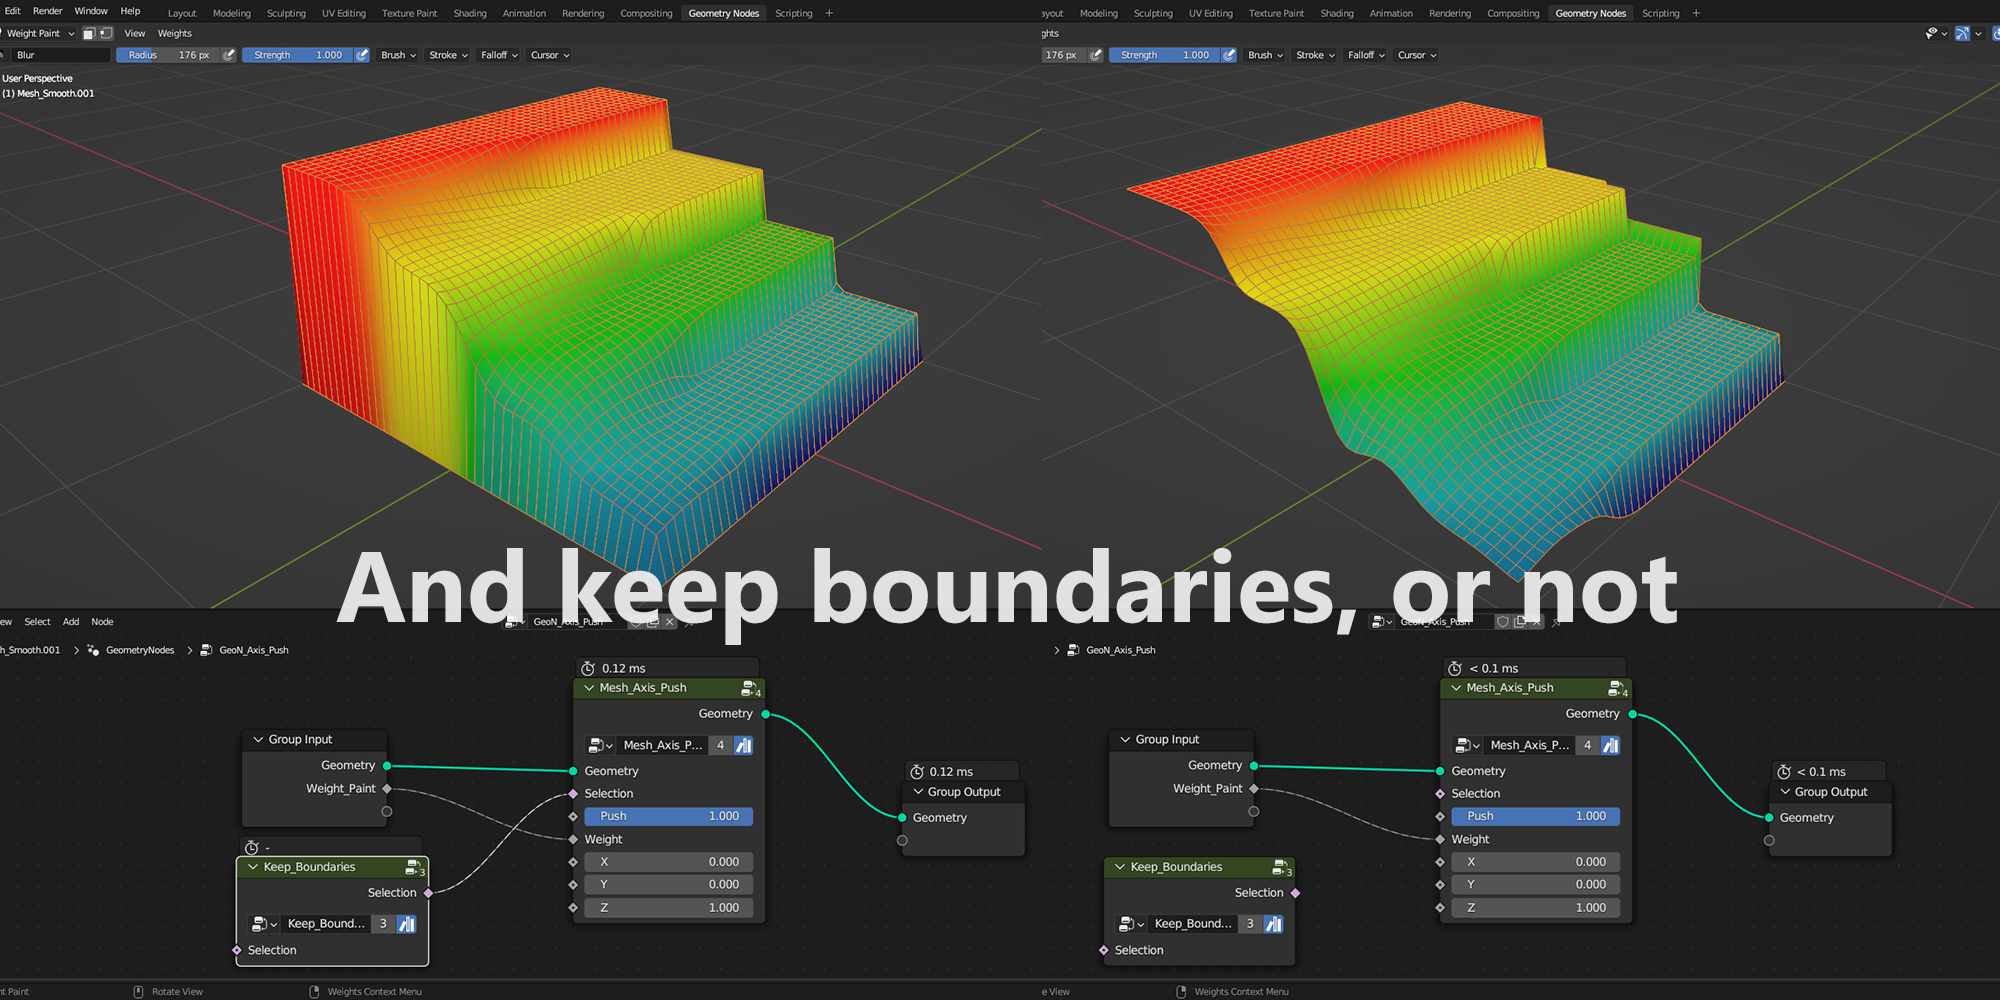
Keep_Boundaries:
boolean selection to add in the selection input if you want to keep them untouched by any deformer.
How to use it:
See the scene for examples. There are many ways to use and combine these nodes.
| Sales | 10 |
| Dev Fund Contributor | |
| Published | 11 months ago |
| Blender Version | 3.6 |
| License | Editorial |
Have questions before purchasing?
Contact the Creator with your questions right now.
Login to Message