The complete game asset workflow, start to finish.
Video games require hundreds and sometimes even thousands of digital props to populate their worlds. While the methods may vary between artists on how those props are created, there are similar stages that each one will go through to create the beautiful art that exist in your favorite games.
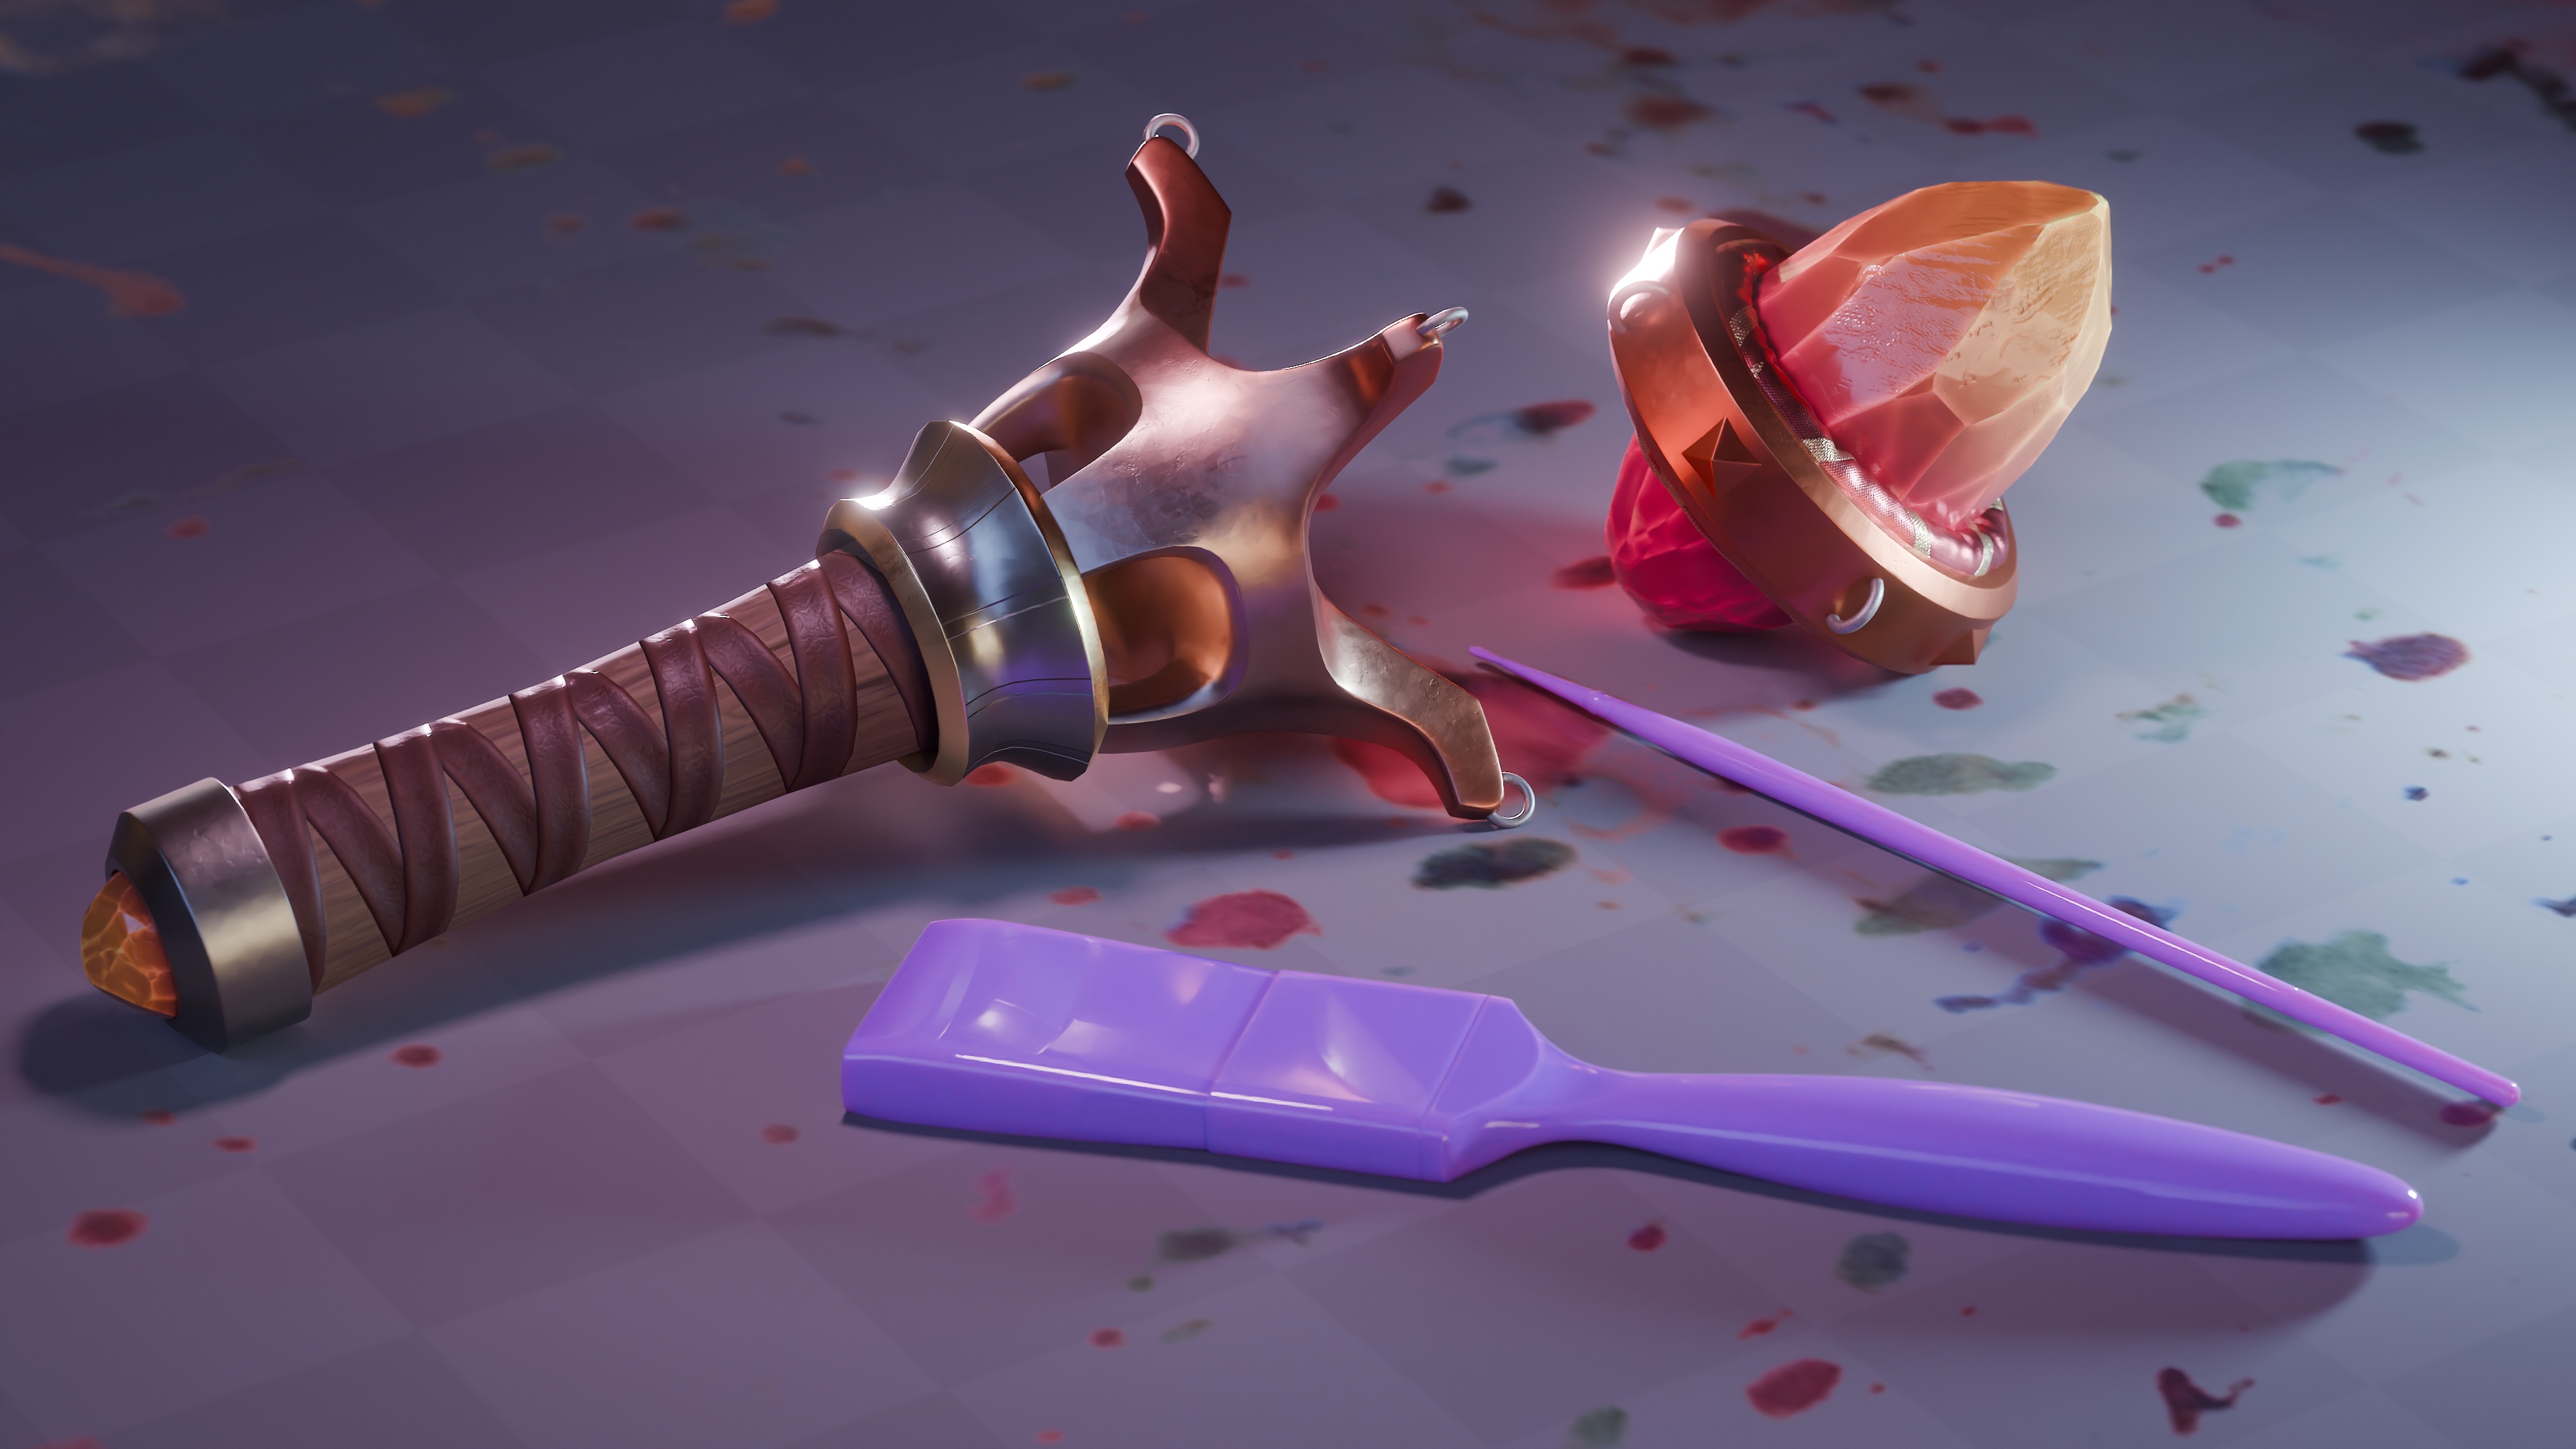
RELIC explores the typical game-asset workflow, from working off of a concept sheet to rendering out a fully realized game asset, and all of the steps in between. We will cover all of the critical topics that surround prop creation, from modeling and sculpting, retopology, UVs, texturing and finally materials and rendering.
Bonus: Get InstaMAT Pro License (Paid Annually) - 1st Year Free with a purchase of this course.
What you'll learn
Chapter 01 & 02 - Modeling
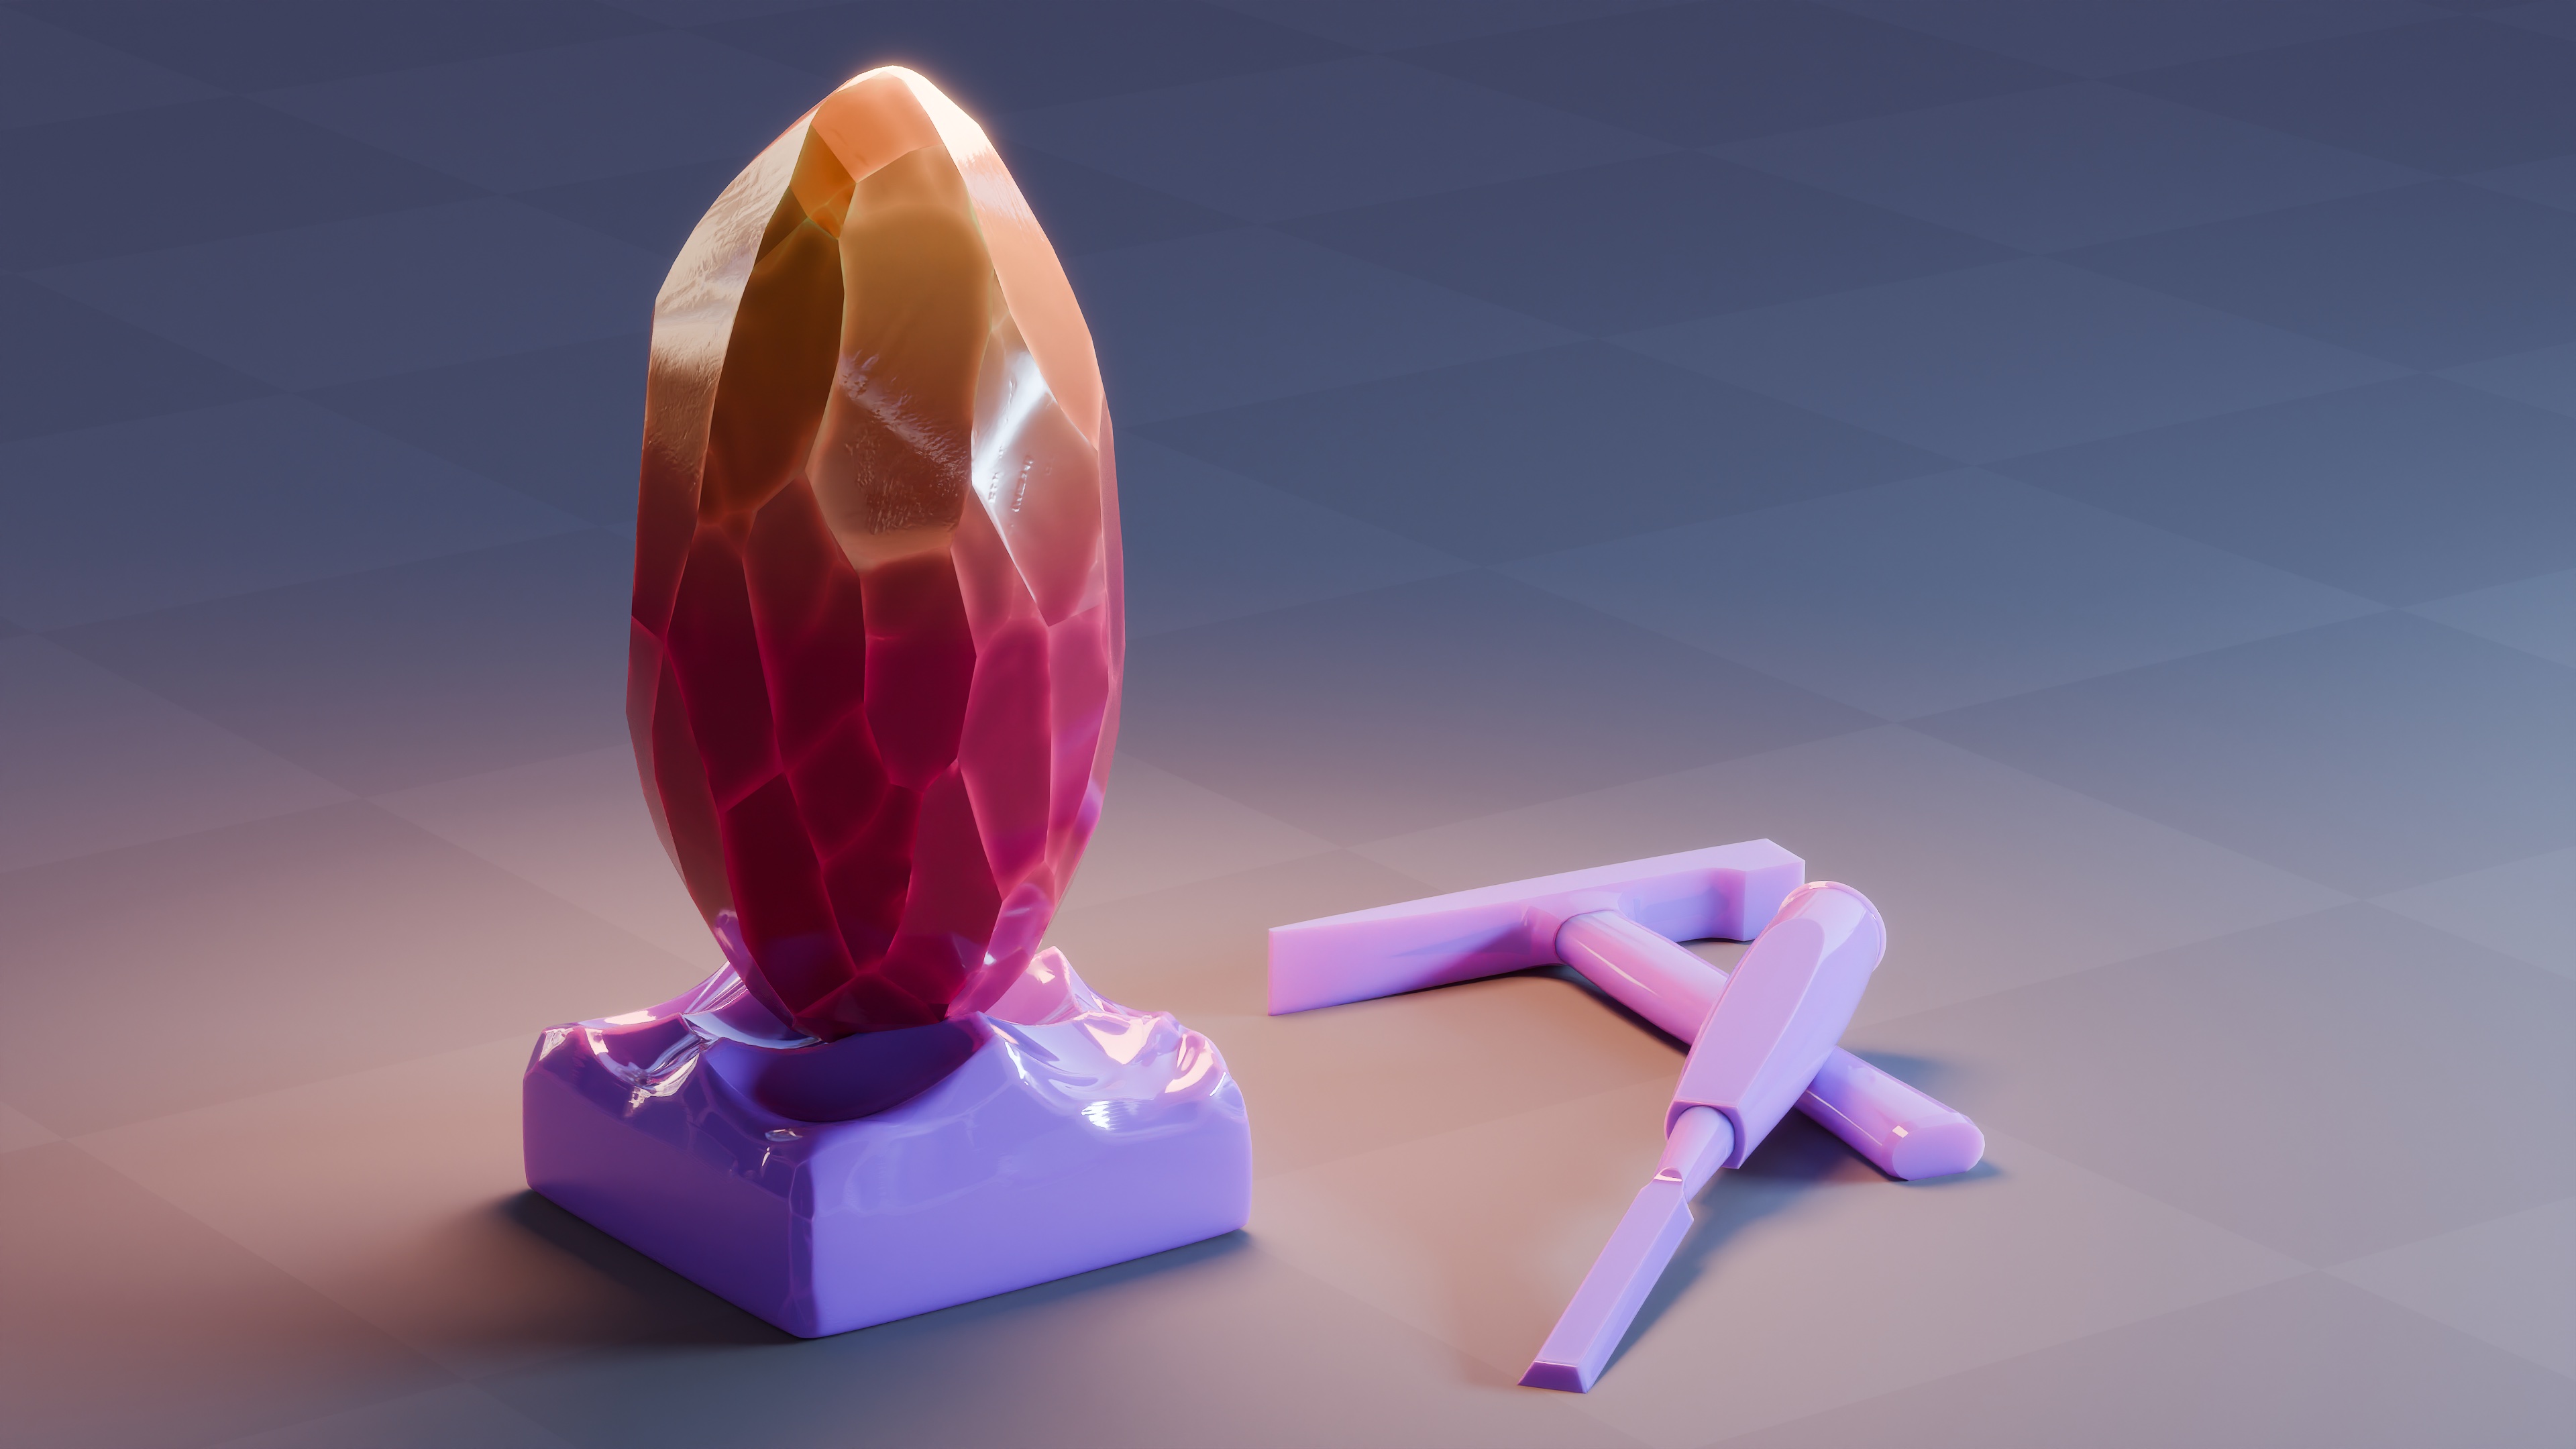
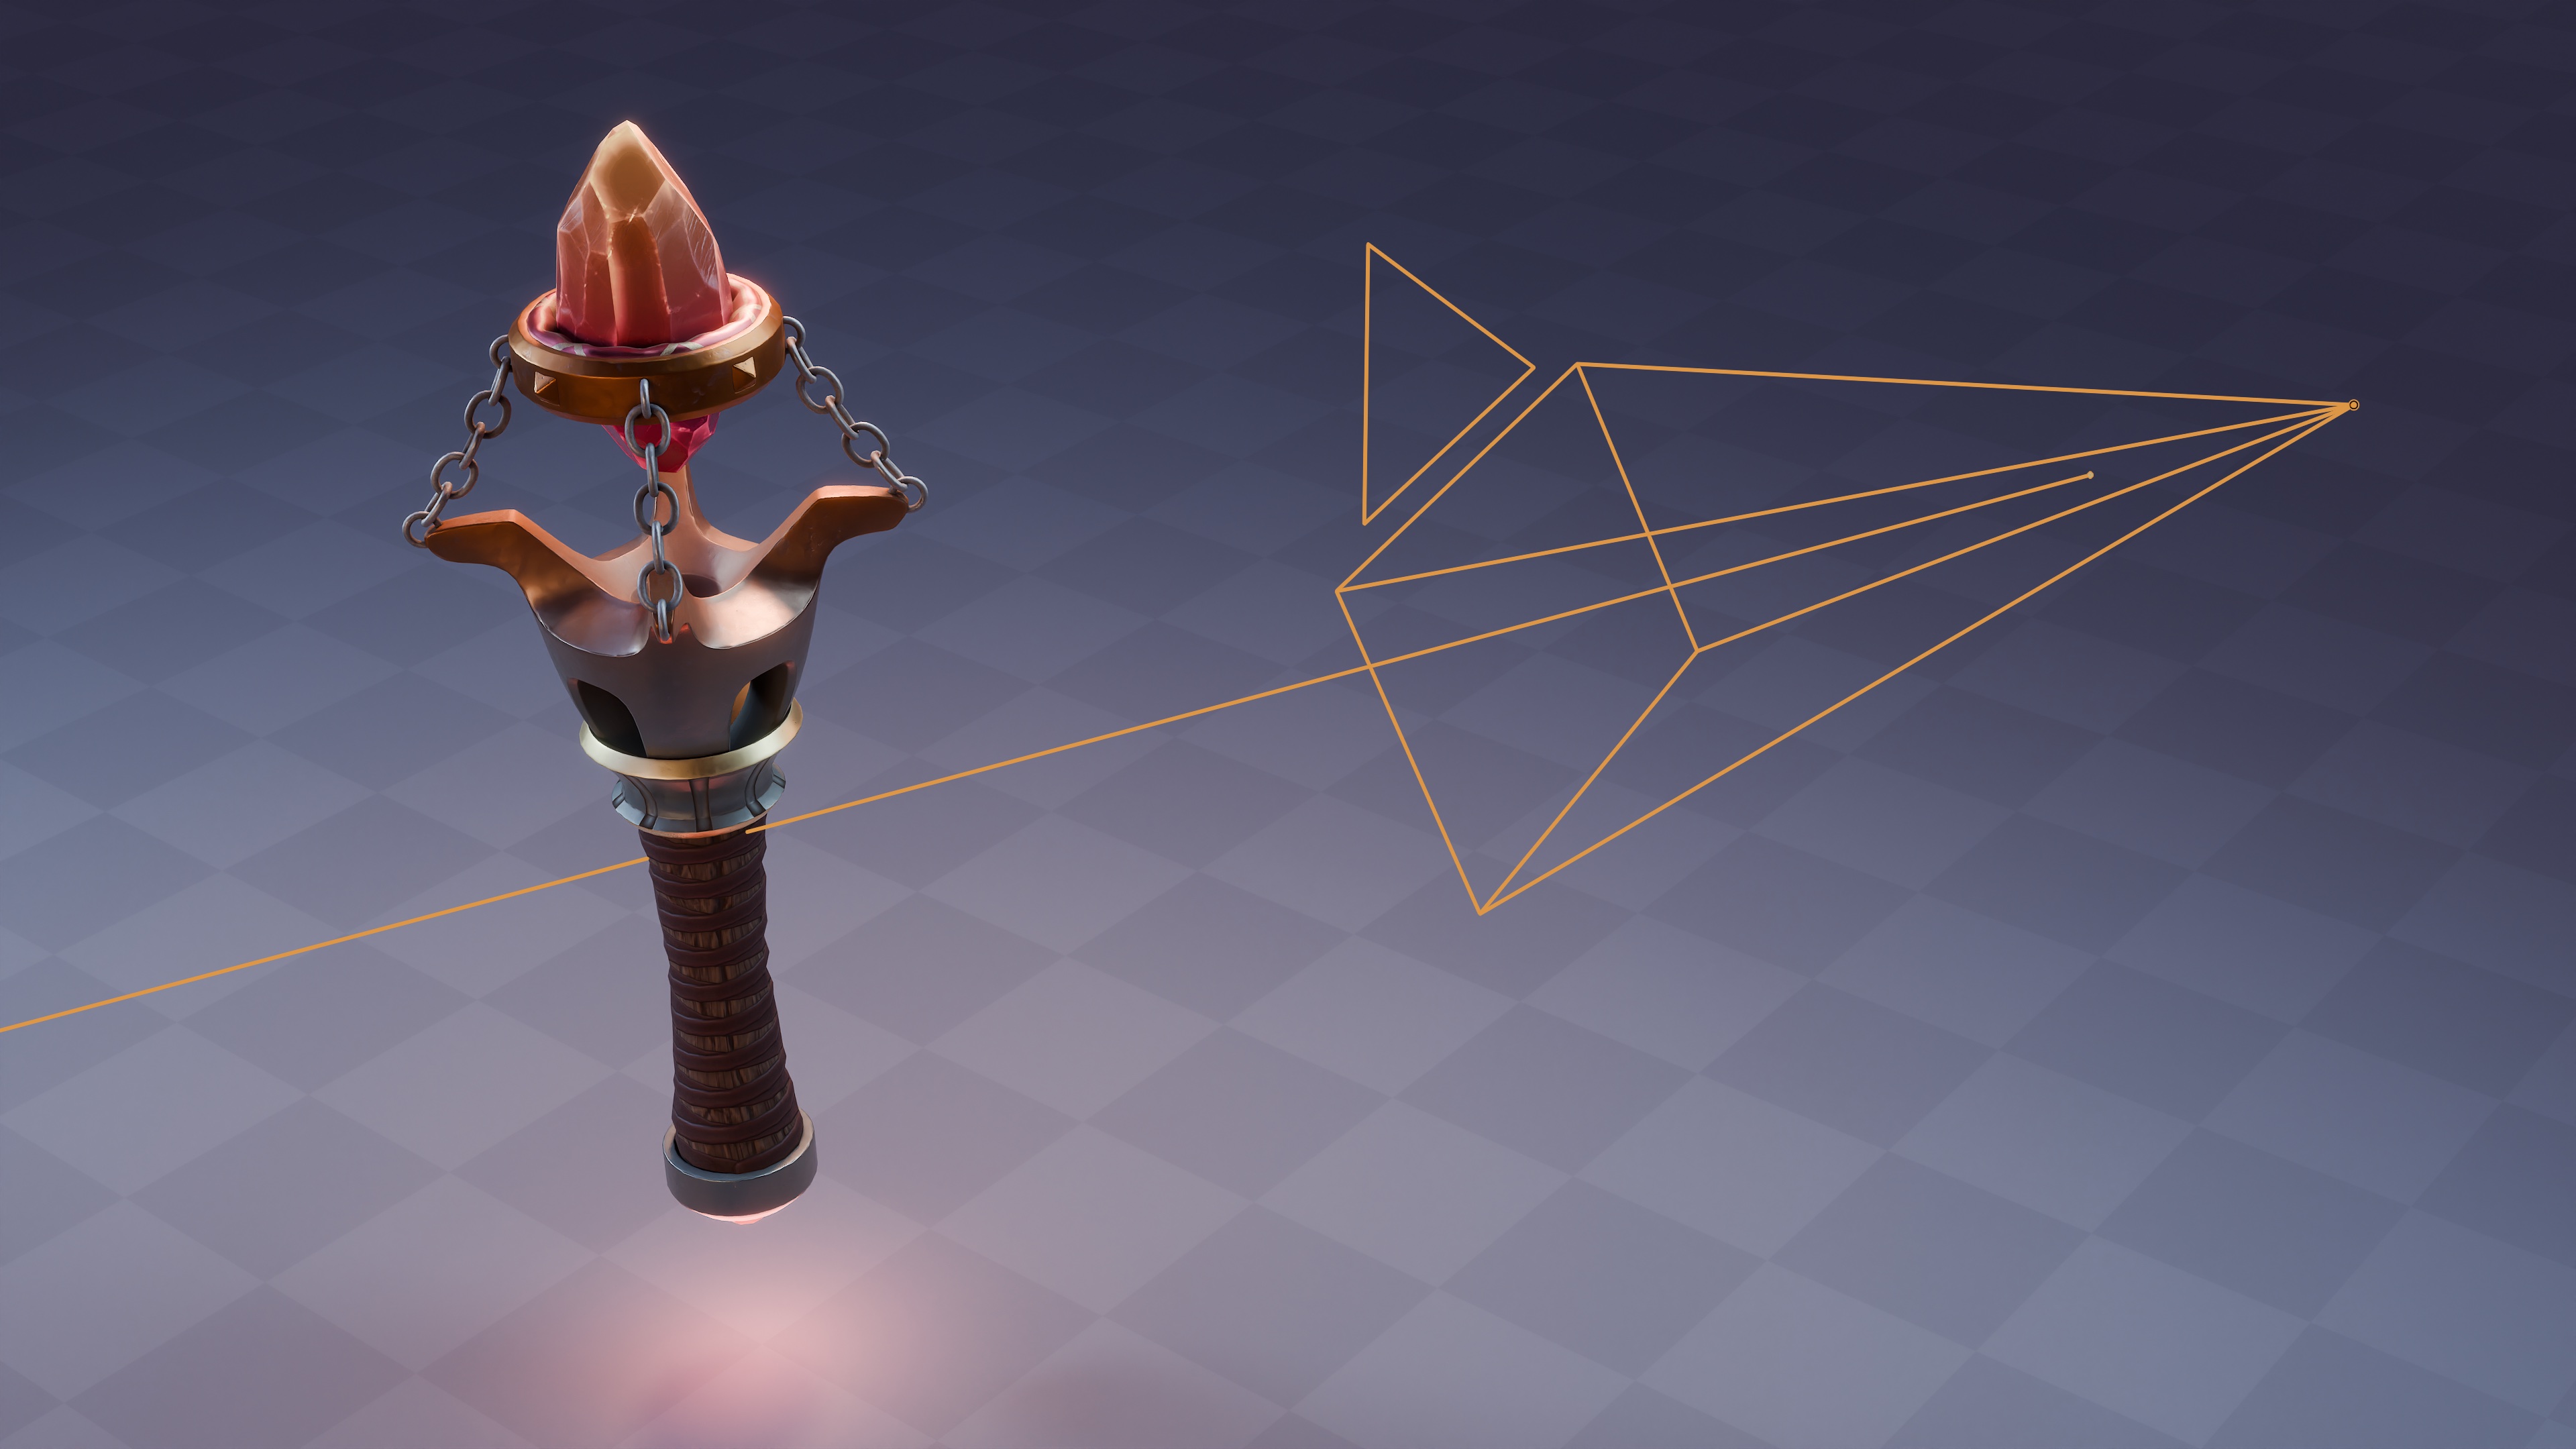
We'll start by creating the "high-poly" version of our model, taking the time to model out the important details that will increase the realism and believability of our asset. This is where we get to focus exclusively on making the model as high quality as possible, using procedural modeling and sculpting.
Chapter 03 - Mid-Poly Pass
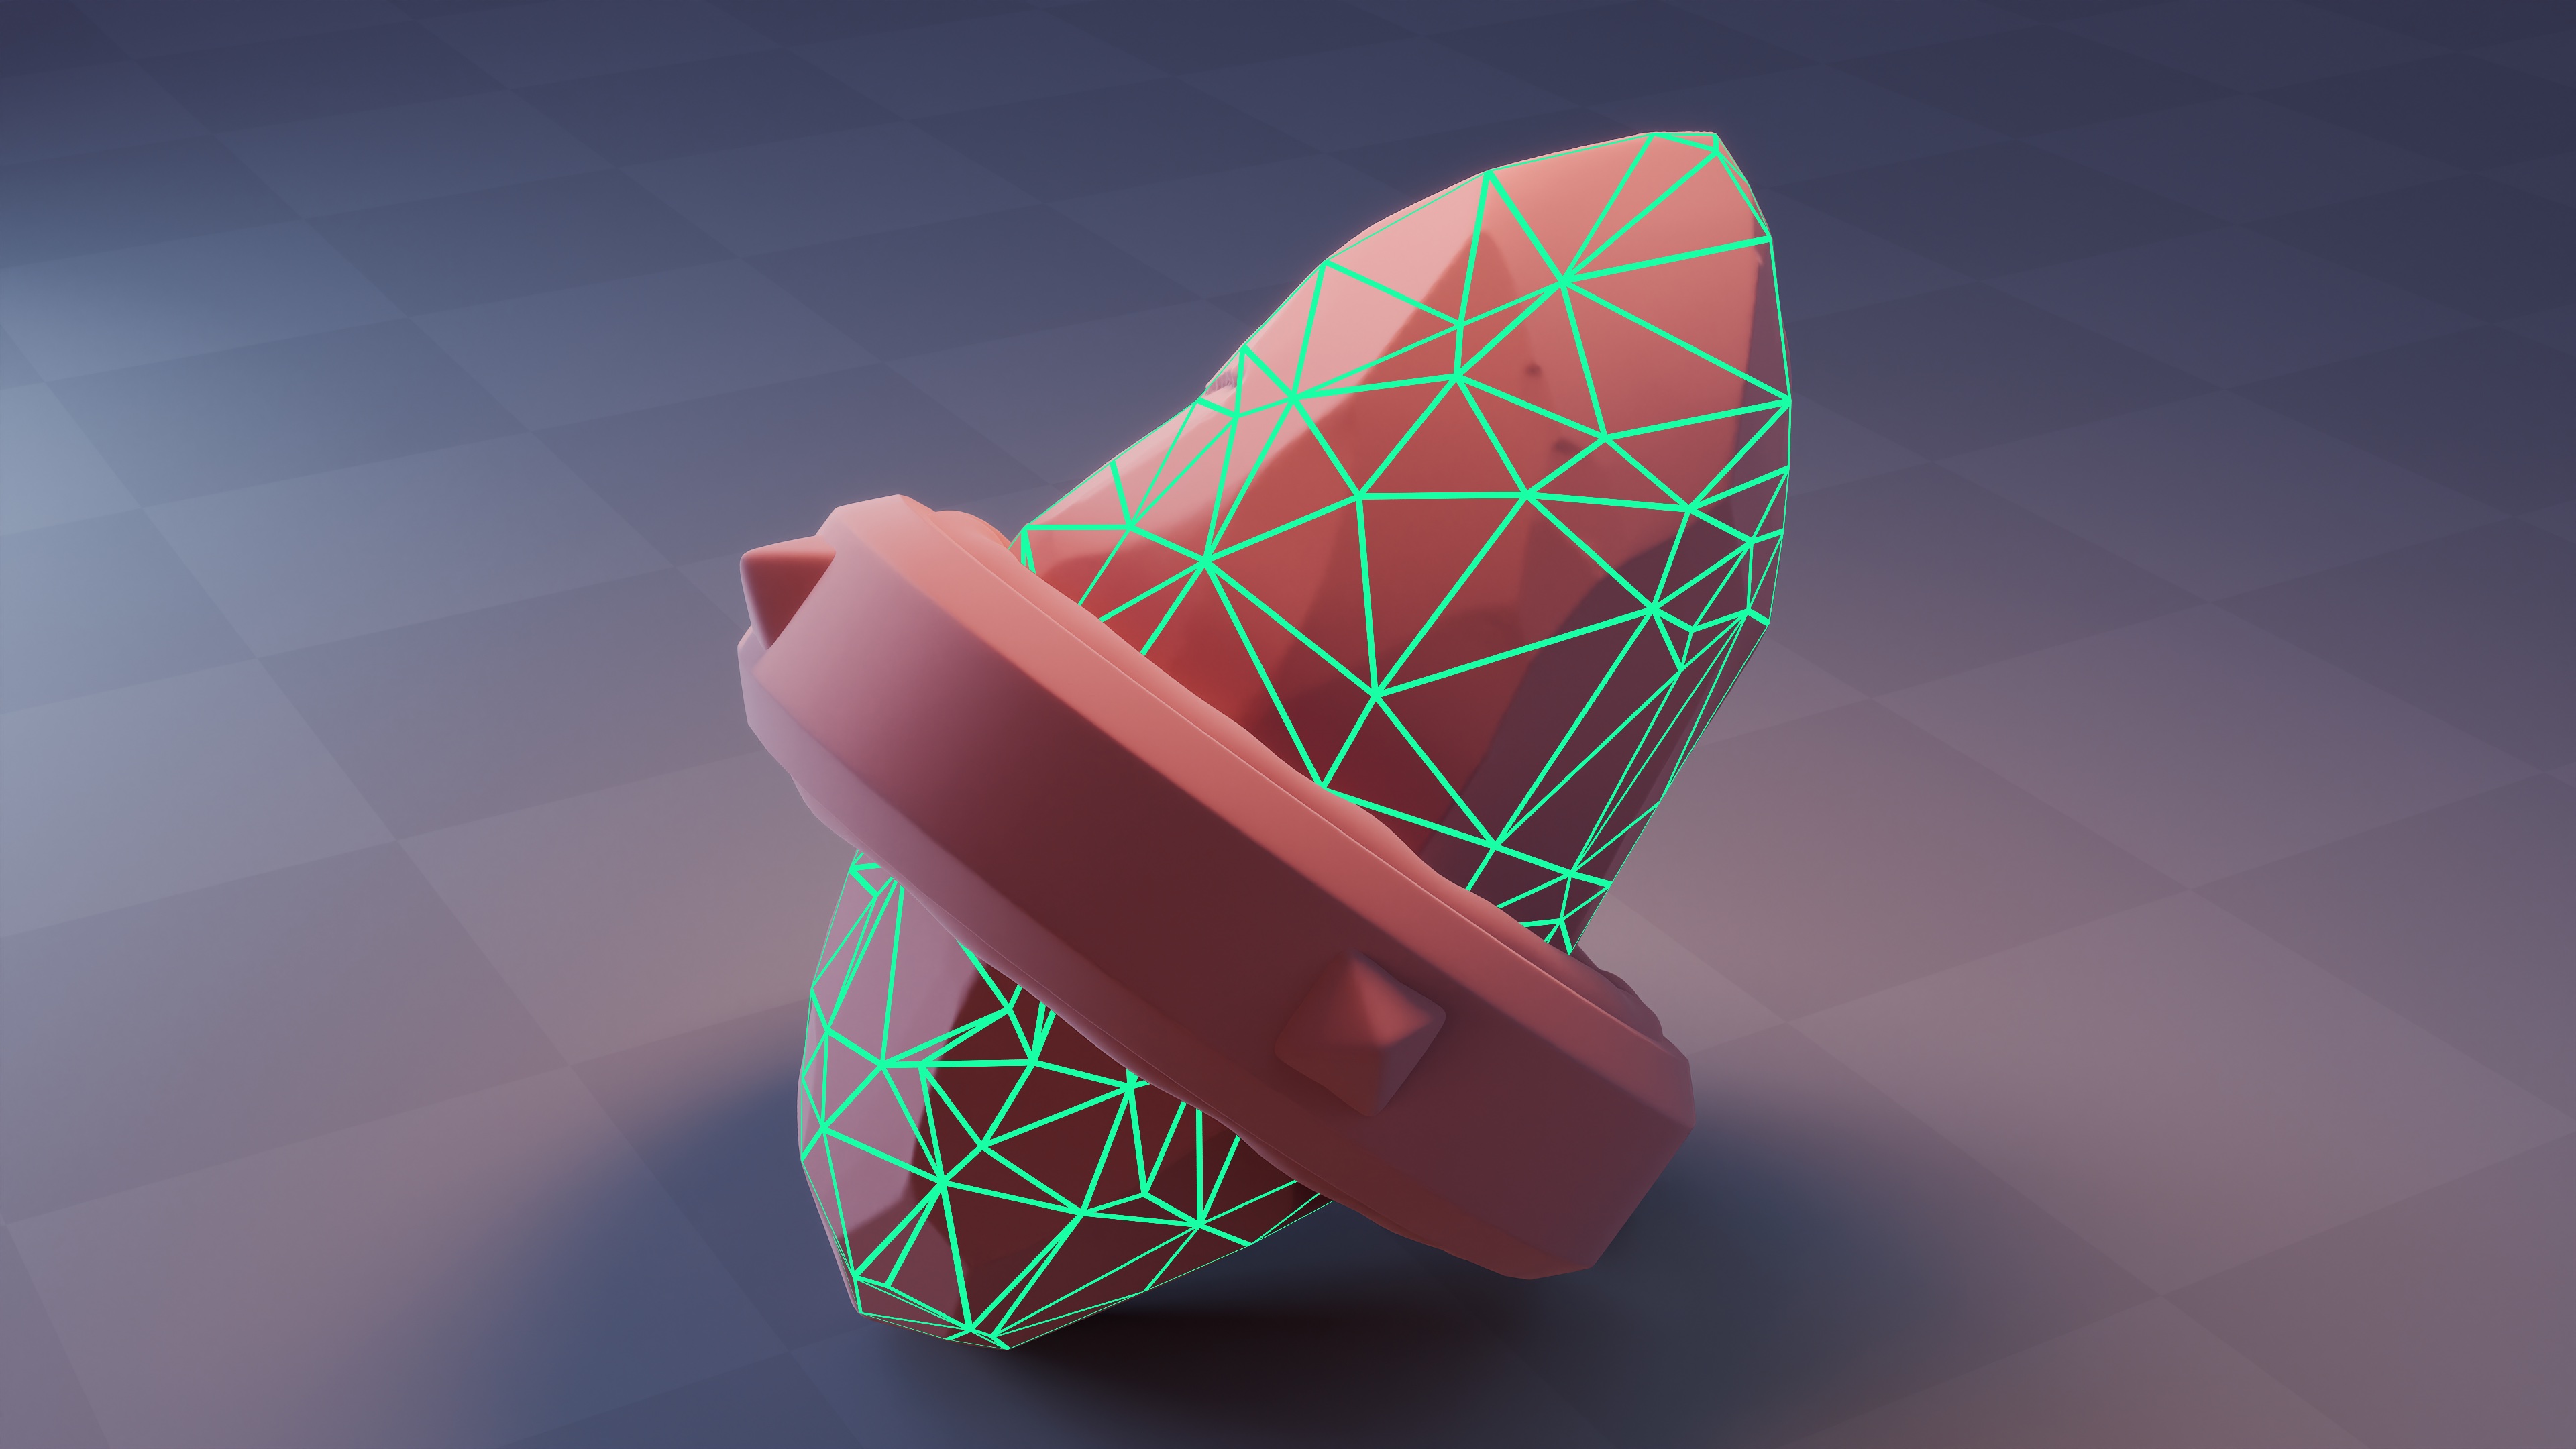
Once the high-poly has been made, we will begin retopologizing a separate version of our model to lower the polygon-count so that we can begin the texturing process. Throughout this process we will cover various ways that you could retopologize your model so that you are equipped with a wide array of techniques to handle any game asset that you set out to create.
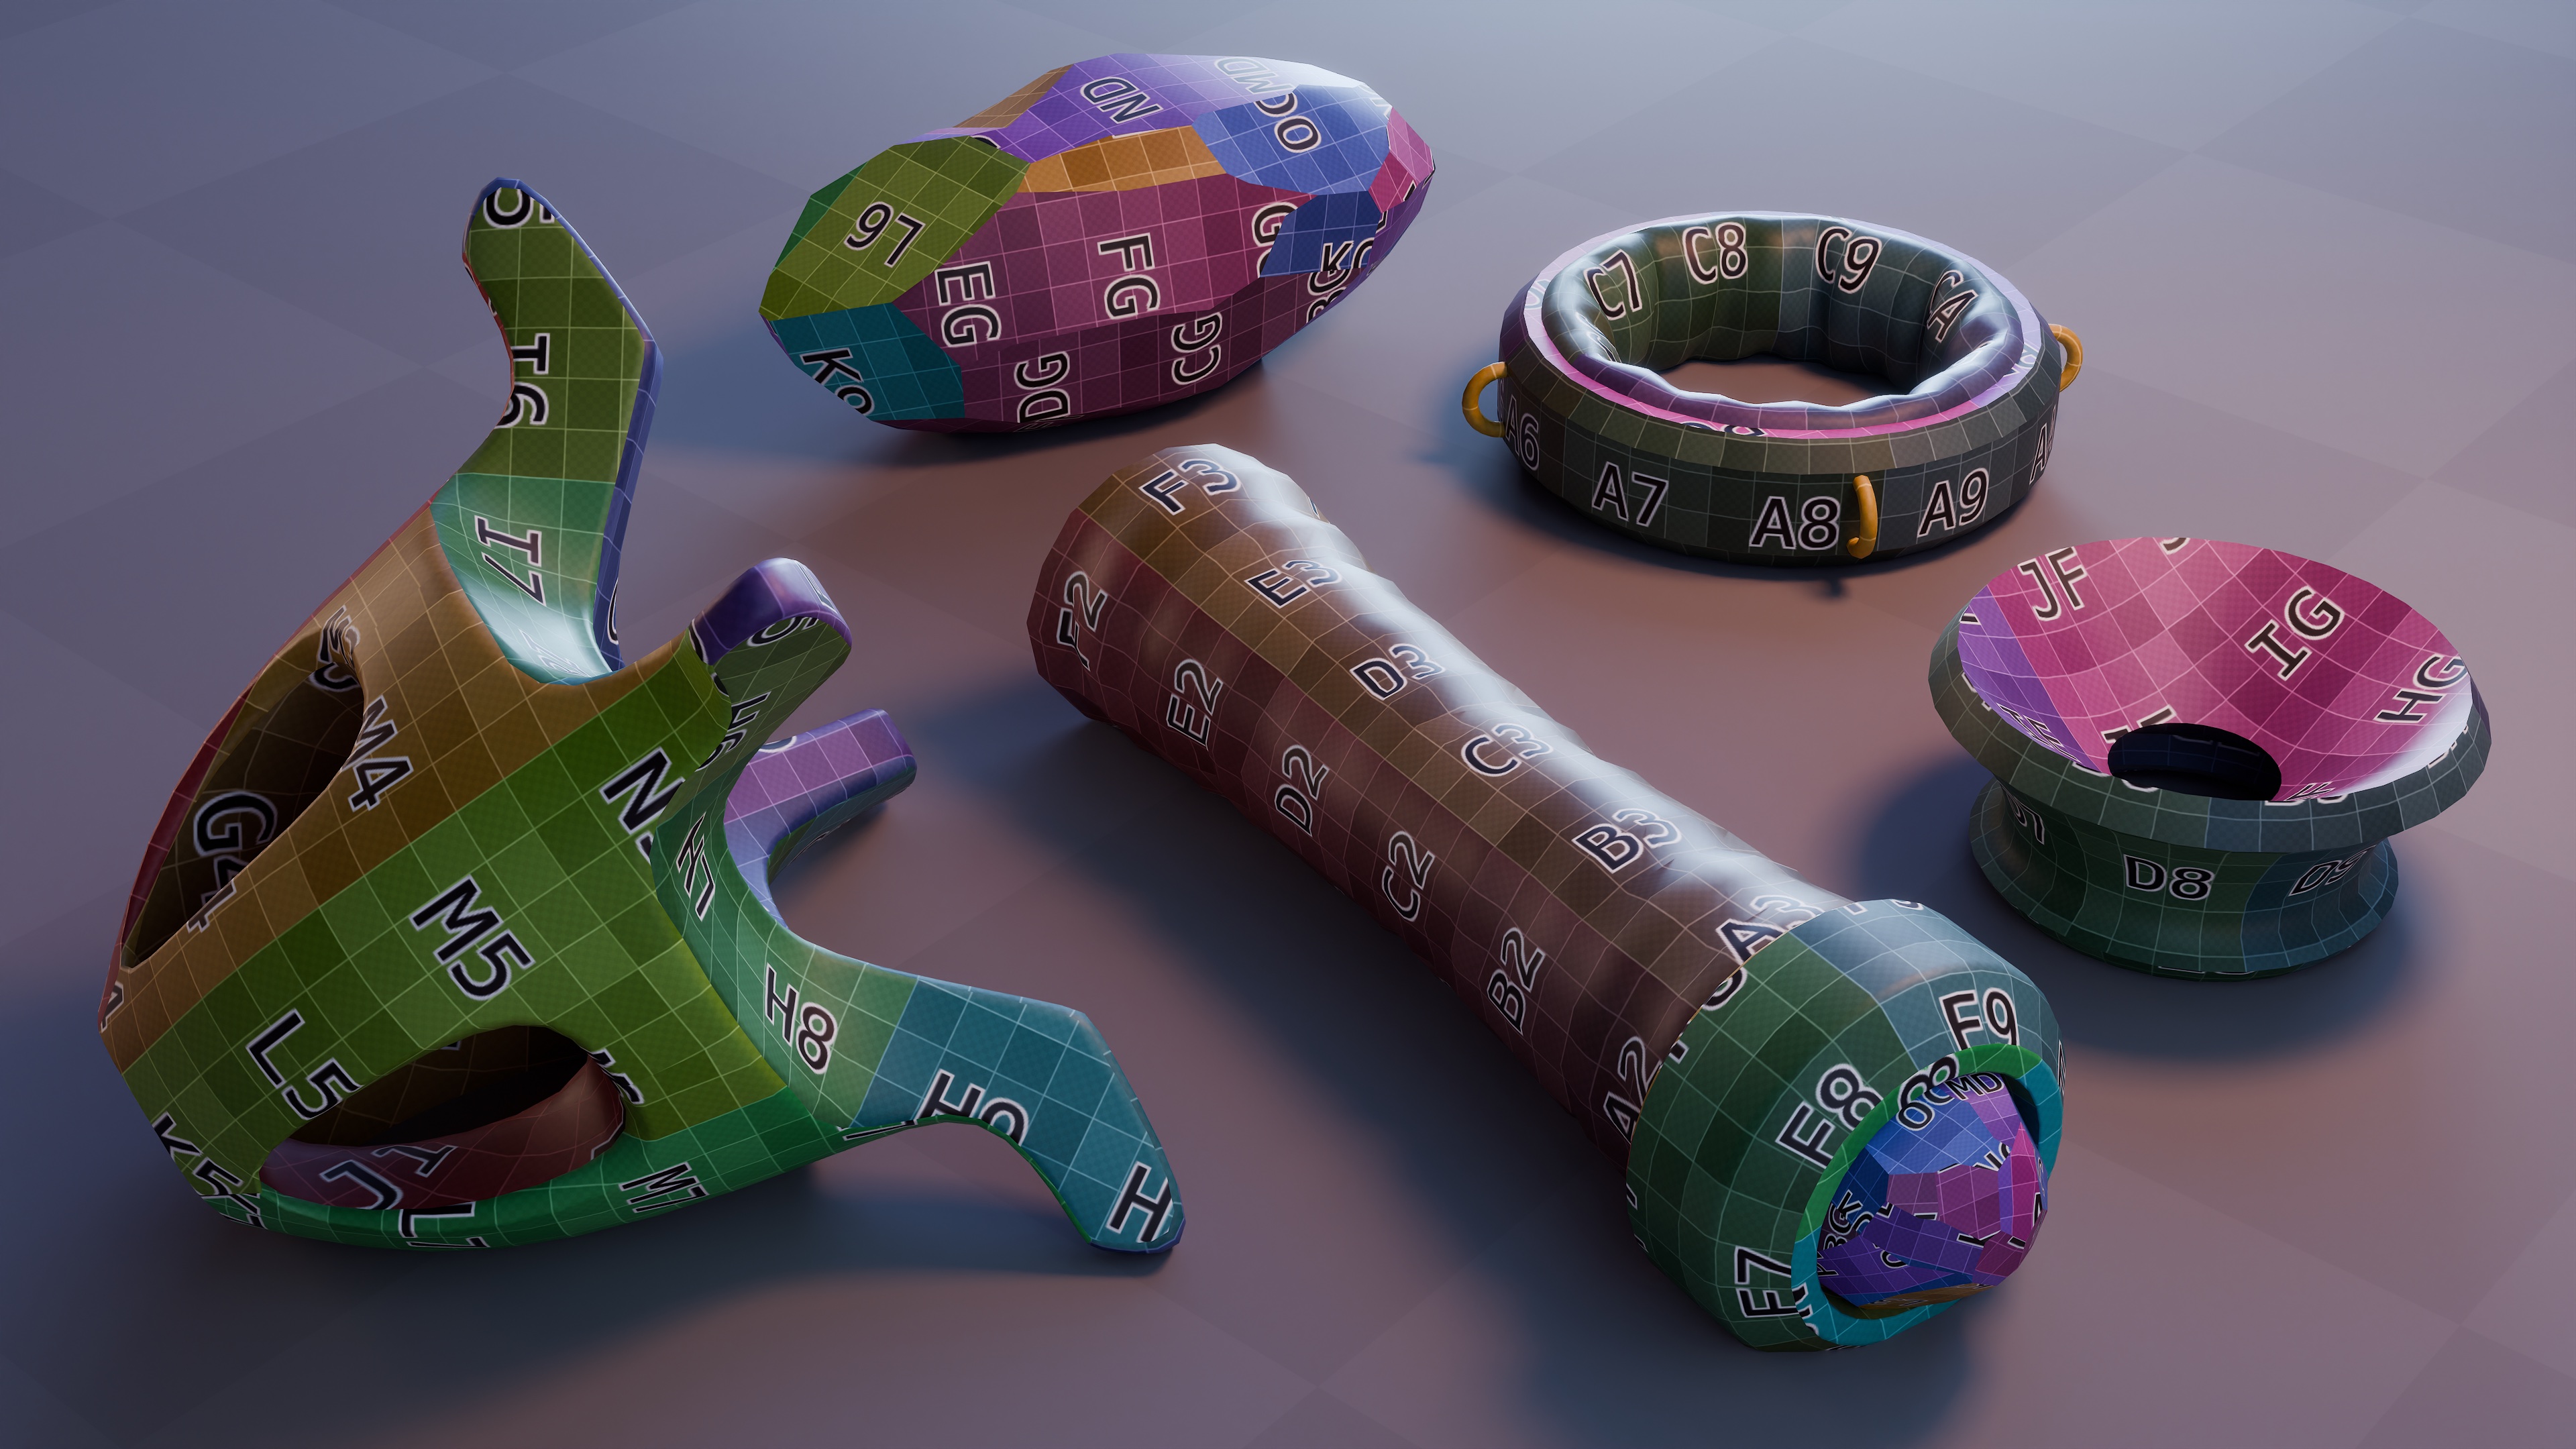
Chapter 04 - Model Preparation
Before we can bring our models into InstaMAT for texturing, we need to make sure they are properly prepped for transport and displaying textures. This chapter will cover how we can ensure the best possible bakes onto our mid-poly model by improving the model's normal shading properties. Over the remaining lessons, we will also explore the world of UVs and discover that they aren't all that scary once you get the hang of them. By the end of this chapter, our model will be ready to ship off to InstaMAT and begin the texturing process where we can start to bring some life into our model!
Chapter 05 - Texturing
A big part of the feeling game assets evoke is from their "textures". This chapter focuses on creating stunning textures using InstaMAT. First we need to extract the high-quality features from our high-poly model and bake those into textures, which will allow us to quickly jump into adding more character to our game model. By the end of this chapter, our asset will be completely textured and ready to capture some renders.
Chapter 06 - Renders
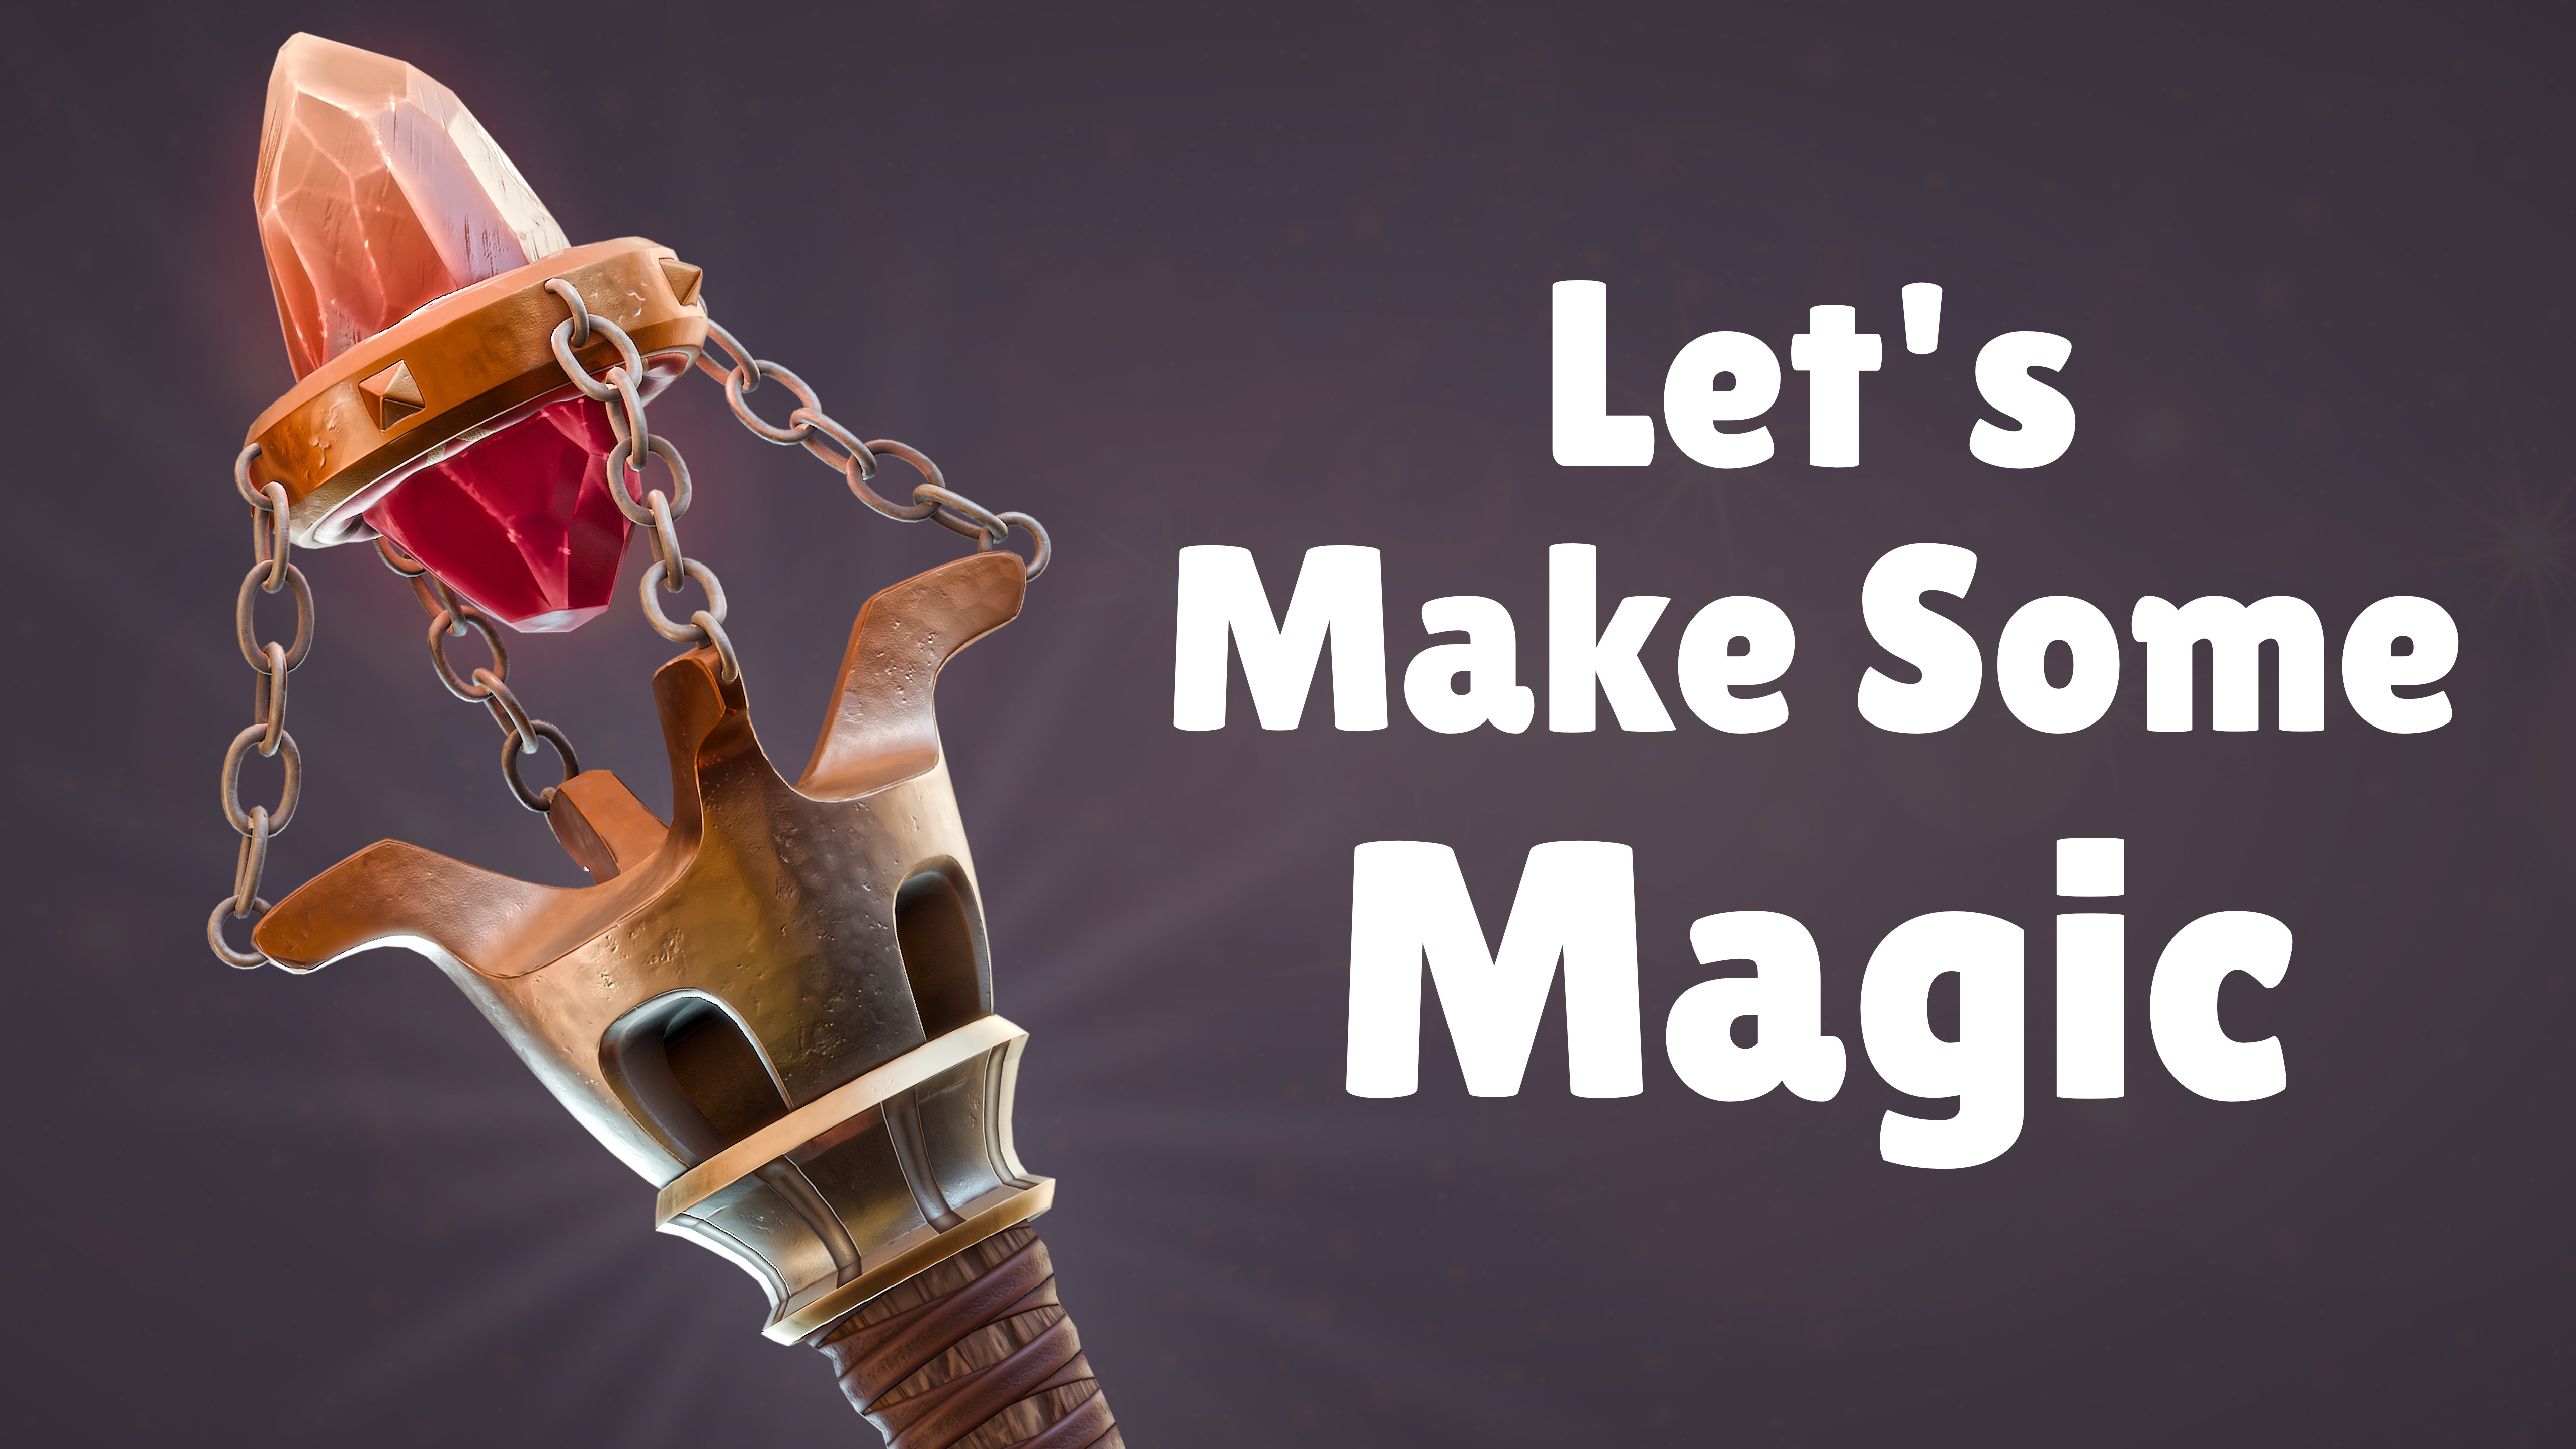
Now that our model has gone through the complete development pipeline, we now get to show it off! To close out the course, we cover setting up our material in Blender and rendering out quality portfolio shots that we could use to show off our work to friends or potential employers.
Get ready to make some magic in Blender!
What people are saying
⭐️⭐️⭐️⭐️⭐️ "I really enjoyed watching it and now I have a better knowledge of UV unwraping, texturing and modeling. Thank you for this beautiful course!"
Want more CG Cookie Courses?
If you get inspired and would like to become a CG Cookie member after purchasing this course, send a message to support@cgcookie.com and we will be happy to help you set up an annual membership while discounting the amount you paid for this course on Blender Market. A membership will give you access to our instructors, our community and 100+ CG Cookie Blender courses. Be sure to mention your Blender Market Order ID and we will take it from there.
For more information, visit cgcookie.com or head over to our Creator Profile here on Blender Market.