Quicklapse Recorder
Quicklapse Lite
From the developer of Maharlika Mobile, now bringing powerful tools to Blender to support our community, Quicklapse Lite transforms your workflow with ease. Capture seamless timelapses of your 3D scenes effortlessly, whether you're creating animations or documenting your design process.
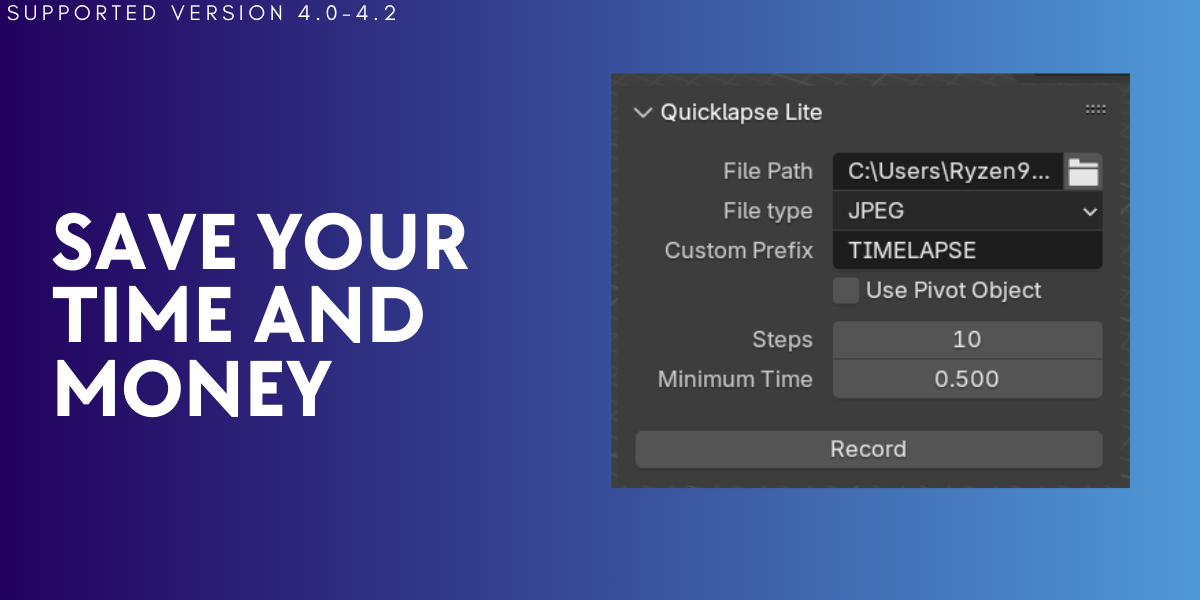
Say goodbye to the cumbersome and memory-intensive process of using external screen recording software! With Quicklapse Lite, you no longer need to rely on screen recording apps that consume large amounts of memory, create huge file sizes, and are time-consuming. This add-on integrates directly into Blender, providing a streamlined solution for capturing timelapses without the hassle.
Key Features:
- Effortless Screenshot Capture: Automatically take screenshots at regular intervals, perfect for creating timelapse sequences with minimal effort.
- Customizable File Naming: Add a personal touch with custom prefixes for your screenshots, ensuring organized and professional results.
- Pivot Object Support: Rotate a pivot object with each screenshot to add dynamic movement and variation to your timelapses.
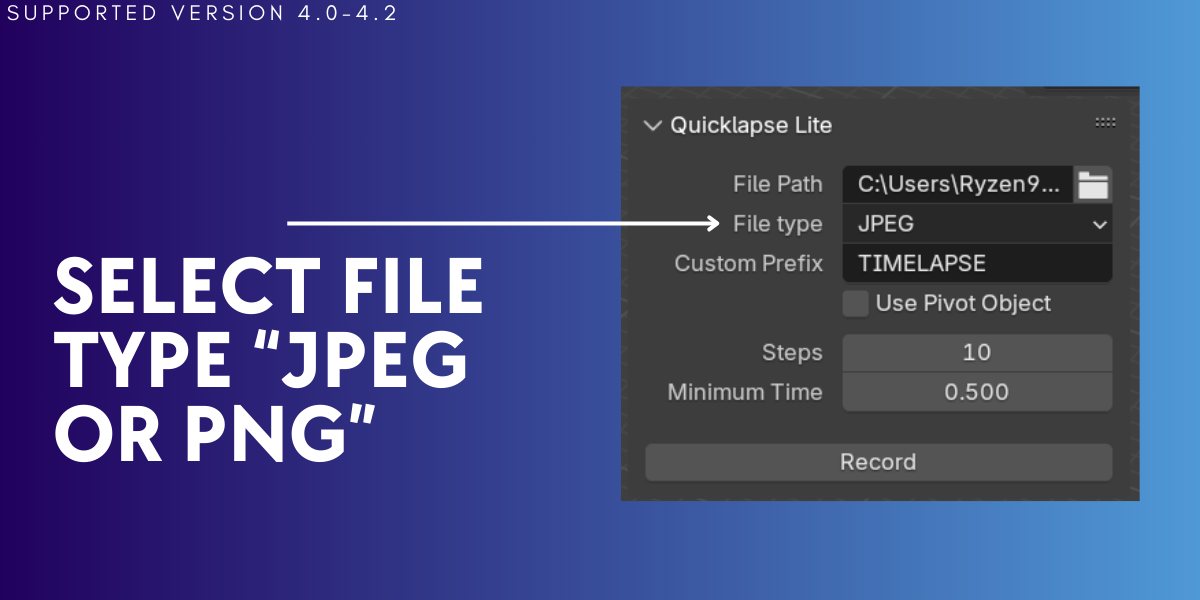
- Flexible Settings: Adjust action steps, minimum time between screenshots, and file types (JPEG or PNG) to suit your project needs.
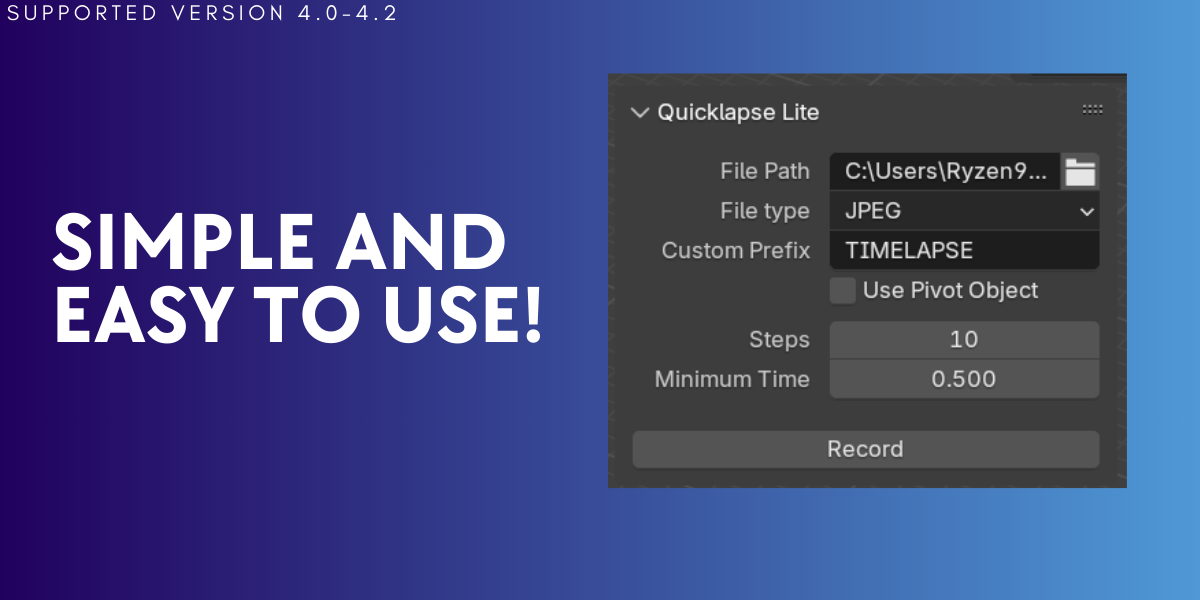
- User-Friendly Interface: Easily manage settings and control recording with a straightforward panel in Blender's 3D View.
Why Choose Quicklapse Lite?
Quicklapse Lite streamlines the process of timelapse creation, allowing you to focus on your creative work without worrying about manual screenshot management. Ideal for animators, designers, and artists, it enhances productivity and delivers high-quality results every time.
Documentation:
Installation:
- Download the Quicklapse Lite addon from Blender Market.
- Open Blender and go to
Edit > Preferences > Add-ons. - Click
Installand select the downloaded.zipfile. - Enable the addon by checking the box next to
Quicklapse Litein the list.
Usage:
- Navigate to the
View3Dworkspace and open the sidebar (pressN). - Go to the
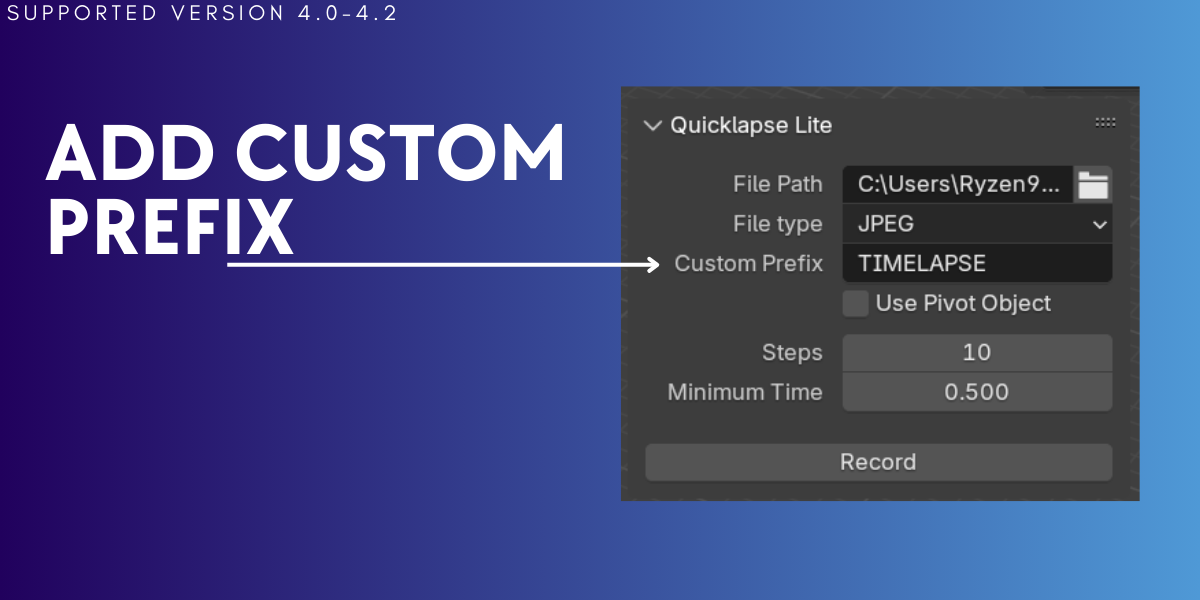
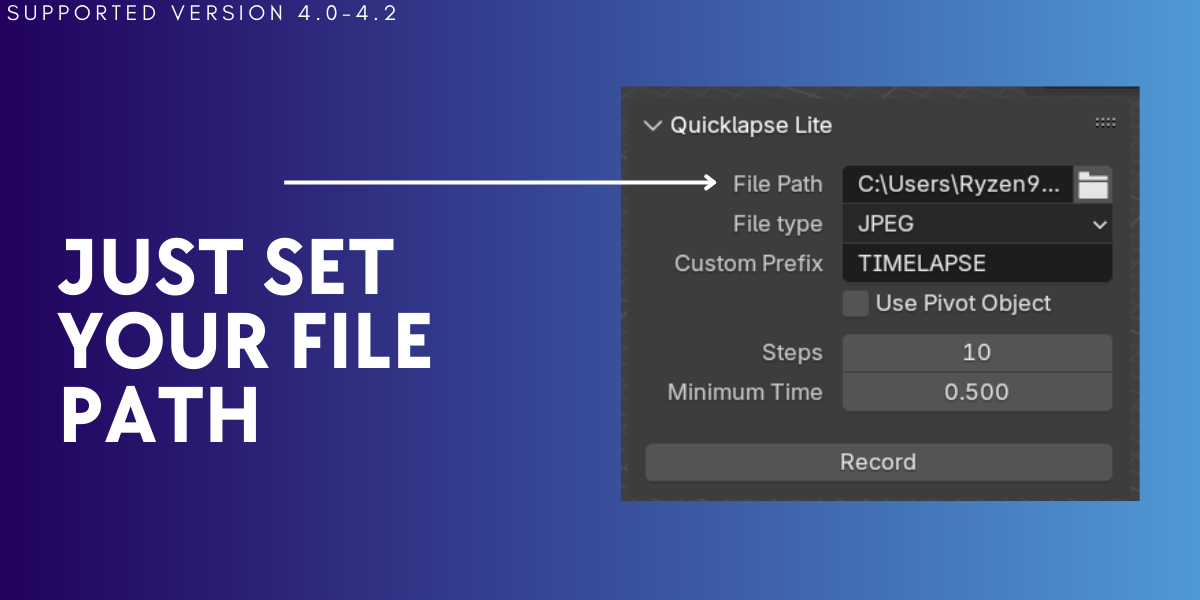
Quicklapsetab to find the Quicklapse Lite panel. - Set your desired file path, file type, and custom prefix in the panel.
- Configure additional settings such as action steps, minimum time between screenshots, and pivot object options.
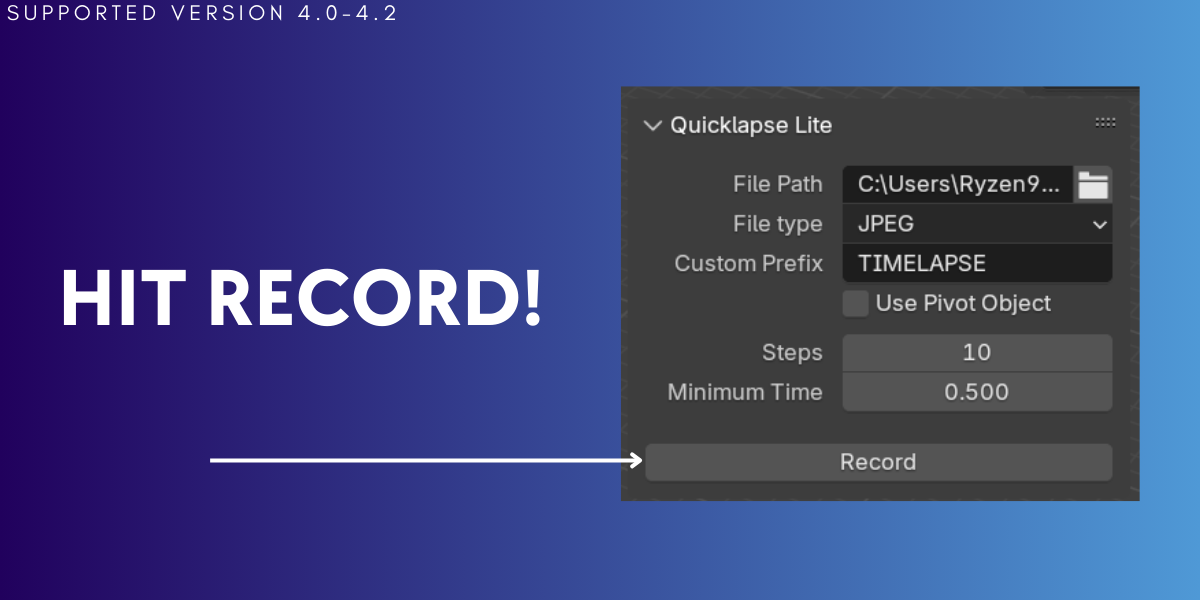
- Click
Recordto start capturing screenshots. ClickDoneto stop recording. - Your screenshots will be saved in the specified file path with the configured naming convention.
Settings Explained:
- File Path: Directory where screenshots will be saved.
- File Type: Choose between JPEG or PNG for your screenshots.
- Custom Prefix: Add a custom prefix to screenshot filenames for easy organization.
- Use Pivot Object: Enable rotation of a pivot object with each screenshot for dynamic effects.
- Pivot Increment: Set the amount of rotation applied to the pivot object per screenshot.
- Steps: Define how often a screenshot is taken relative to actions in the scene.
- Minimum Time Between Screenshots: Adjust the delay between each screenshot to avoid too frequent captures.
Support:
Continuous updates and improvements are our priority. You can count on us to update the addon promptly with new Blender versions to ensure compatibility and enhanced functionality.
Get Started Today!
Download Quicklapse Lite and experience a new level of efficiency in your Blender projects. Perfect for both beginners and professionals looking to elevate their timelapse workflows.
Stay Tuned!
Be on the lookout for the Quicklapse Pro version, coming soon with even more advanced features to enhance your timelapse creation experience!
Discover more products like this
Moneysaver Image Sequence recording video instant Recorder screenrecording Quick recording timelapse Recordscreen timesaver