Procedural Rubik's Cube
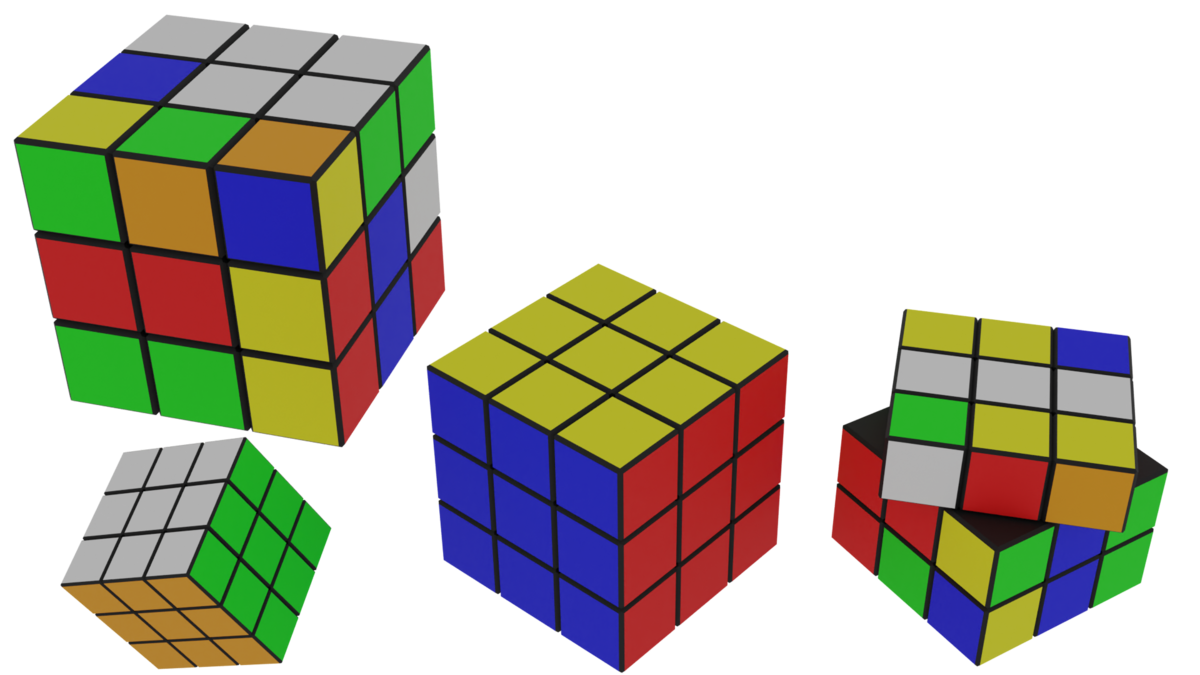
This is a fully procedural Rubik's cube asset fully made with geometry nodes and Blender.
With this asset you'll be able to play the game adding as many step fixed or animated rotations as you want.

Features
After imported it, inside the geometry node you will find a SetStep group node you can duplicate to add step rotation to the cube.
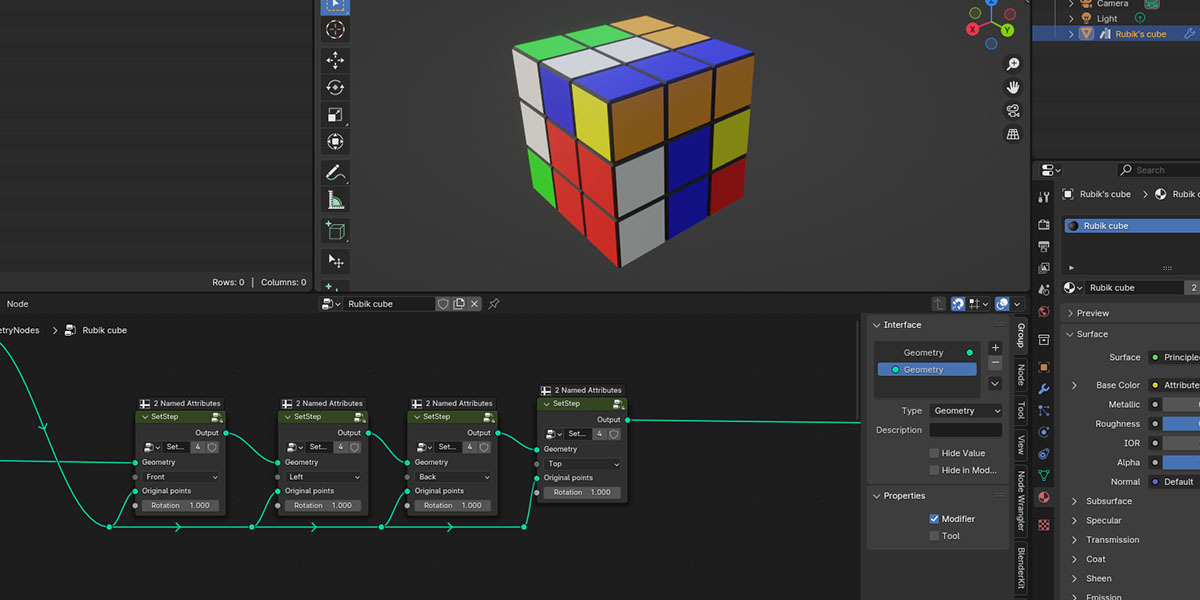
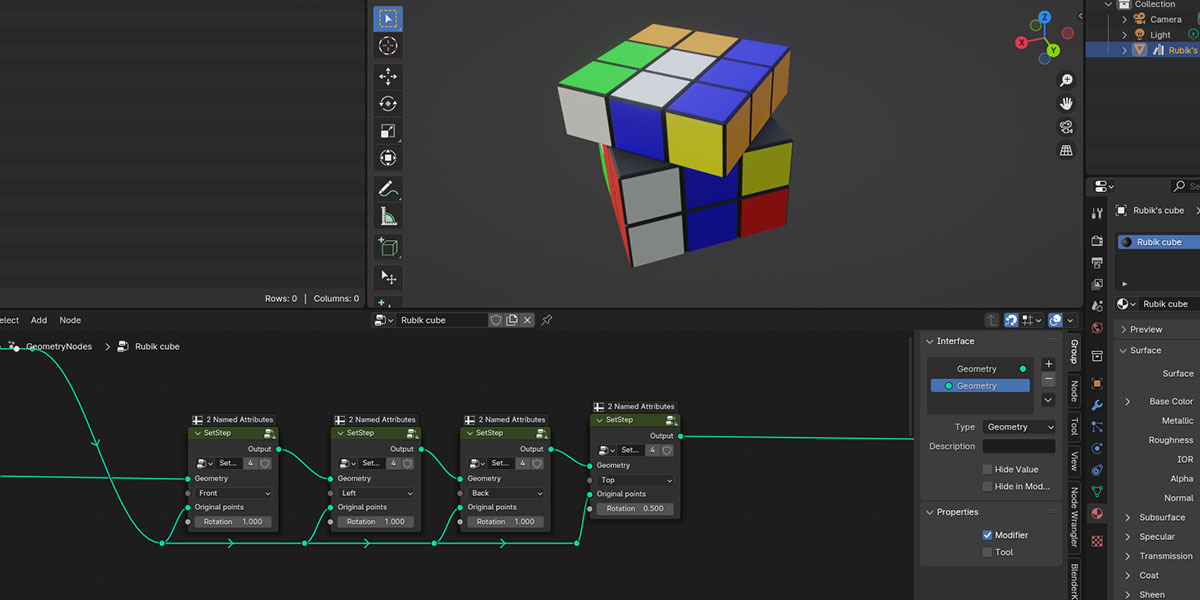
The file will already contain an example of uses of this sub group node. The idea is to link one step rotation to another in series like this image:

In this example you see 4 step rotations in series.
Remember! If you want to animate the rotation socket of this group node be sure to have finished the other step rotation like in the real world (in detail you need to have the value of the rotation to a pure integer number (1 or -1 or 2 and so on).
Each sub group called SetStep has 2 input parameters and 2 input sockets:
- Geometry: here you need to connect the output of the Set Material node of the cube or, if this instance of the group is not the first connected in the series of step rotation but the second or the next, you need to connect the Output of the previous SetStep group node.
- Side rotation menù: here you can choose the side you want to rotate.
- Original points: here you need to always connect the mesh of the initial global cube. This for all the SetStep group node.
- Rotation: this value defines the turning of the side you chose. For example a value of 1 indicates a single and complete turn of 90 degrees clockwise, a value of -1 an entire turn of 90 degrees anticlockwise, a value of 0 is equal to 0 rotation and a value of 0.5 means a rotation by 45 degrees. As a result each integer number is equal to a rotation by 90 degrees.
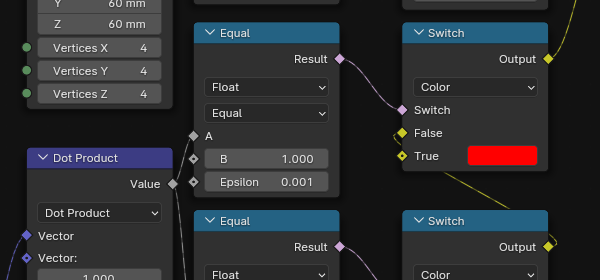
Finally you can change the colors of the side directly inside the main geometry node setup as you can see in this piece of image:
Uses
To use this node in your project you can just use the downloaded file as is or open your project, use the Append menù of Blender, selecting this file, then Object and then Rubik's cube. This will add this asset into your project with also the correct material.
An alternative is save this file in the paths of your asset browser set in your preferences and use the geometry node as an asset (its name will be Rubik's cube).
Tutorial
If you want to learn how i made it check the video below, have fun and if you like what i'm doing please subscribe on my YT channel checking the bell icon to be notified on the new posted videos! :-)