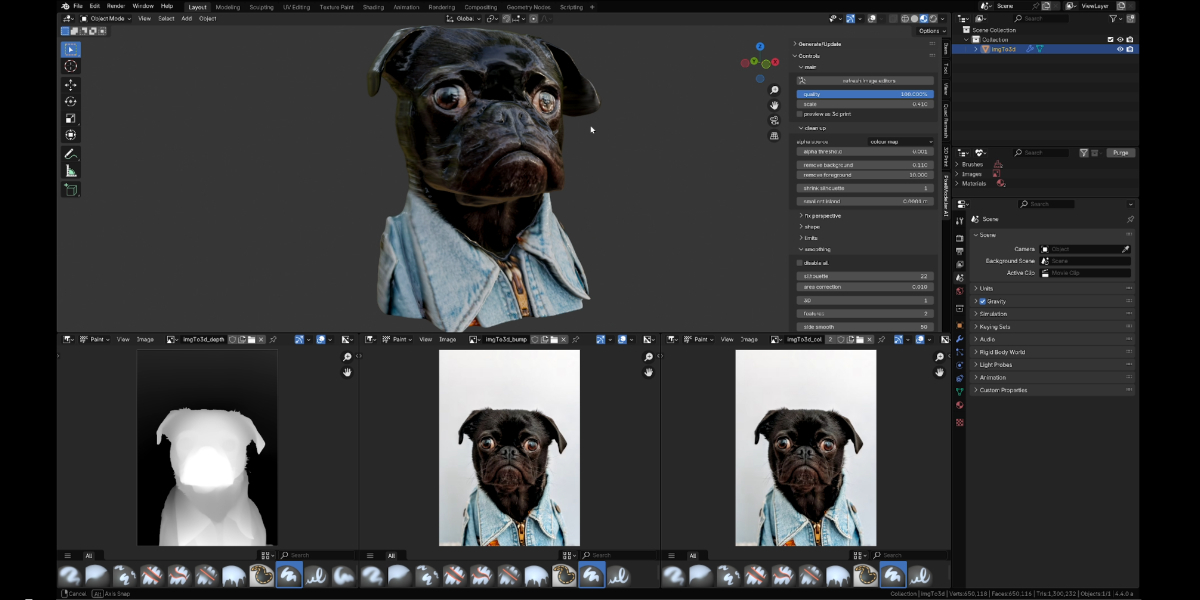
Pixelmodeller Ai
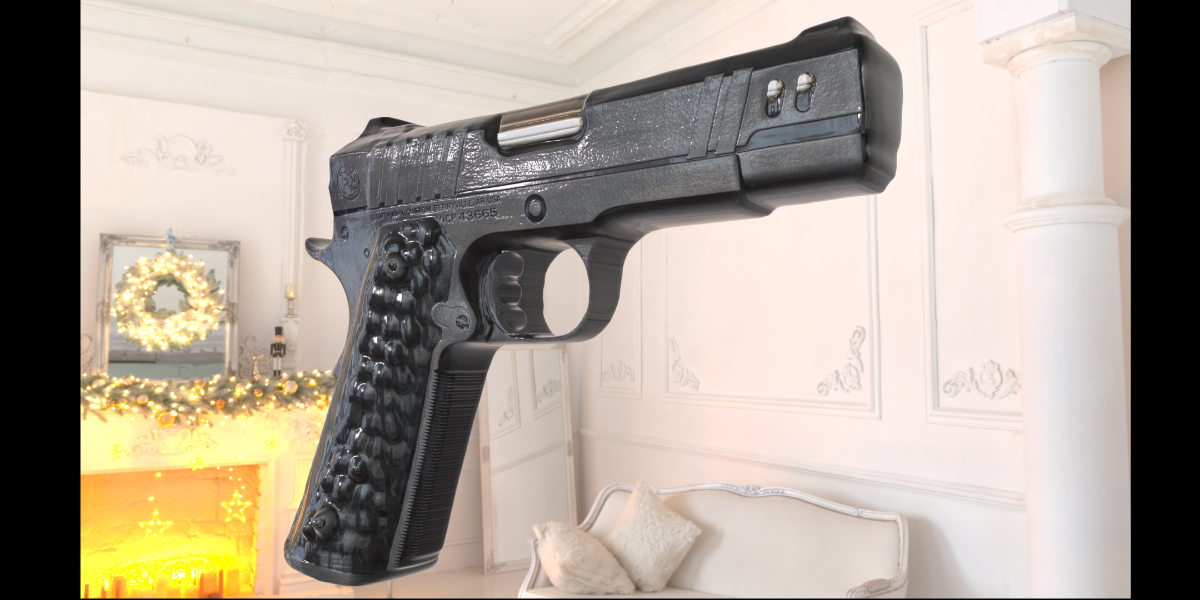
Use the power of AI directly inside Blender, to create insanely detailed 3d models at the touch of a button, or watch 3d models appear before your eyes as you paint in the 2d image editor! Also included are a suite of powerful tools to shape, colour and re-mesh your models in real-time. Generated models are solid watertight objects with both UV's and vertex colours, making them suitable for rendering and 3d printing!
The addon’s built in AI depth generation runs directly inside Blender on your local machine, without requiring tokens or contacting external servers etc. No complex installations required, a single button in the addon preferences will handle that for you. Compatible with Windows, Mac, and Linux, and Blender 3.69 to 4.4 Alpha. A number of freely available AI models are supported (see documentation page). I recommend the DepthAnything V2 Large for the best results.
Workflow:
- Choose an image source (clipboard, file, blender image)
- Click the generate button
- Model appears
- Play with the settings to get the shape you want. (see the documentation tab above for a full explanation of all parameters)
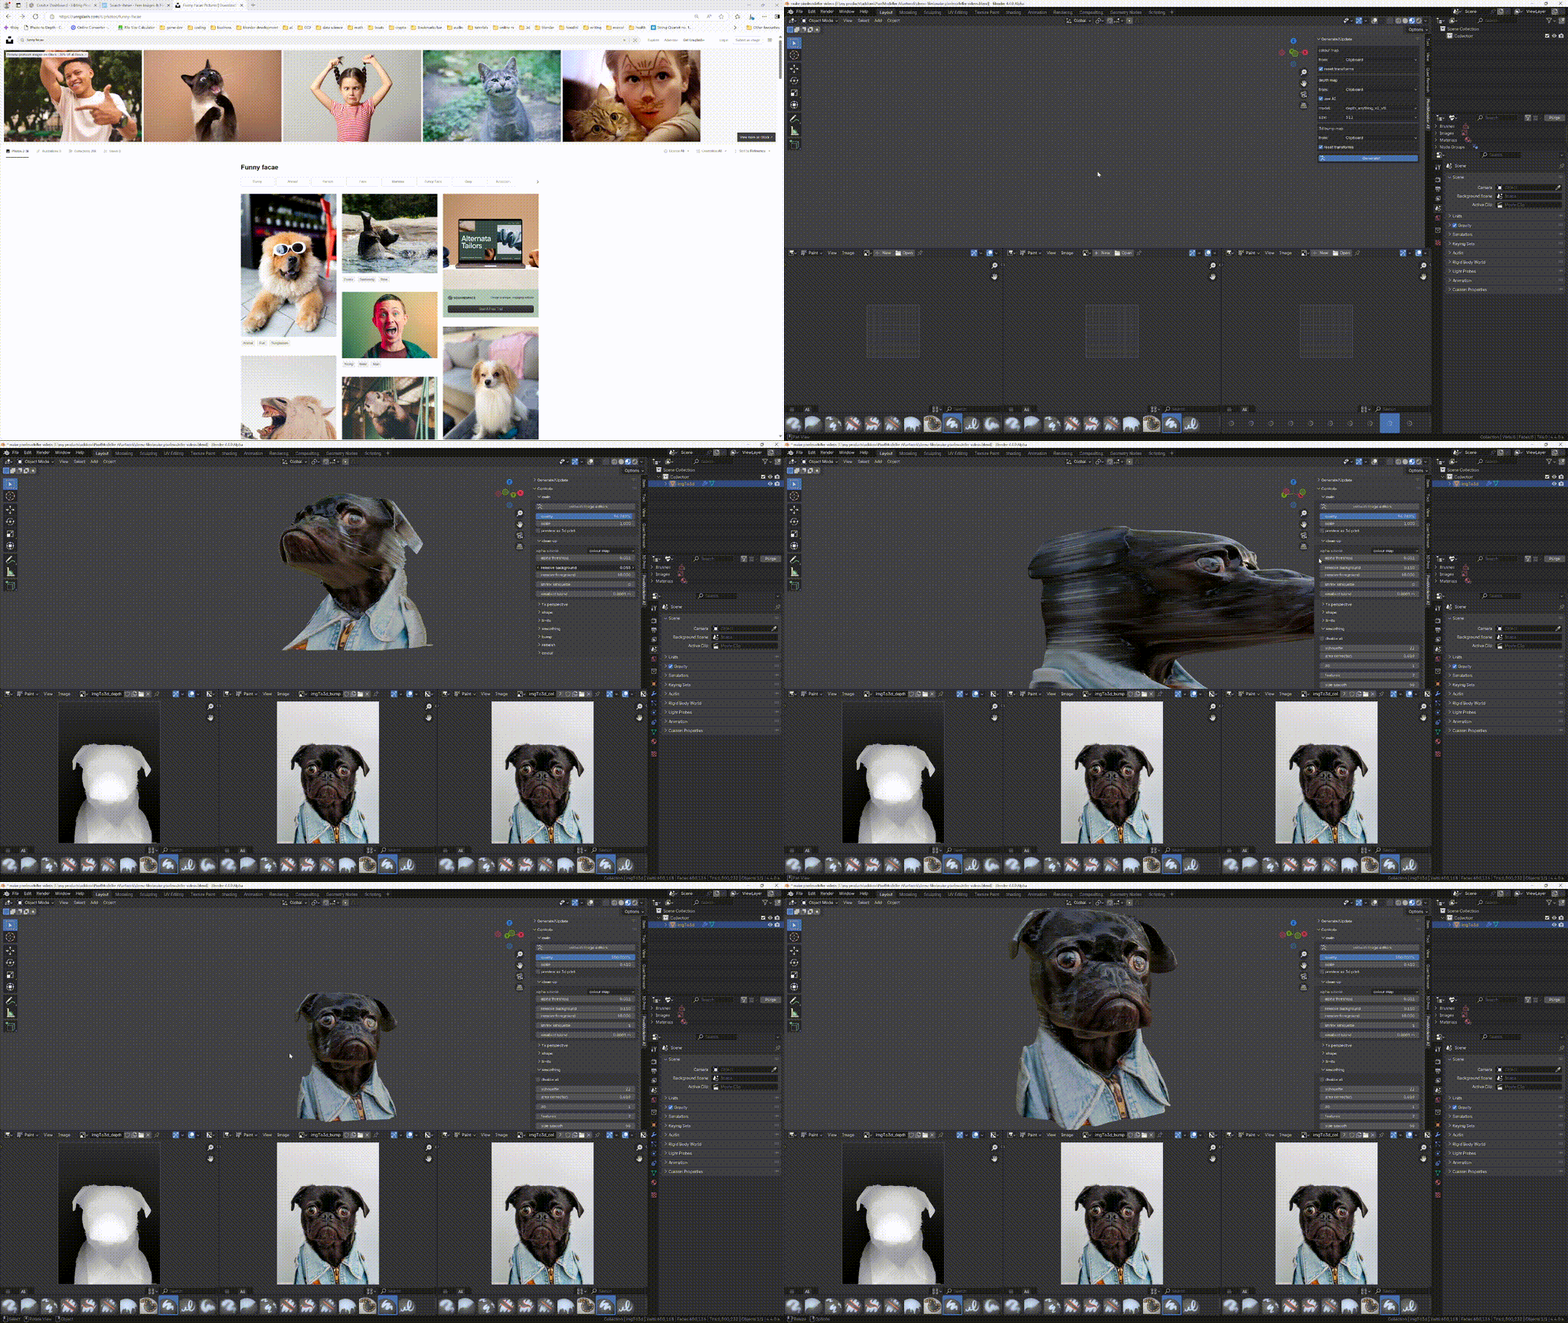
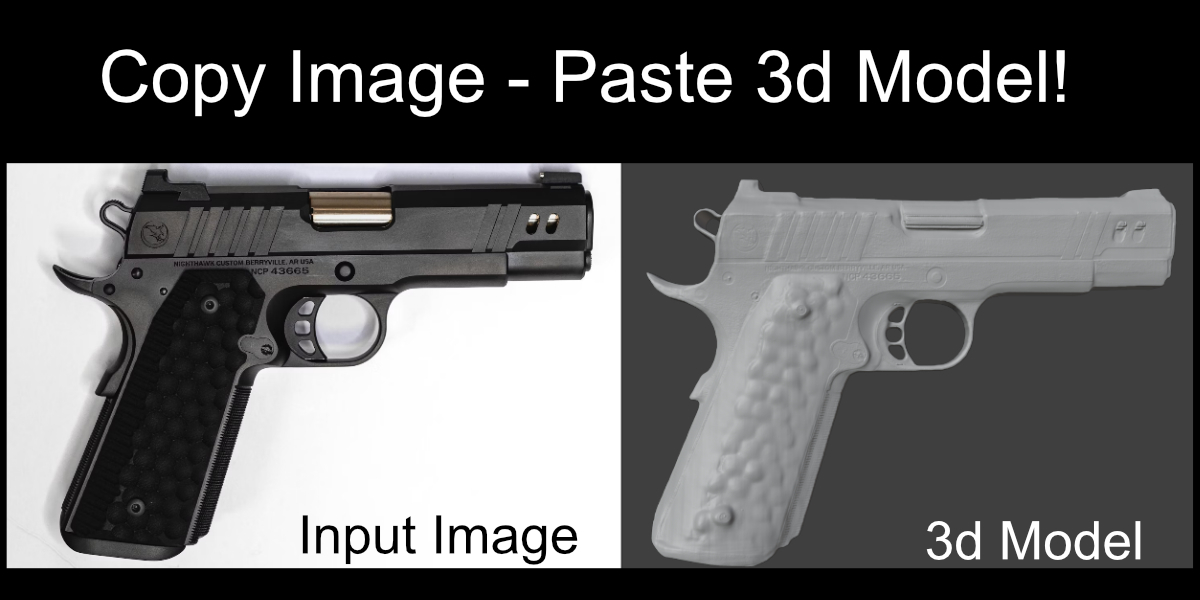
webpage -> clipboard -> model in under 10 seconds!
Modify
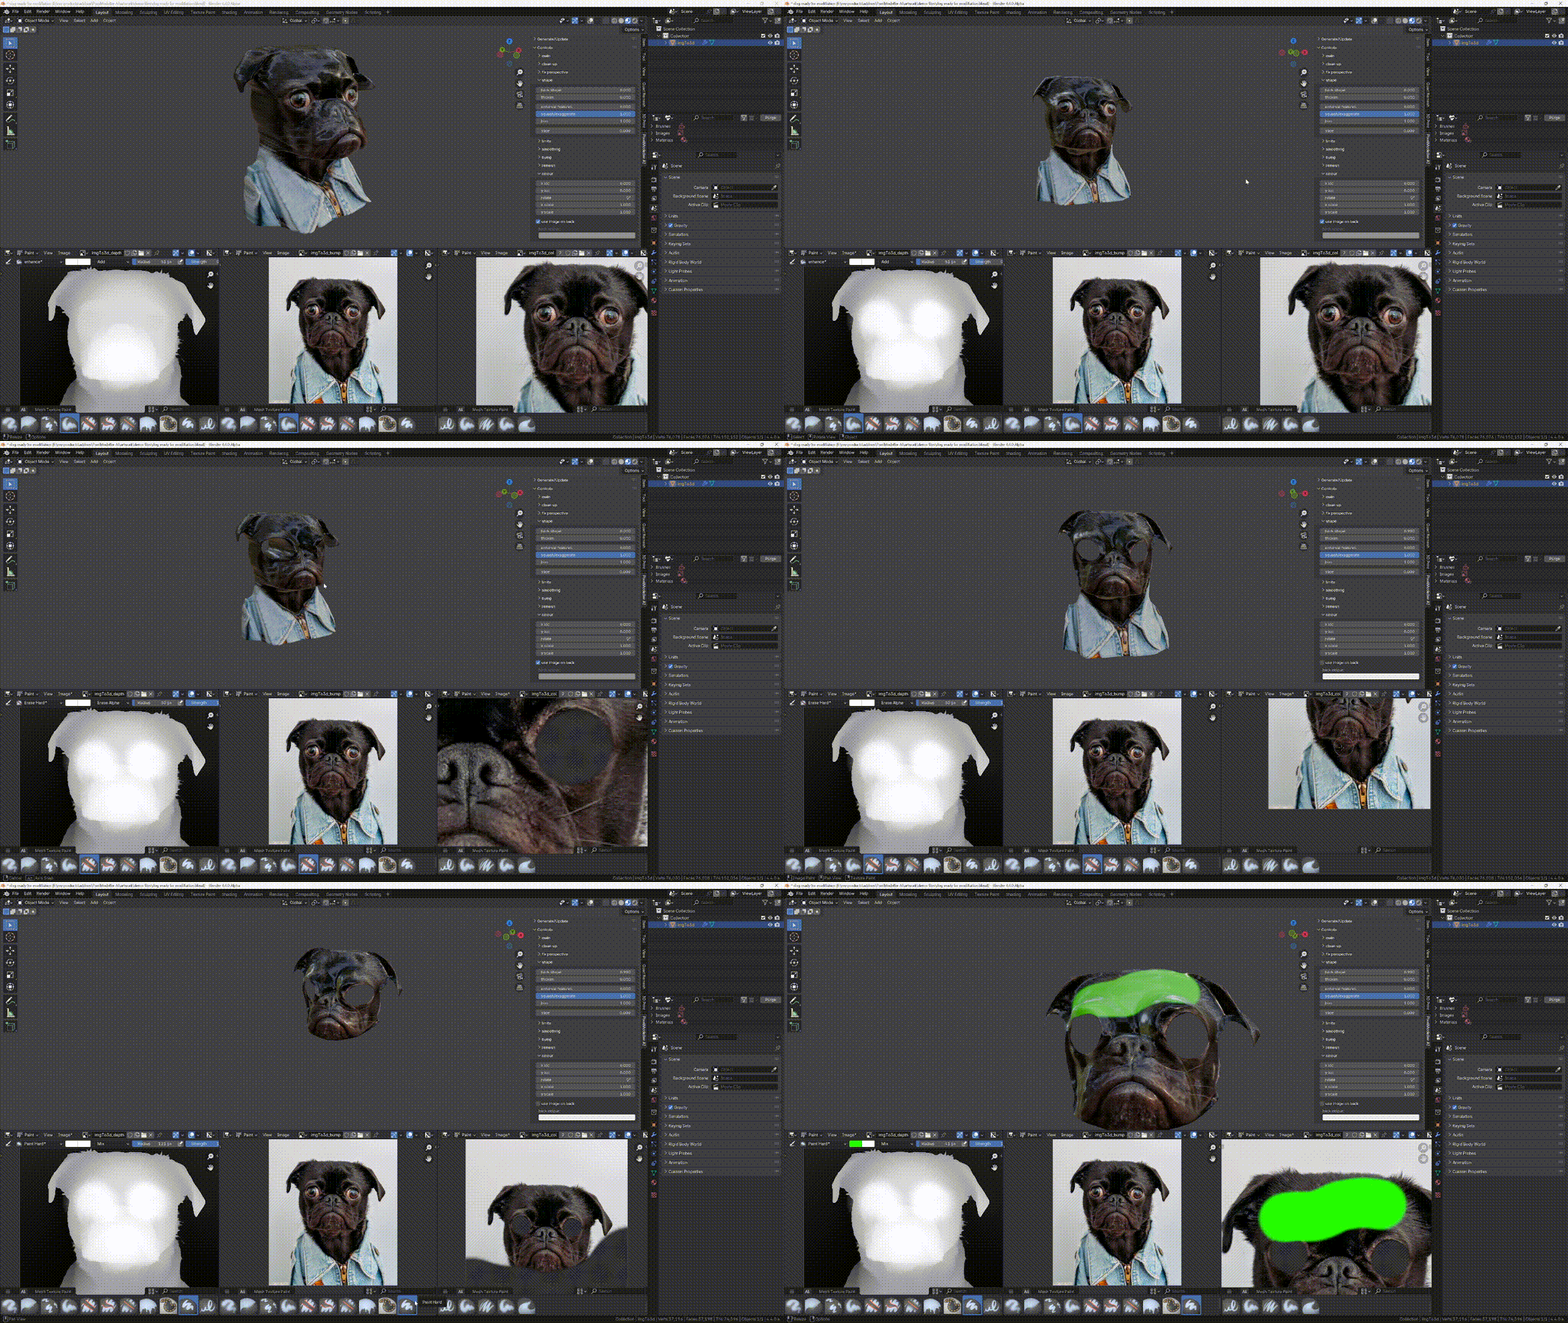
Quickly modify your object using the comprehensive sliders and/or Blender's texture painting tools!
Create symmetrical models!
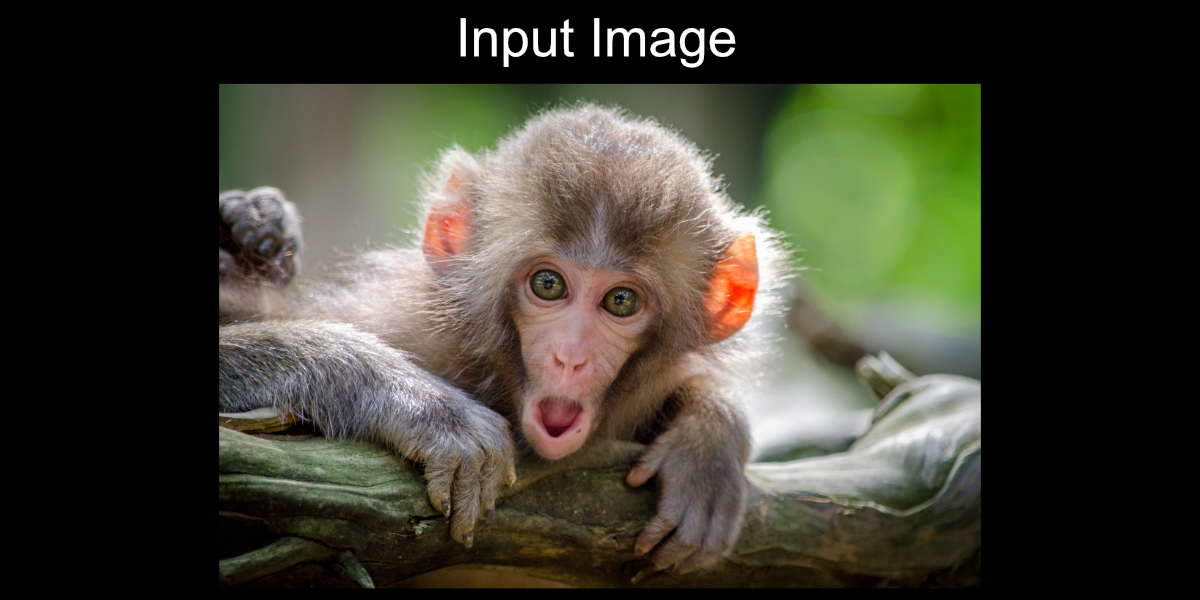
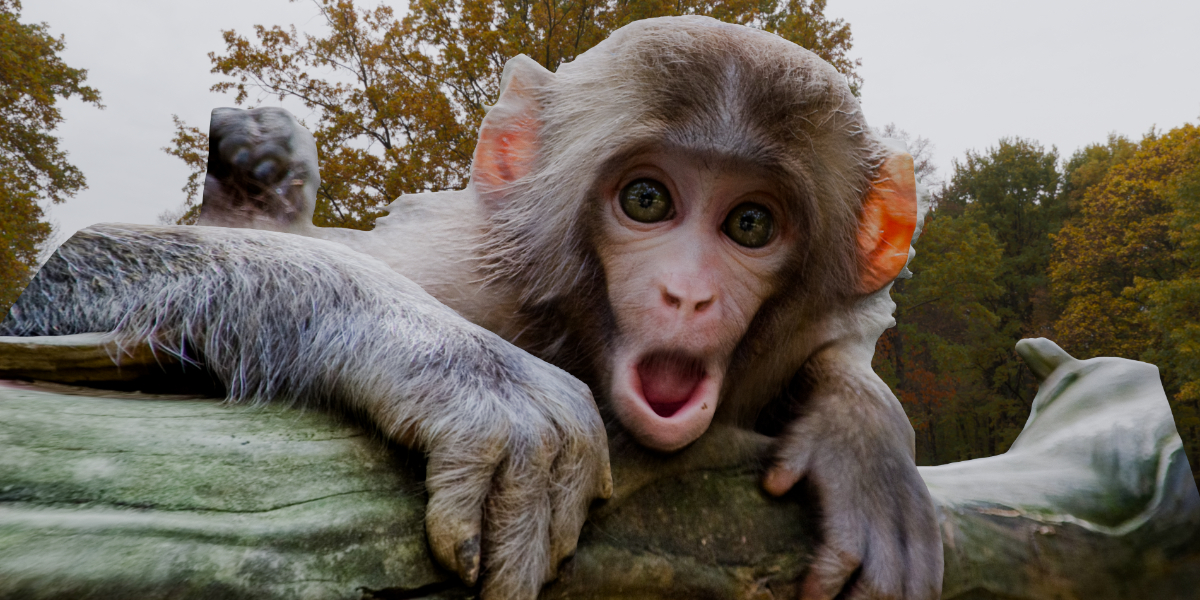
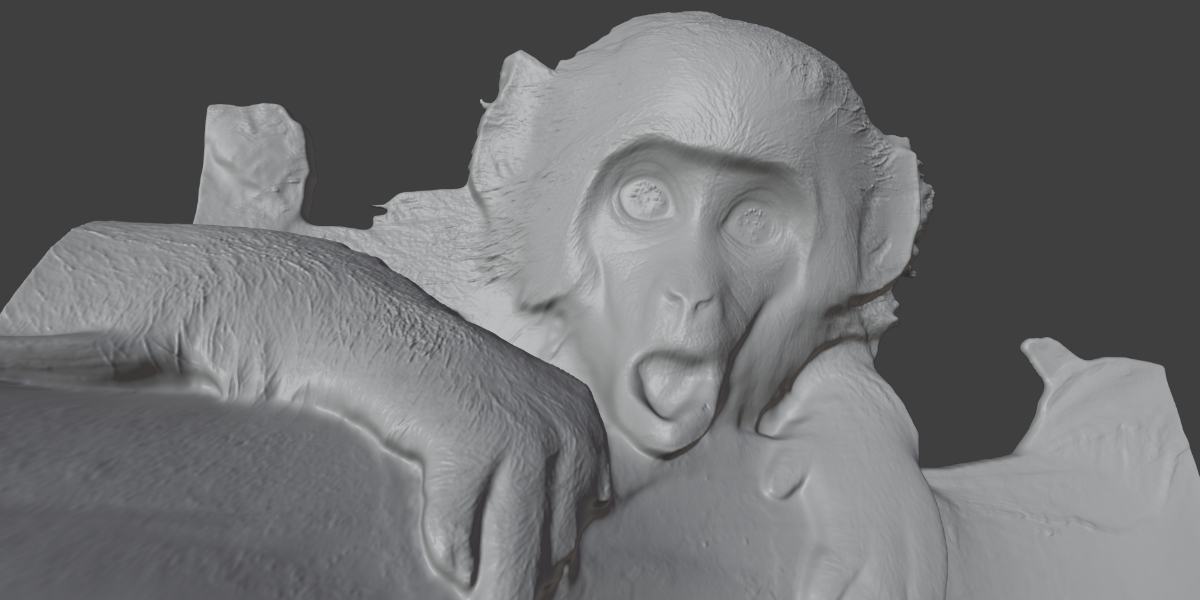
Left - input image. Right - model generated in under 1.2 seconds!

Generated models are solid watertight objects, ideal for 3d printing. The front and back can be reshaped and coloured differently with intuitive sliders. Sometimes the background's colour may bleed into the edges of the object where there is anti-aliasing in the image. In this case you can either use the cleanup panel's 'shrink silhouette' option, or for more precision use the alpha delete brush and paint away those areas in the colour map.
Automatically:
- Creates image textures (depth map, colour map, 3d bump map)
- Creates and assigns materials
- Generates UV's
- Generates vertex colours (useful for 3d printing)
- Sets the open image editors to show the maps for the new object.
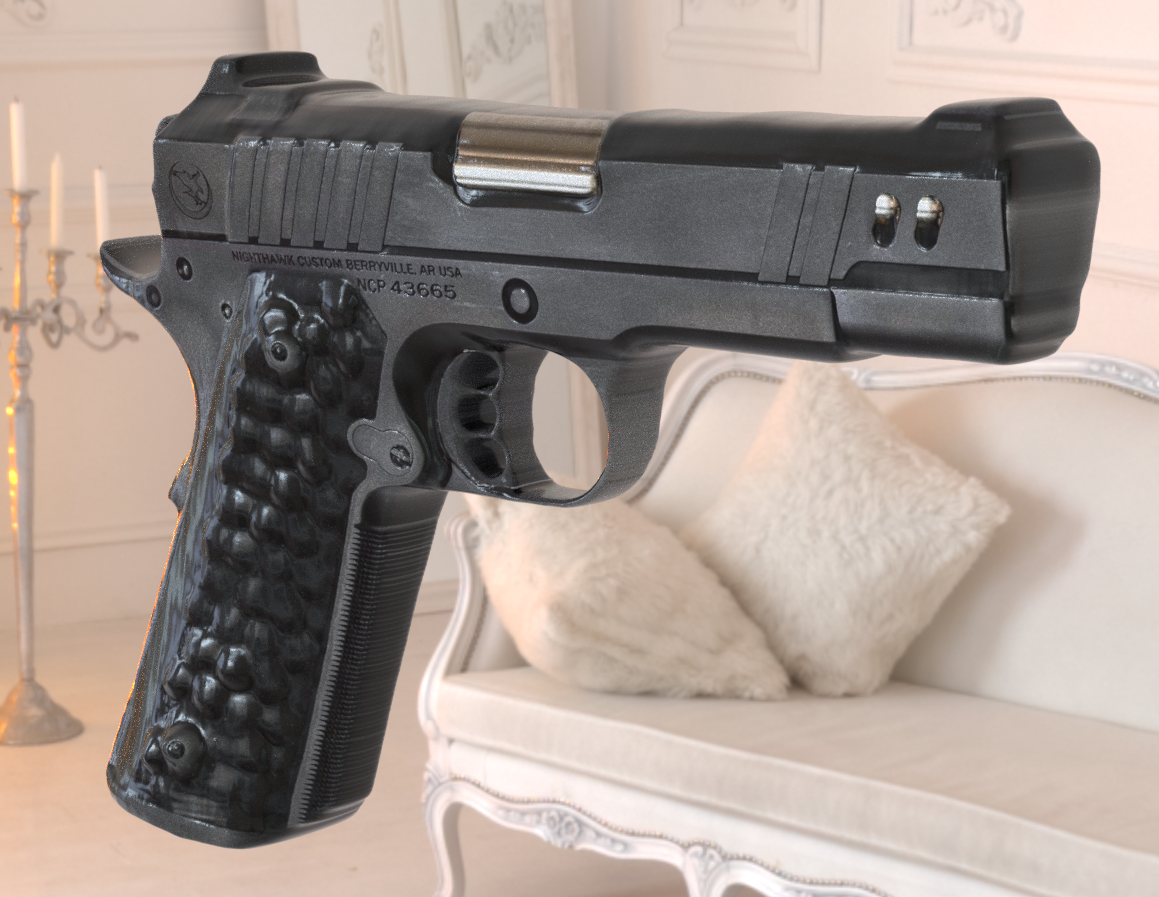
Everything is set up for you including materials, textures, UV's. You don't have to do anything besides play with the sliders and painting.
Paint your own models!
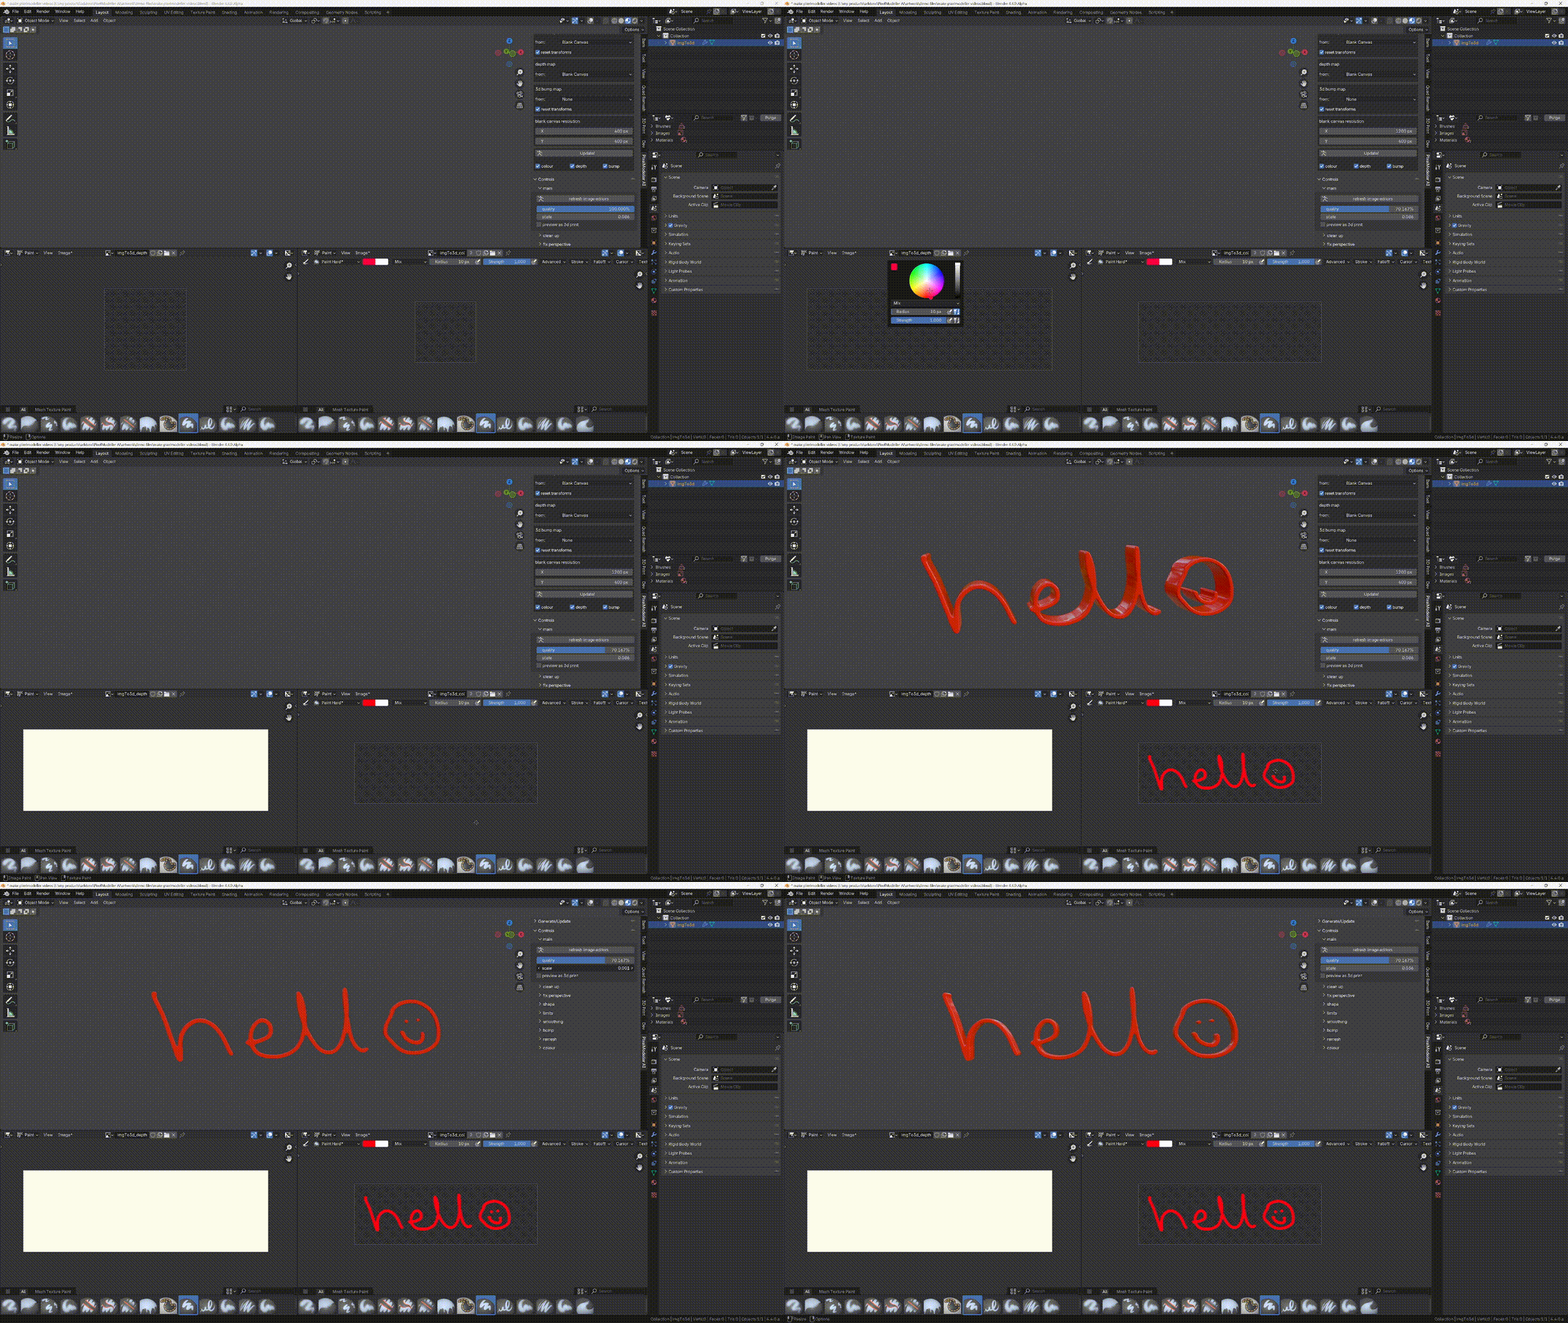
Start from a blank canvas on any of the maps, and see your model appear in the 3d viewport as you paint in Blender's image editors (don't forget to save your modified images before closing Blender). Before you start painting turn off anti-aliasing in the image editor's advanced dropdown, that will prevent discoloration at the edges of the object (where the background is visible through the anti-aliasing). If you forget you can get rid of it with the cleanup panel's 'shrink silhouette' option.
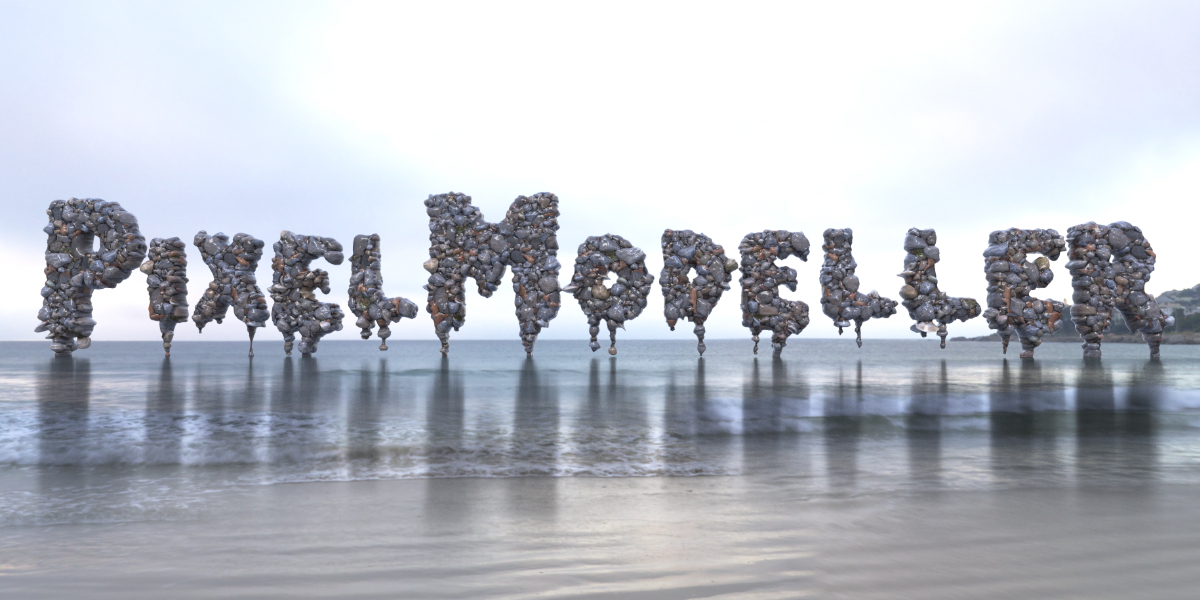
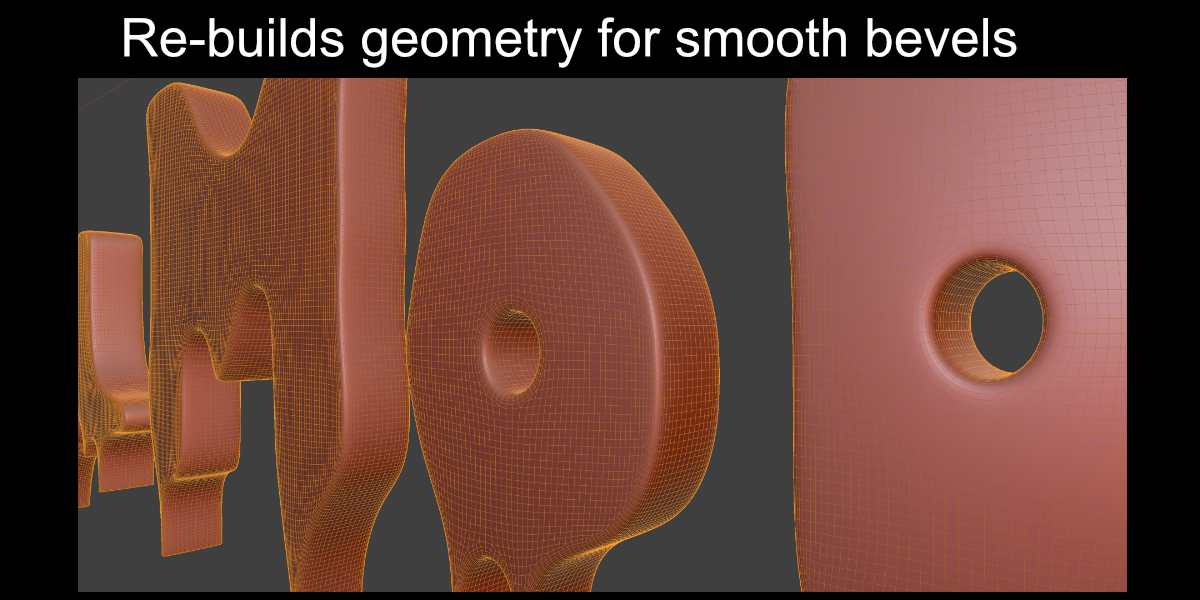
Rebuilds geometry ready for smoothing and bevelling, even on complex text!
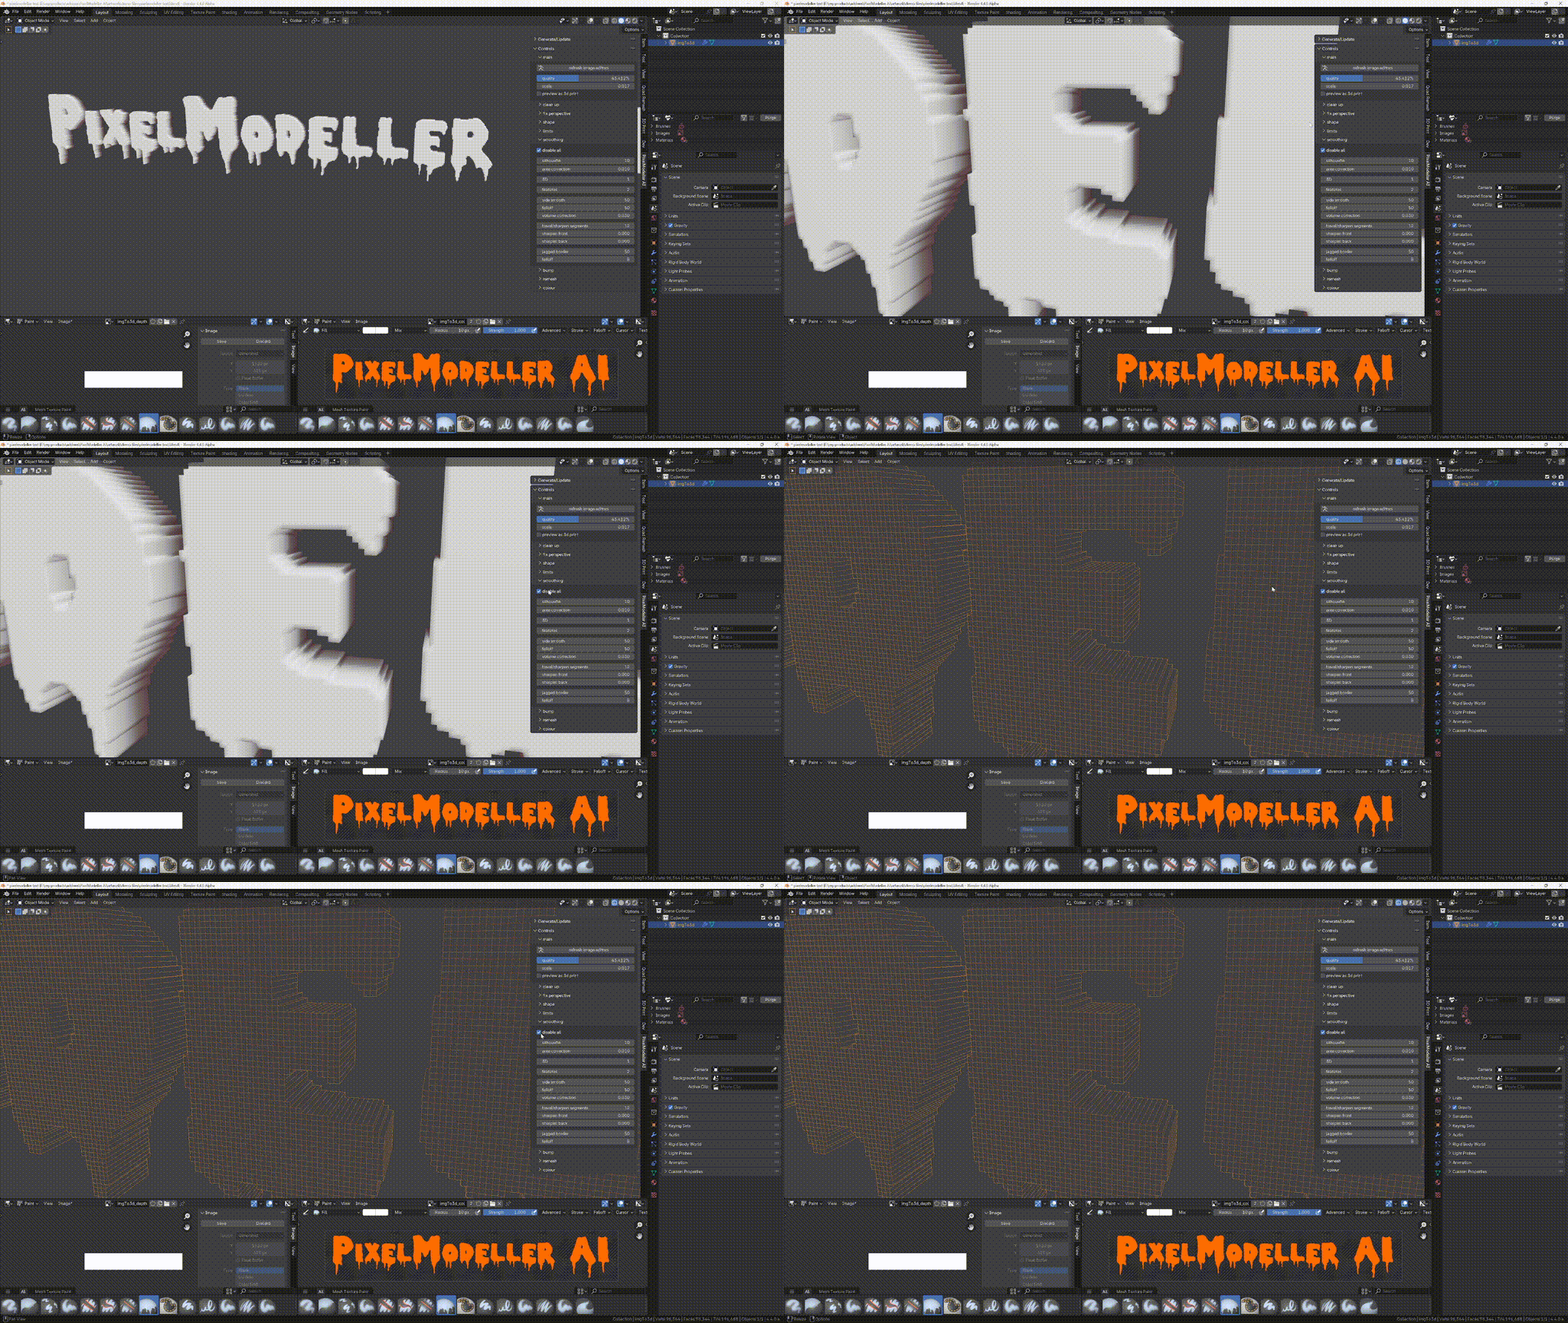
A single click rebuilds the geometry into smooth-able quads. Customise the effect with the simple smoothing and bevel controls.
Variable Bevels
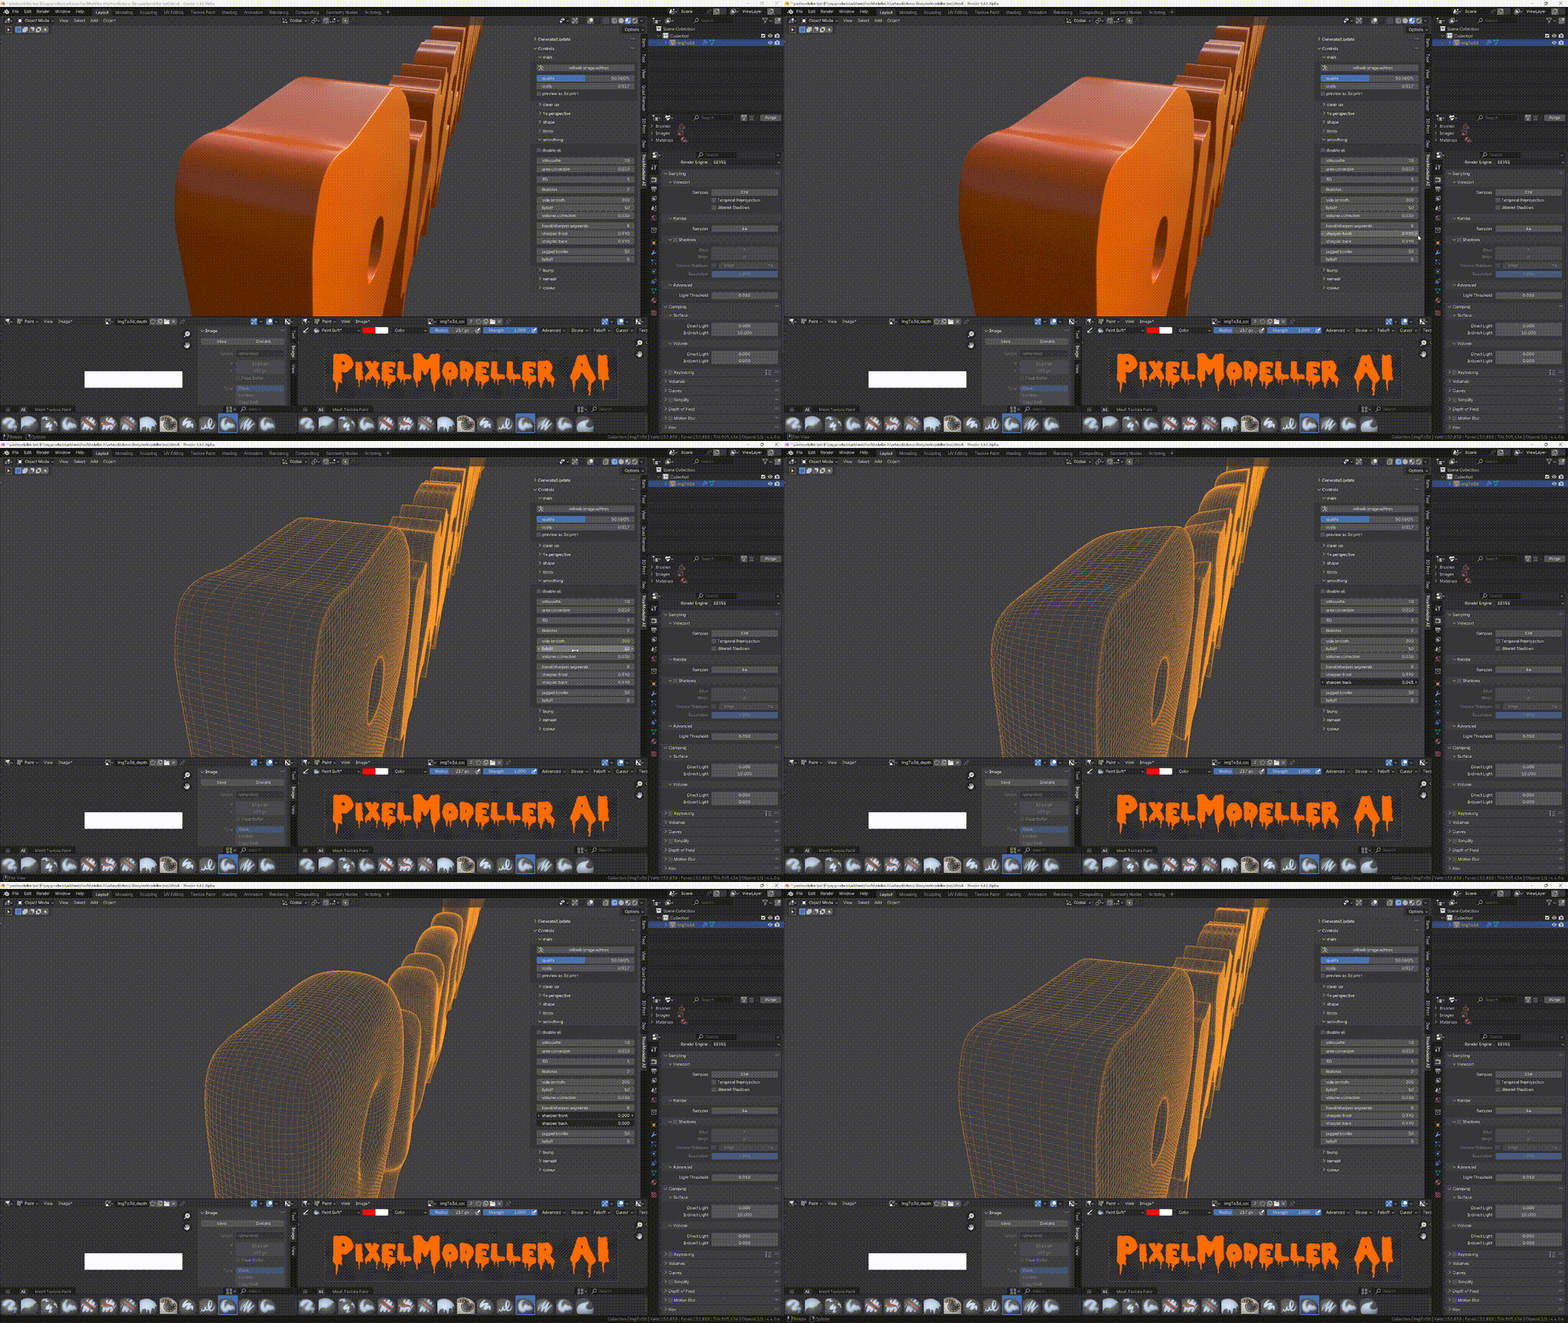
Control the front and back bevels individually without creating any overlapping geometry!
3d Bump
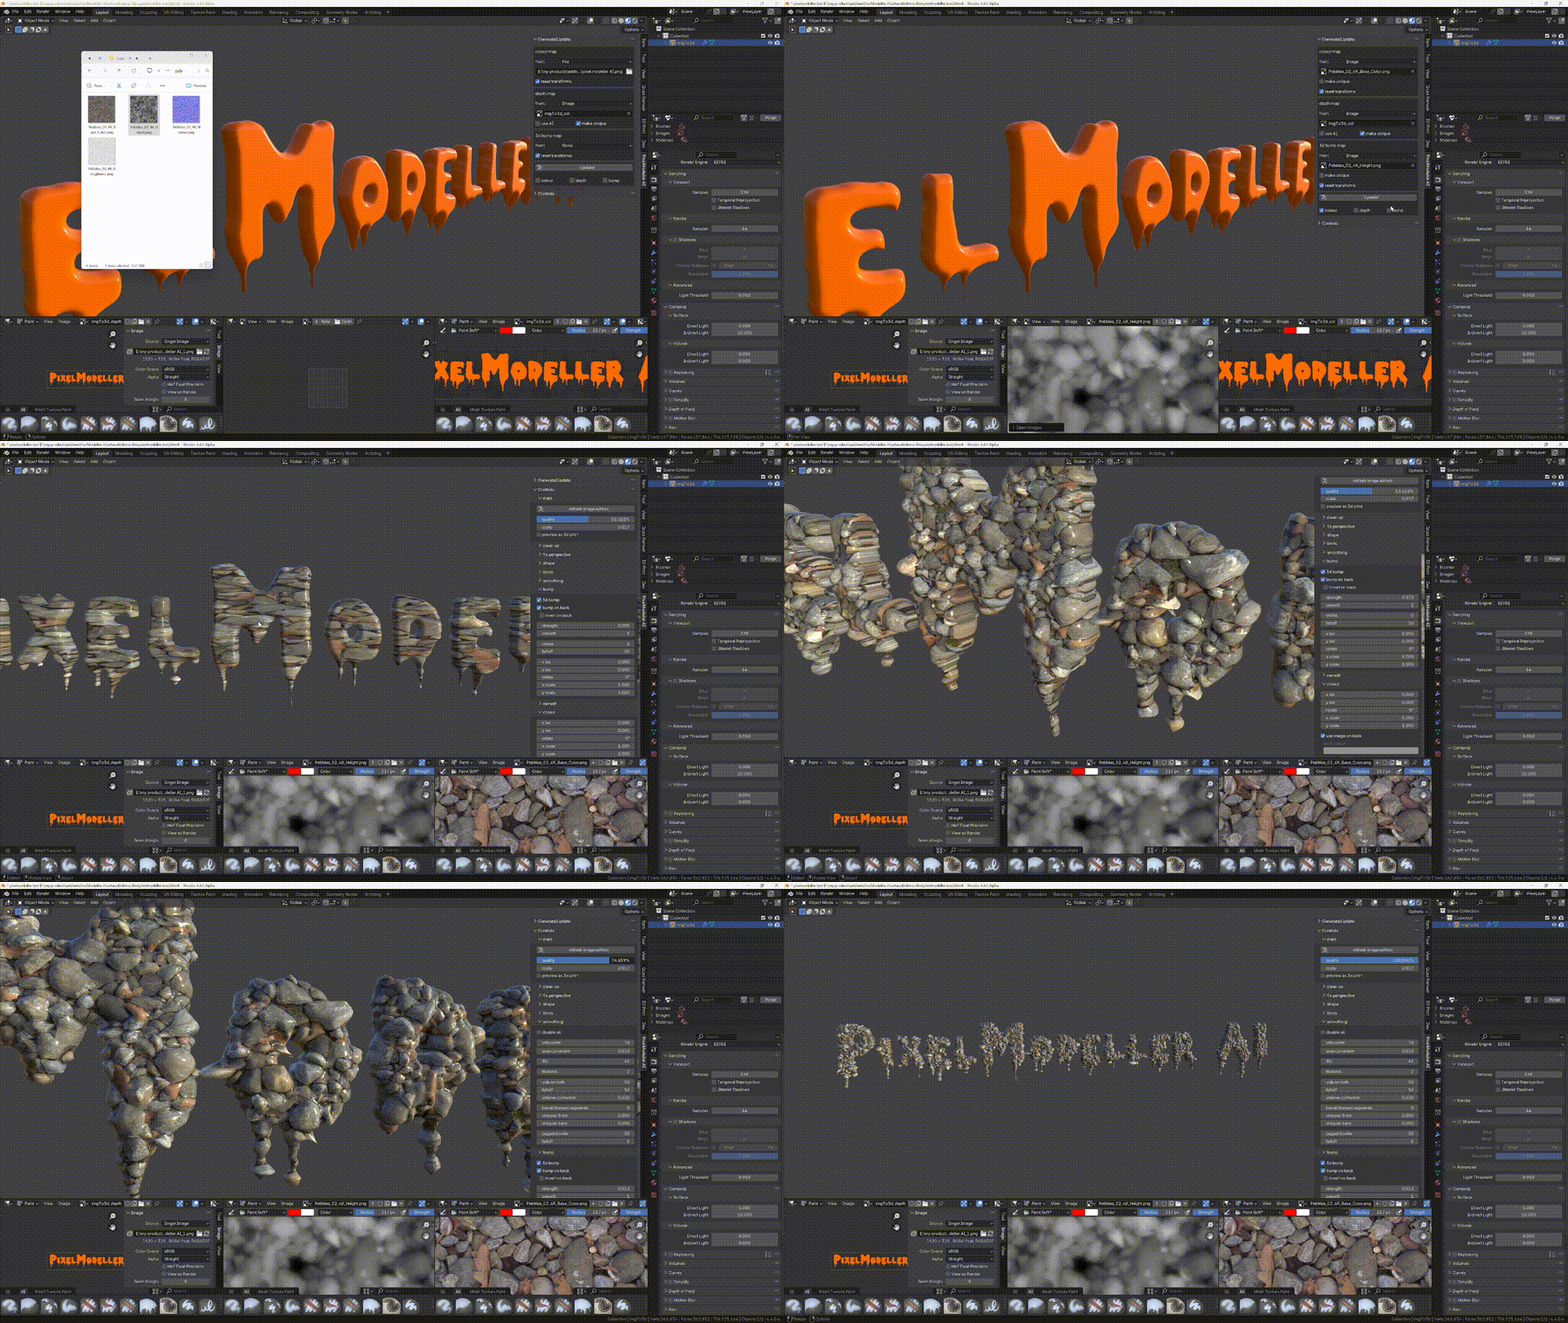
Not only can we easily bevel complex objects like text, we can also use the 3d bump feature to do things that shouldn't be legal to text and other complicated shapes!
Re-mesh
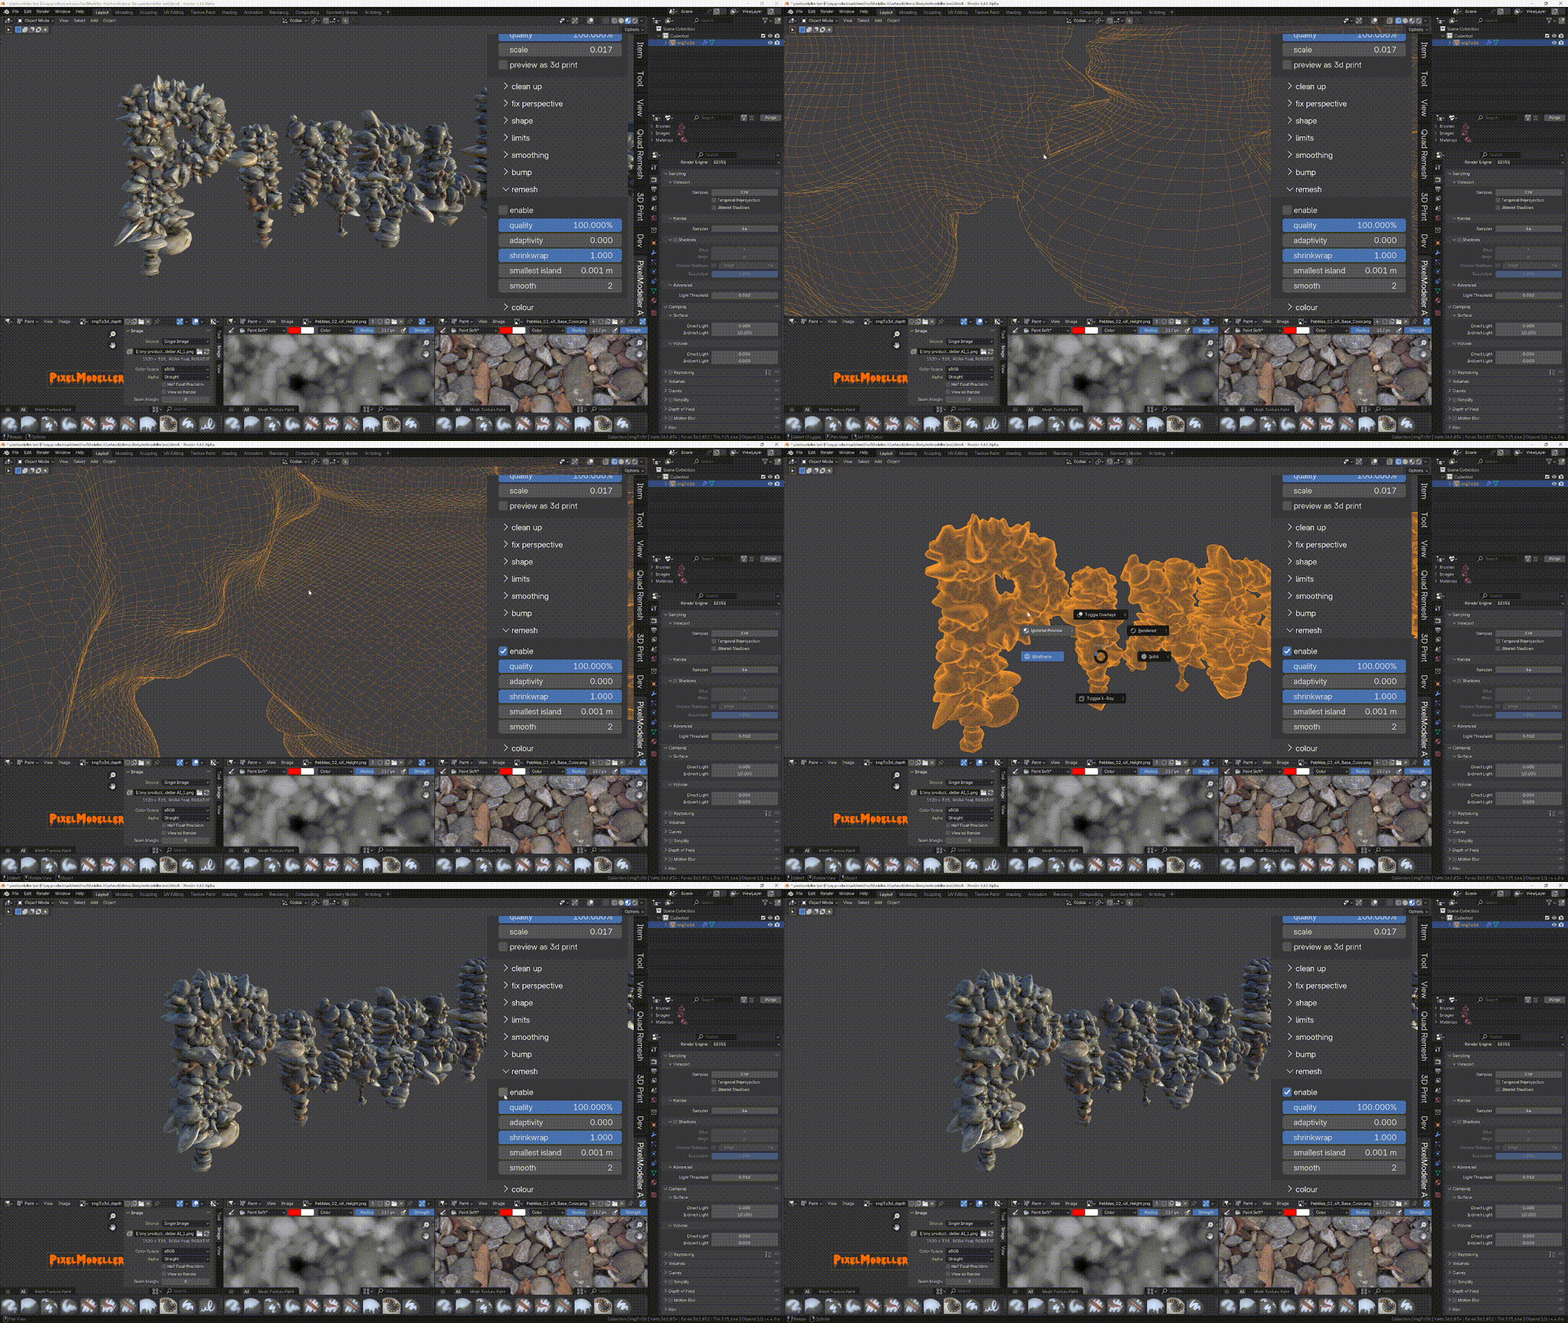
If you push the settings to extremes, you will likely end up with overlapping geometry. This will be problematic if you're creating a model for 3d printing. Use the powerful voxel re-mesher to repair the model with one click, whilst retaining UV's, and vertex colours! If you're creating background objects, like trees and plants for scattering in the distance, you can use the adaptivity option to reduce the objects vertex count. If you want a minecraft look, you can turn off shrinkwrap and reduce the quality, to get a large blocky result.
Fix Perspective
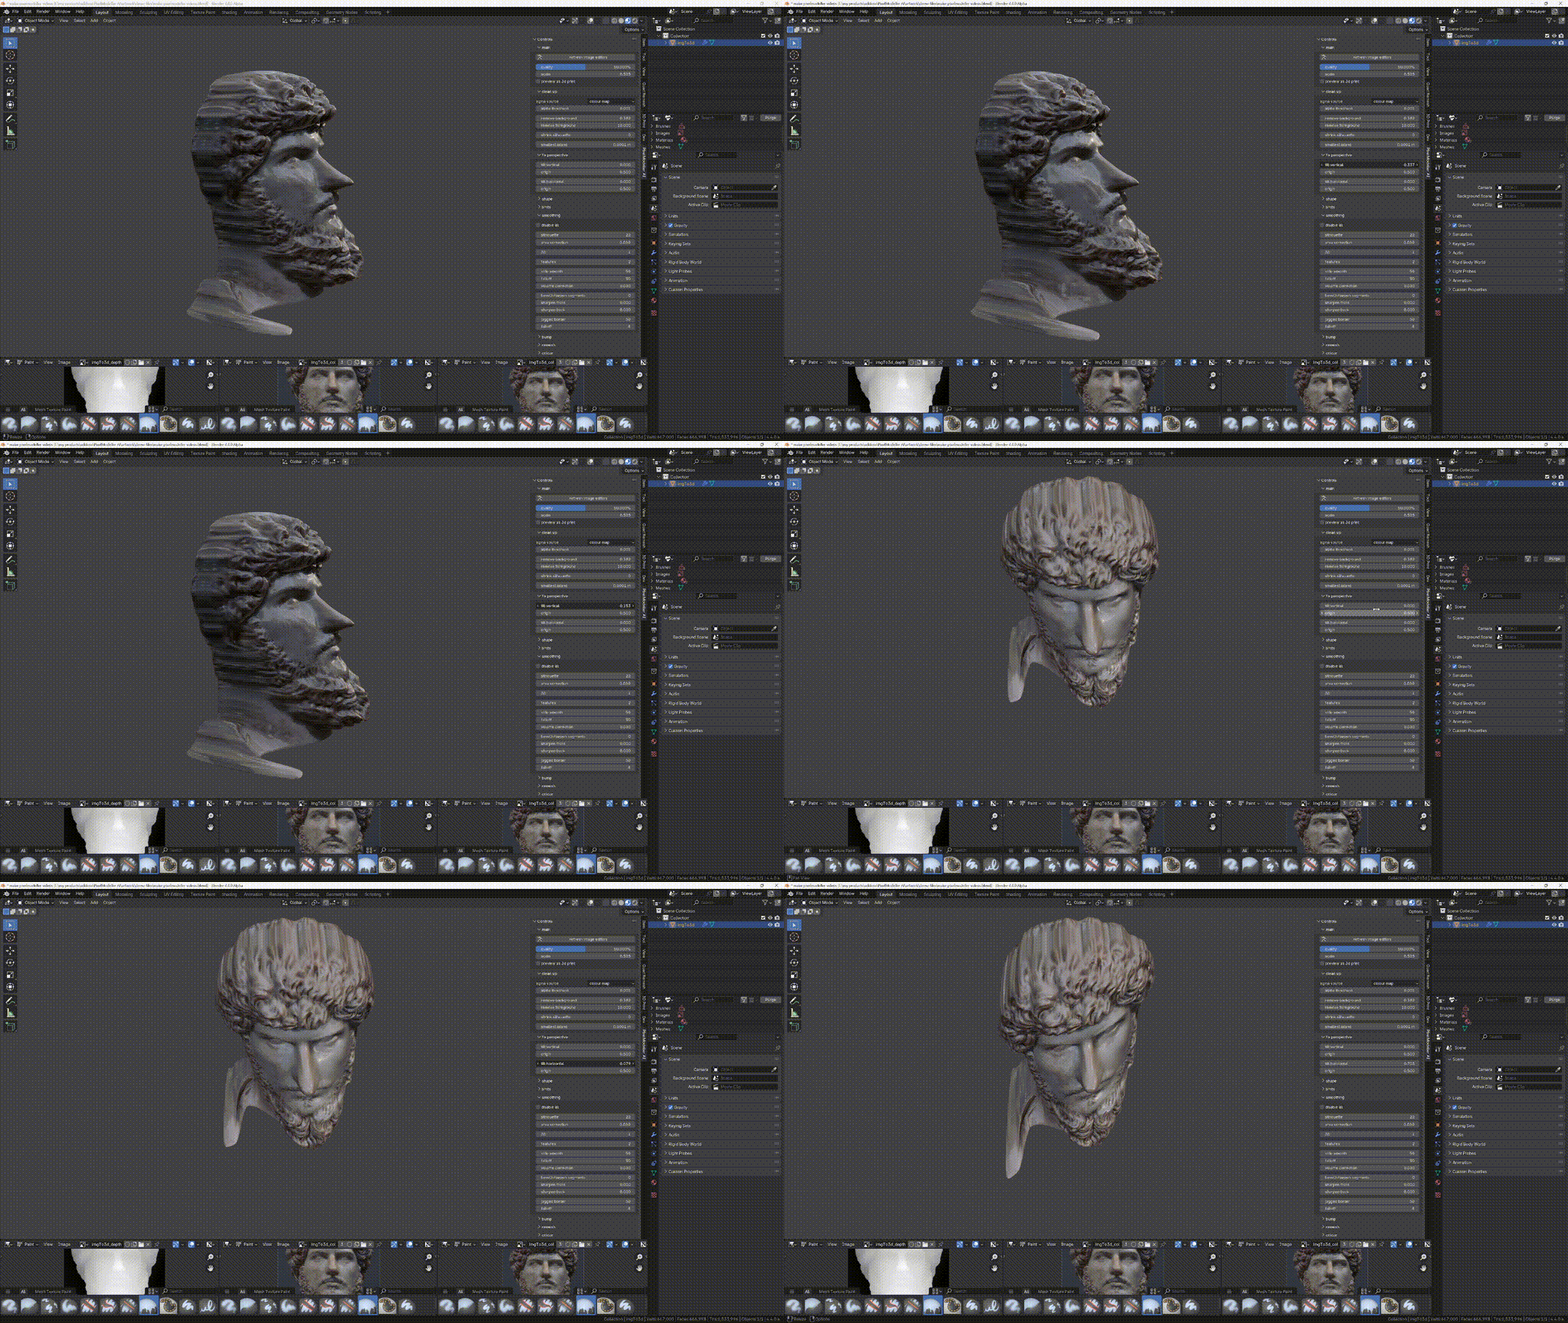
Remove unwanted tilt caused by the original image not being photographed straight on. You can also move the tilt origin for extra control.
Enhance Features
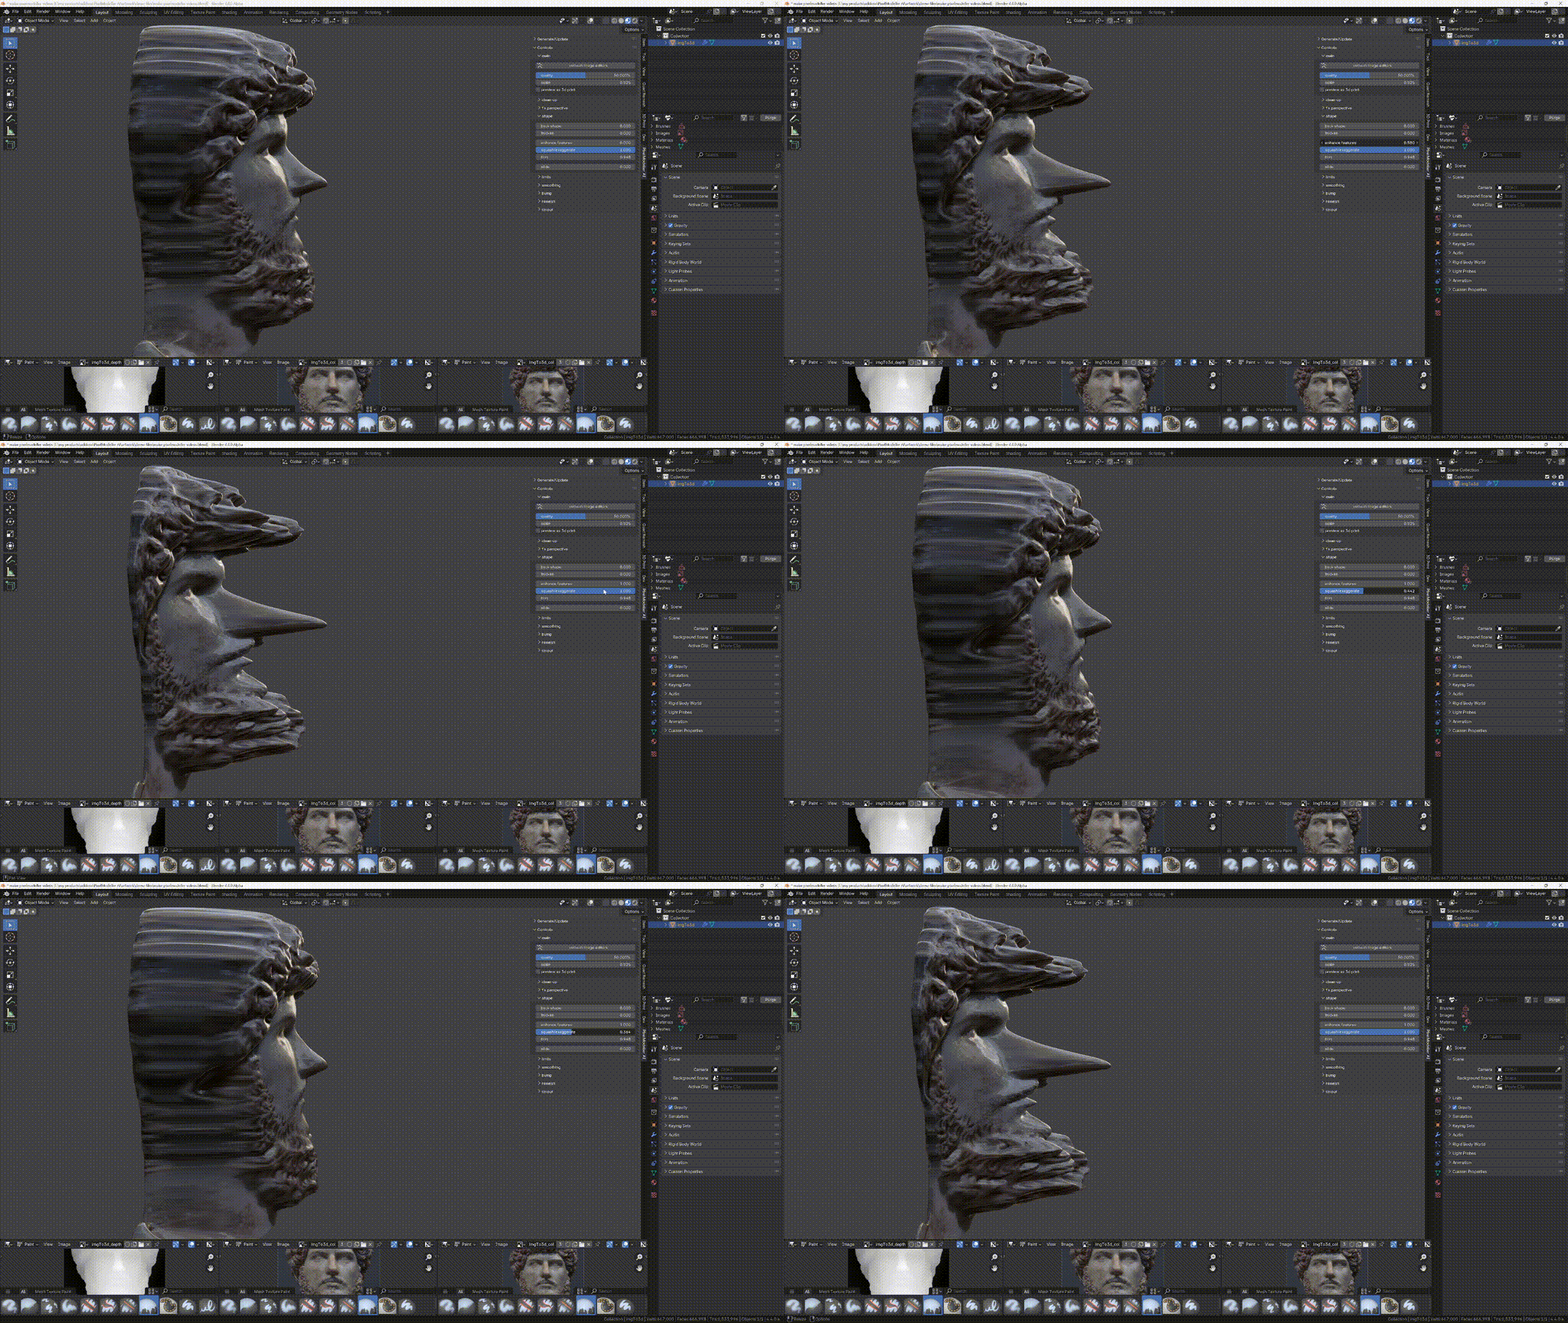
Make features stand out if your depth map is a little too flat. Also great for creating caricatures 😁
Enjoy the addon, and for further information, refer to the documentation tab at the top of this page 👍
Cheers
Michael
3d-illusions.
https://youtube.com/3d-illusions
