Kin Kollection - Procedural Clay Materials
How to add the asset library
- Unzip the folder anywhere on your PC
- In Blender on the top toolbar, go to Edit > Preferences
- In the File Paths section, click the + button on the Asset Libraries panel
- Navigate to the unzipped folder and click "Add Asset Library"
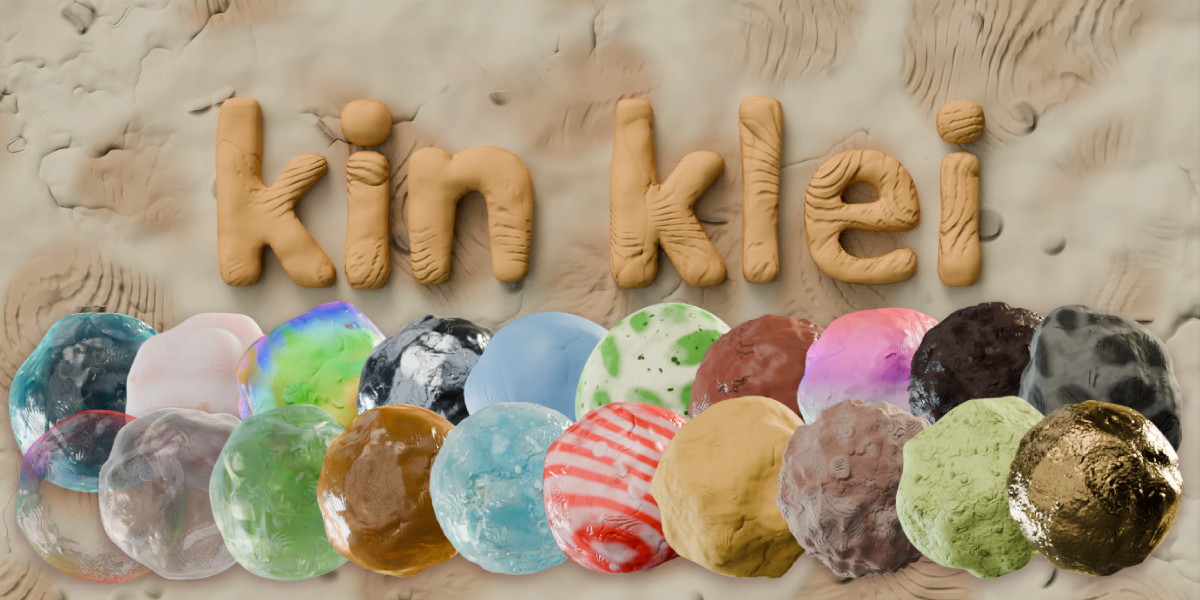
kin klei
A fully procedural clay material.
Principled BDSF

Sliders from the principled BDSF node that are useful for achieving different effects shown in the kin klei presets.
Global

Control the bump strength, seed, and scale of all the procedural textures.
Animation
The speed slider determines how fast the global seed changes, use very low values to have the textures only shift slightly rather than jump around the model.
Frame Step will create a stop motion effect at higher values, this determines how many frames pass before the seed changes.
Make sure both the material & klei krush frame steps match so the bump & displacement are in sync.
Fingerprints

Procedural fingerprints with color control. Best kept subtle in most cases.
Bumps

A simple noise texture used to add subtle bumps to the surface.
Bits

Roundish particles that can be colored. Can be bits of clay or little embedded stones.
Cracks

The cracks can convey dryness at higher detail or look like folded sections of clay with low detail.
Smoothing

This is a noise texture that creates smoother patches on the clay, adding more variation. At a higher scale it will start to look like bumps.
Displacement

A simple noise texture displacement. This material is intended to be used with the klei krush node for displacement as it allows you to view the displacement in the viewport.
klei krush
An animated noise distortion geo node. Multiple klei krush nodes can be stacked for more unique effects.

Frame Step
Frame Step will create a stop motion effect at higher values, this determines how many frames pass before the displacement seed changes.
Make sure both the material & klei krush frame steps match so the bump & displacement are in sync.
Animation Speed
How fast the noise texture changes, use low values to achieve subtle movements.
Noise Scale
Low for large mesh distortions, high for smaller surface distortions.
Noise Detail
High detail will reduce the large distortions and cause a bumpy surface texture.
Noise Lacunarity
Can generate a bumpy surface texture will retaining the larger mesh distortions.
Noise Distortion
Gives the displacement a "wavy" or "wrinkled" look.
Noise Strength
How strong the displacement is, higher strength on models with thin spots may cause them to turn inside-out. Strong displacement works well on spherical shapes with simple details.
Noise Midlevel
Can help reduce the inside-out effect and adjust how thick or thin the displacement makes the mesh.
Seed Offset
Changes the noise seed to add variation if multiple similar objects share the same geo node settings.
Using the skin modifier
I love using the skin modifier to create base meshes or simple objects as if I was using rolled up clay. The rounded caps, topology, and the ability to boolean with other mesh objects is the reason why I prefer it over curves.
Many of the objects in the "kin kollection" category utilize the skin modifier, here are some tips on using them.
For a good overview, check out this video by @TheCGEssentials
In the Viewport Shading menu, enable X-ray and set it to 1 to have full opacity while editing skin modifier objects. Use Alt Z to enable and disable X-ray mode as needed.

In edit mode, use Ctrl A to edit the radius of the selected vertices. Press the X or Y key to only scale on one axis.


Placing a subdivision modifier before the skin modifier will give you smoother curves with less vertices.


Use proportional editing (enabled with the O key) to quickly manipulate parts.

Discover more products like this
free winter24 summer24 spring24 stopmotion bfcm24 playdoh claymation clay


