Eye Corrector
Step-by-step how to set up:
Installation:
Open Eye corrector 4.3_bundle.blend, Click on Copy Bundle to Asset Library. More info
Modifier Setup:
Make sure, that you have Blender 4.3, because it has gizmos to set Eye Rest position (Eye position then armature is in the rest position).
In order to work, eyelids should be animated by armature (rigify, auto-rig pro or any other), but eyeballs parented to bone using parent linking.
Enable "Add rest position" in Data tab:
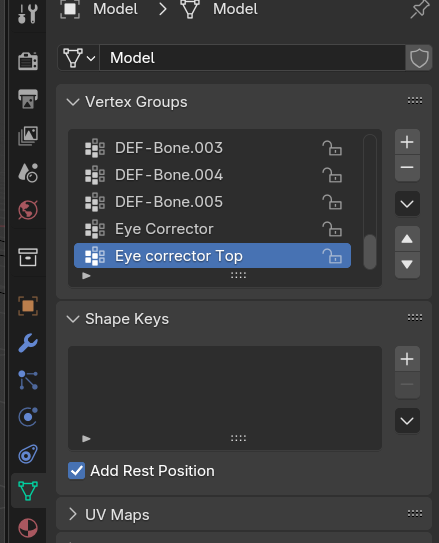
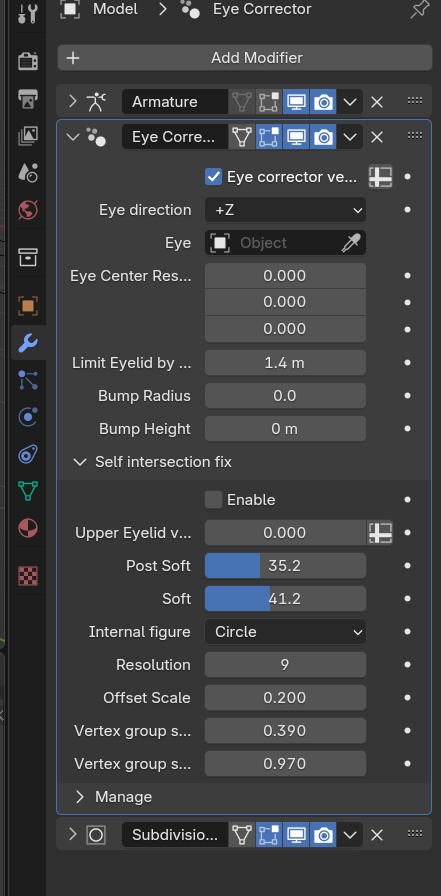
Add Eye corrector modifier on the mesh, avoid using it after subdivision:
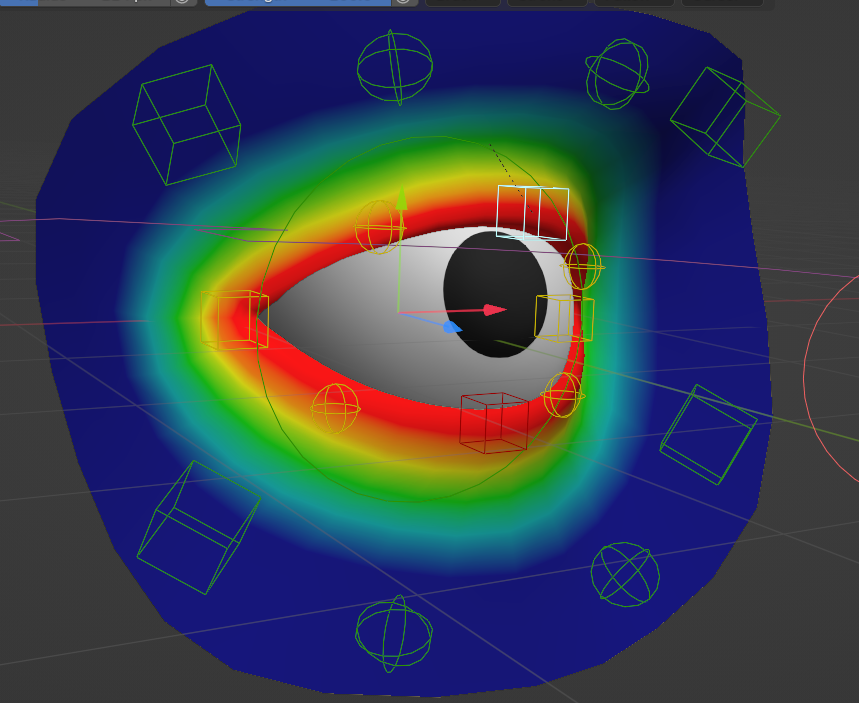
Create vertex group, for vertices that need to be corrected:
Add this group in the first field of the modifier:
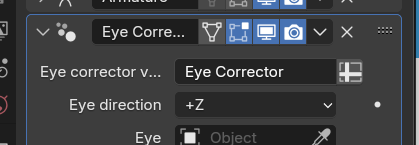
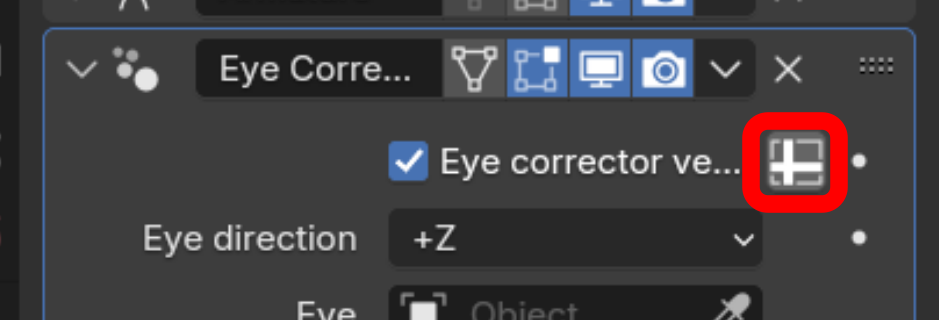
To switch from value to group, press the button next to the field input.
Select eyeball and check that axis is in front of the eye in local view (in my case it is Z):
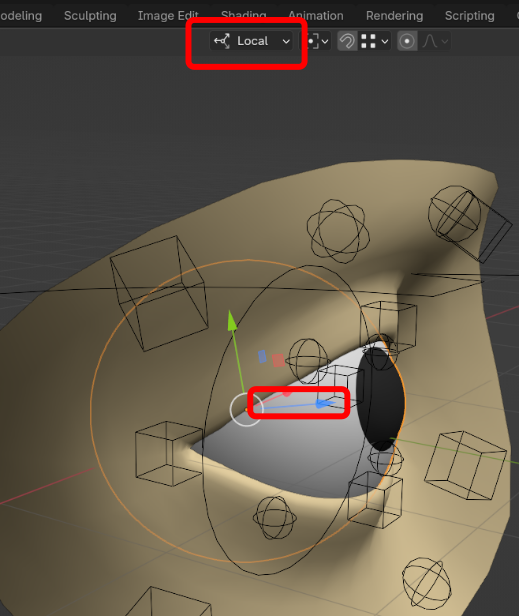
Set it for eye direction.
Next, add the eyeball object in the Eye field:
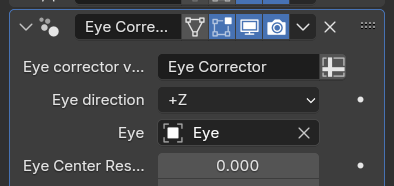
Set up Eye Center Rest Position. To do this, set your armature in the Rest Position:

then move modifier's gizmo into the center of the eyeball:
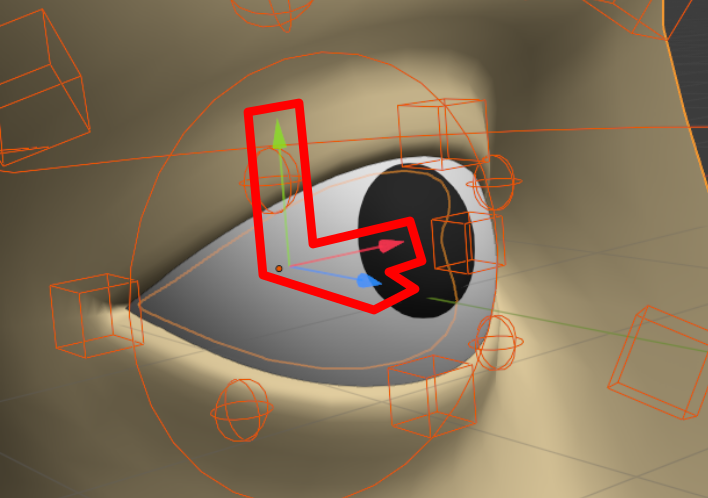
Set armature to pose space.
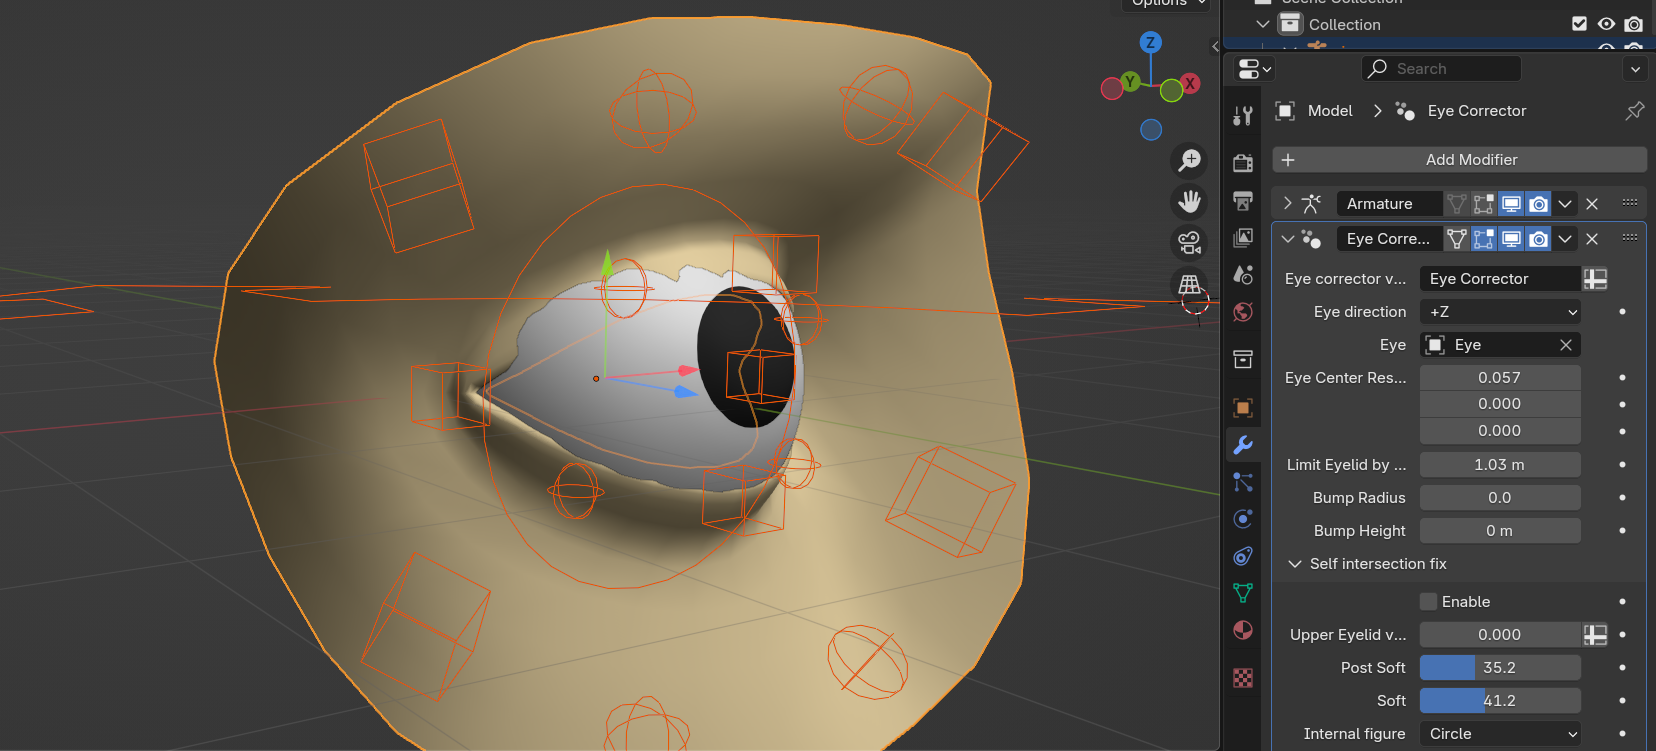
Set Limit Eyelid by radius in the position, then modifier stats shrinking eyelids.
This is too low:
This is just enough:
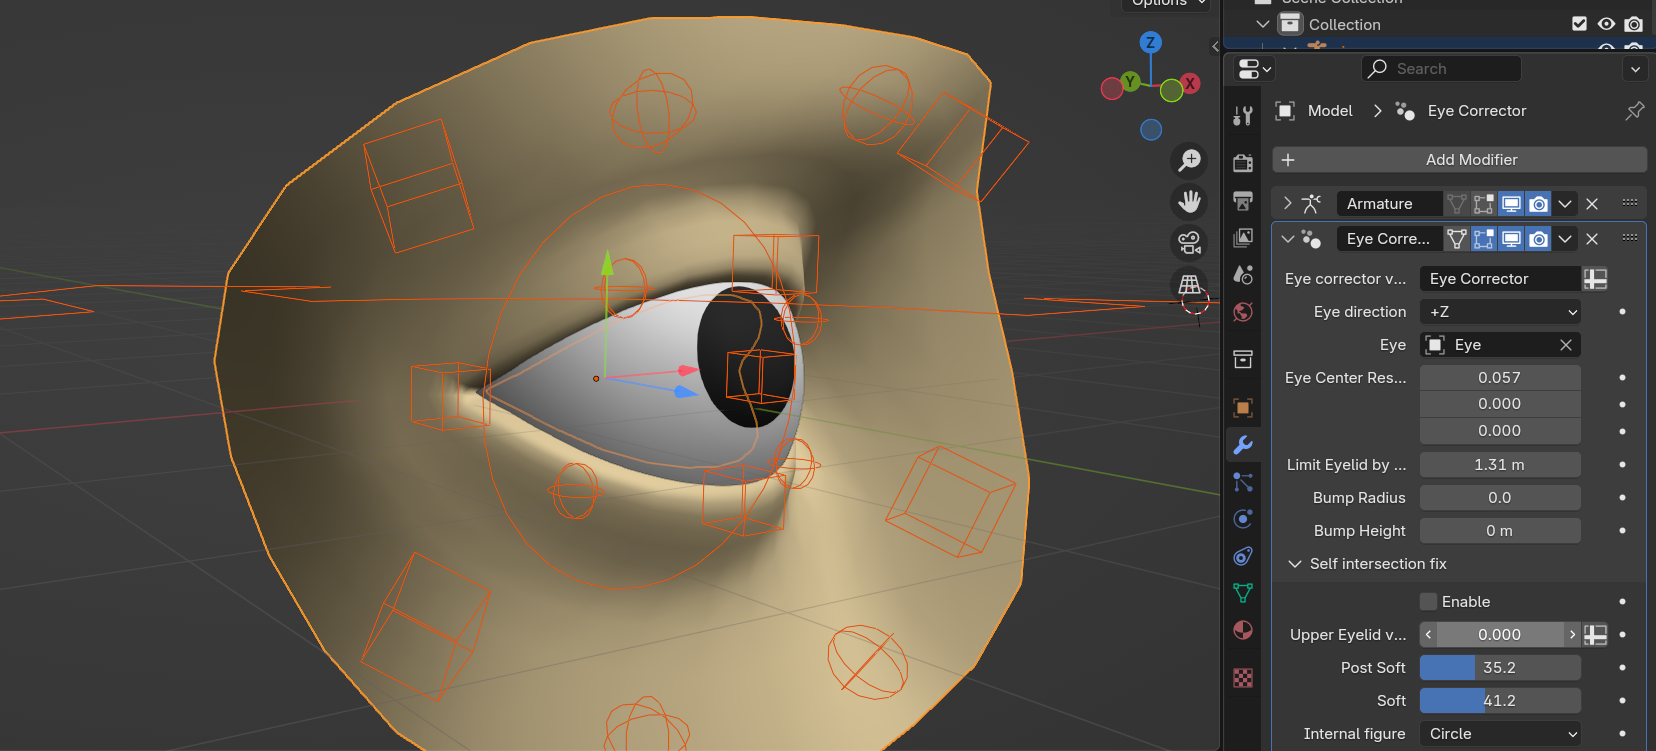
This is the base setup. If eye still intersects with eyelids, add loopcuts or edit initial position.
Setting Eye cornea bump:
Set two values, Bump height and bump radius:

Setting self intersection fix:
Make vertex group for top eyelid:
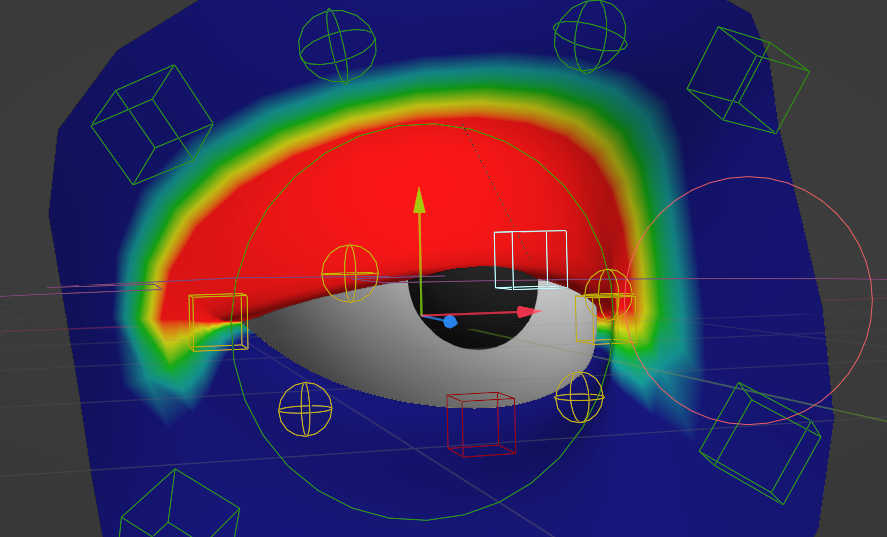
Add it to Upper eyelid vertex group and check enable:
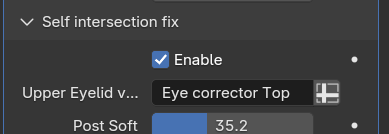
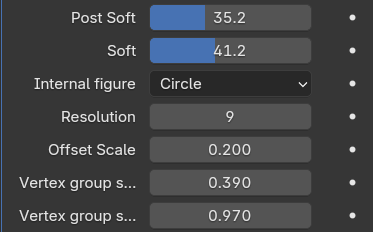
The results may not be perfect. Play around with these settings to get better results:
