Stamp It! - No Shrinkwrap & Extra Geometry


First Product Launch Sale
StampIT is my first add-on and project I'm releasing - and with that I wanted to do a little launch sale. You can grab it & stamp it at a 40% Discount! The discount is already applied to the price - which will change back to its original of 29.99$ in May.
For students - send me a message via blendermarket and I can issue an additional discount for student licenses.

What is Stamp It?
StampIT simplifies the process of applying decals and PNGs to models. It utilizes a "controller empty technique" that adds the decals without adding a single extra vertex to your project. The add-on works in both Cycles and Eevee!

Features:
- Stamp images & PBR materials to objects
- Hold CTRL to stick Stamps to the objects surface
- Auto parent stamp to object
- Duplicate Stamps with Ease
- Stamp Opacity Slider
- No shrinkwrap modifier
- Auto resize stamp to aspect ratio
- Auto link nodes
- Stamp Layering
- Swap images quickly
- Alpha cutouts
- Organized Node Group
- Smart material system - show stamps of active object on UI
- Example Scenes Included

No Shrinkwrap modifier
The traditional method of applying a decal is by subdividing the decal plane and then shrinkwrapping it to a selected object, which often complicates the process by adding unnecessary vertices. StampIT introduces a new approach, sidestepping these issues by using an innovative stamping method. StampIT utilizes an empty controller to overlay images directly onto models - via material coordinates. This method offers greater flexibility in positioning and scaling decals.


Layering images
StampIT also introduces the ability to layer images. You can stack multiple PNGs atop one another directly within Blender's material editor. Adjusting the order of these layers is as straightforward as rearranging a few nodes, allowing for quick modifications and flexibility in the design process.

The process is straightforward: you can change the order of layered images by simply adjusting the nodes in Blender's material editor.

Get creative with it!
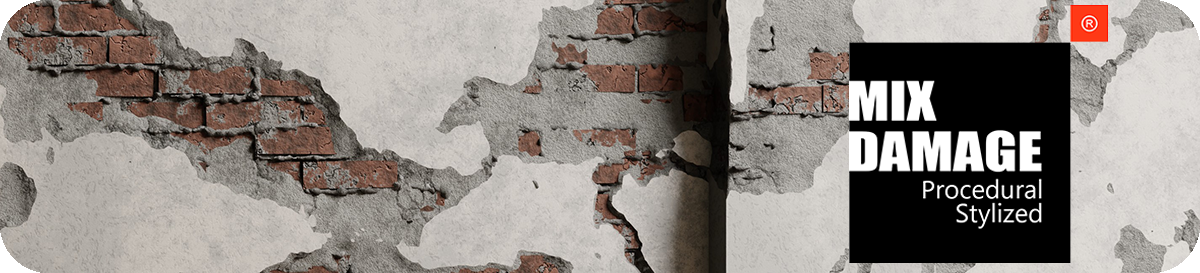
Stamp procedural material or roughness maps to your materials.

Quick modifications
This method of using images allows for quick experimentation. Simply place your decal and move & rotate it to your liking. All the stamps are parented to the object and therefore "stuck on the surface".


Think of it as texture painting with images
It's a different way of working on your objects material, that if utilized correctly can speed up your creation process, as well as improve the "modularity" of your design - as you can make quick changes on the fly.

Alpha cutouts
A niche but cool use of the add-on - by setting the alpha of the Stamp to 0, you essentially create a cutout effect on the model. This feature opens up new possibilities, enabling users to modify their models in unique ways, akin to performing booleans with images.


Examples


Easy to use UI
The UI is very simple & located on the N Panel of the shader editor.

A big "Stamp It!" button that adds a placeholder stamp to your 3D Cursor. You can then load in an image that is already inside your blend file or add in a completely new image. The add-on also resizes the empty to fit the aspect ratio of the image (automatic on import or use button 3. To force update the aspect ratio). The delete stamp button will remove everything required for the stamp - ensuring your blend file remains clean.


How to customize stamp materials?
If you have Node Wrangler add-on enabled (default blender add-on) you can hold down ALT on your keyboard and then left click drag the node away - this will reconnect the nodes around it and just "pop out" the node you want. You can then drop that node in between other nodes, and it will automatically connect the sockets for you. This enables you to quickly change what stamp overlays what and get great results.

In the nodegroup itself you will find two colored boxes. The stamp and the stamp material info is all stored in the green box. Only edit things in the red box if you know what you're doing :) - The red box is basically setting the bounding box for the empty to only show the stamp in the empty.
Where to get stamps & decals?
You can create a stamp from any texture you want. One way I use it is I have a folder dedicated to stamps and decals and I save new found textures in there. The best places to source the textures are: Substance 3D Assets library, Textures.com, Quixel bridge. One way you can also create your own stamps is by combining a few of the texture in photoshop and exporting them for your own use.


If you want me to release a pack of textures and decals, send me a message or leave a rating on this product letting me know that this is something you would like to see. I will compile a pack of commercially usable decals & stamps (will probably be a seperate product with a small price tag and not a free update to Stamp IT - the add-on itself is just a tool for it.)
Example Scenes Included
3 example scenes included in the downloads page so you can test out the add-on and experiment.
Extra!
The technique used in this add-on is also found in https://www.youtube.com/watch?v=rUP8aAG4AQ8&t=568s this video where Robin does an amazing job teaching you about the technique and how it works. It's a great video and I really recommend a watch.
Release Log
Version 1.1 - 28. March 2024:
Added Stamp Opacity Slider
Added A Button To Duplicate Stamp
Reworked Stamp Stick To Surface Function to behave better and have better performance
Added new Stick To Surface Settings Panel
Fixed Nonetype errors that appeared when deleting objects / stamps
Other minor bug fixes & typos
Version 1.0 - 11. March 2024;
- Addon Release
Other creators products you might like:
| Sales | 1100+ |
| Customer Ratings | 25 |
| Average Rating | |
| Dev Fund Contributor | |
| Published | about 2 months ago |
| Blender Version | 4.0, 3.6, 3.5 |
| License | GPL |
Have questions before purchasing?
Contact the Creator with your questions right now.
Login to Message