Cable Pro 2
Cable PRO
Version 2.0
Cable PRO helps you to connect objects with cables.
It uses either the geometric center of the object or different points.
Installation
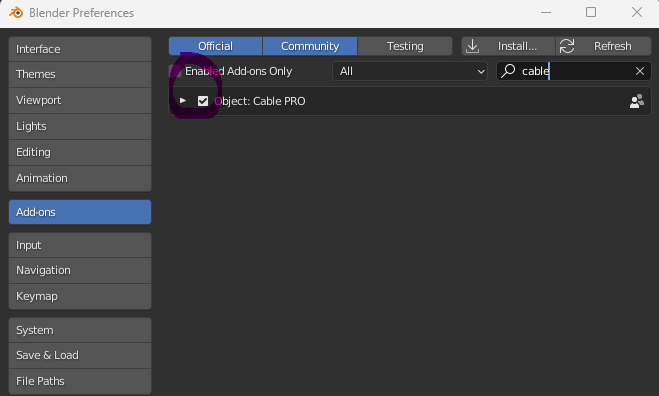
Go to the Edit -> Preferences menu item inside blender.
Click on the install button and select the provided ZIP (cablePro2.zip).
After installing, Cable PRO will appear in the list of plugins, and you may need to select it.
Once installing, Cable PRO will be available in the Layout workspace on the right panels
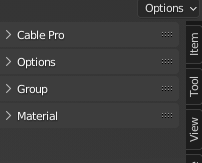
Panels
Selection
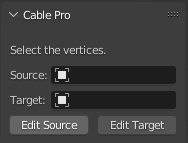
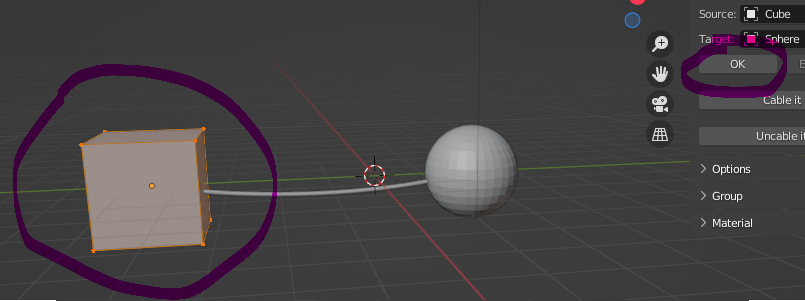
In this default panel, you will have to choose a source object and a target object.
These are the objects that will be connected by a cable.
The source object and the target object can be the same one.
When you choose only a source or a target, the default cable location is the geometric center
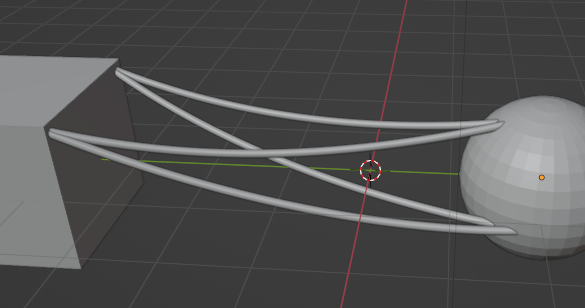
In this sample, we set a cube and a sphere, and we use the "Cable it" button
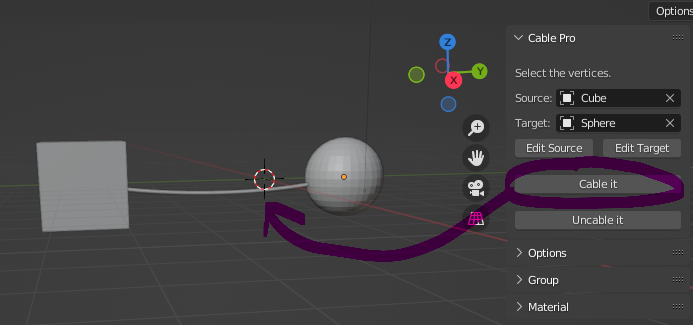
As you can see, there is now a single cable visible between our objects.
By default the cable start and stop at the center.
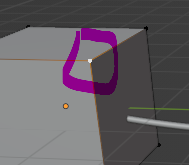
To change the position of the start and end points you must use "Edit source" or/and "Edit Target".
When editing a source or a target the edit mode is activated and you will have to select the vertices that you want by clicking on it.
If you want multiple vertices you will have to use the shift or select it with your mouse.
Once you have selected the vertices, just click one "OK". The object mode will be restored.
If now you click on "Cable it", the beginning of the cable is near the selection
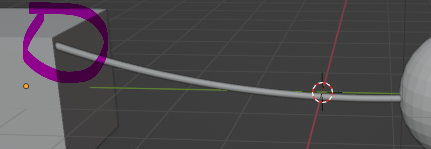
The beginning is not exactly at the selected vertice because cable PRo chooses a better location of the cable to be inside the source or the target. If you want to change this behavior, you must update the "Anchoring" ratio for the target and/or the source. We will see after this option.
If you select several vertices, Cable Pro will create cable for all connection combinations.
For example, if you have 2 selected vertices in the source and 3 selected vertices in the target, you will have 2 * 3 cables.
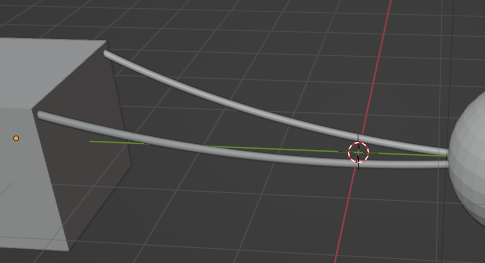
In this sample we select two vertices for our cube and a default vertice for our sphere.

When using the "Cable it" action, you have now 2 cables
If we select two vertices on the sphere any where and "Cable it" we have this result
If you doesn't want to keep our last cables, just use the action "Uncable it". Not that it will only work with your last cables.
Options
There are two kinds of action :
- Actions that impact in real time the last cables traced.
- Actions that impact the next cables.
If you absolutely need the second form of action for the cables present, you must "Uncable it" before.
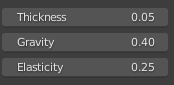
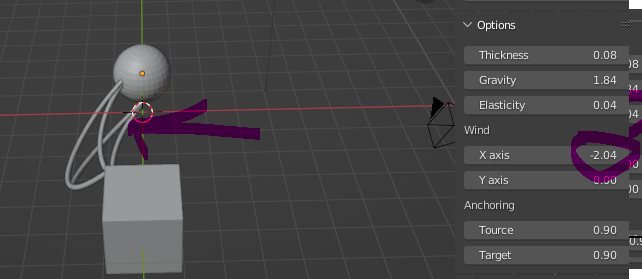
The thickness will impact in real time the last cables. A thickness of 0 means The minimum thickness making the cable still visible.
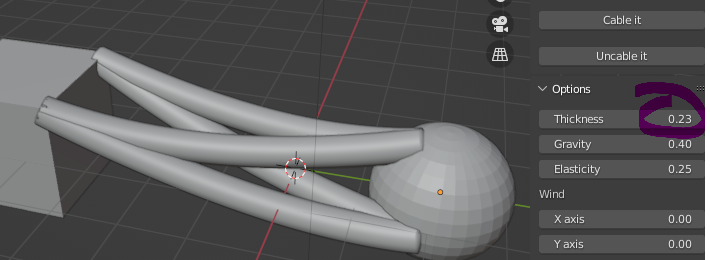
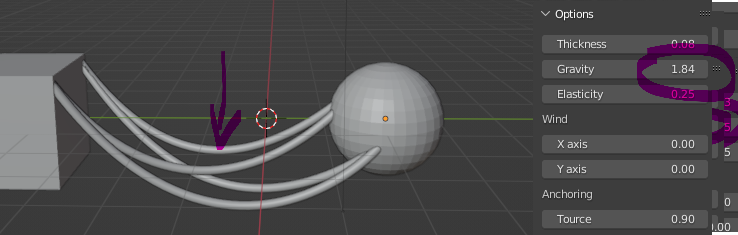
The gravity will update the middle position up or down. This is very useful when you want the cables to hang.
In this sample we have put a negative gravity for having the cables to the up.
In contrast, a higher gravity will cause the cables to droop.
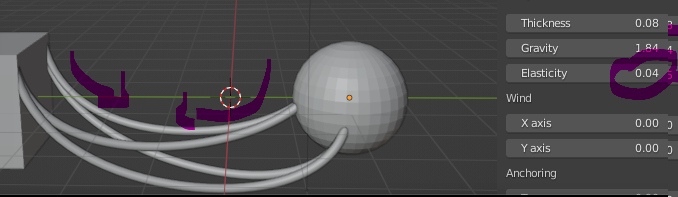
The elasticity property updates the tension on the cable. The lower the value, the lower is the tension.
Wind
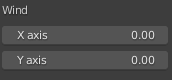
You can apply a force on the cables on the left or on the right.
In this sample we apply a force on the right using the X axis.
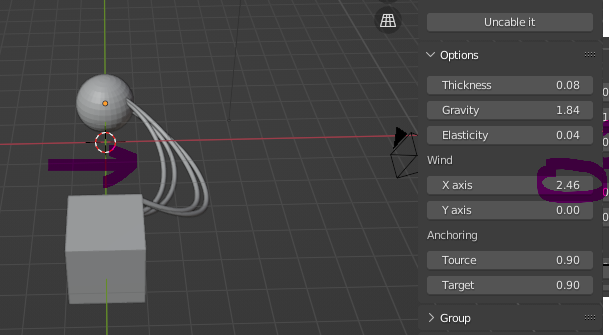
If we want a force on the left, we use a negative value for the X axis.
Use of the X axis or of the Y axis depends on the orientation of your cables
Anchoring
A cable goes from inside the source and arrives inside the target. The location of a cable start or end by default is the geometric center.
If you have a lot of objects inside your scene, the automatic update can have a low performance. You can disable it with the Options panel by unchecking "Auto update". Then you will have to click on "Update Layer" after all your parameters update.
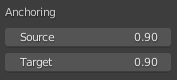
When you choose a particular point, Cable Pro calculates the position of your beginning or end of the cable thanks to a ratio. There's a ratio for the source and for the target. Most of the time this ratio will be identical. The default ratio is at 0.9.
The ratio is applied on a straight line between the geometric center and the selected point. This makes it possible to have a starting or ending point internal to the object.
A ratio change will be applied to the next cables only.
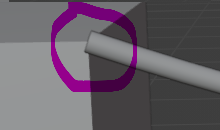
We suppose having a single point selection for our cube.
Here the result for the starting of the cable with a low value (0.03). We are then very near the geometric center.
If we increase the value and if we cable again, we will be distant of the geometric center and very close to the selected point.

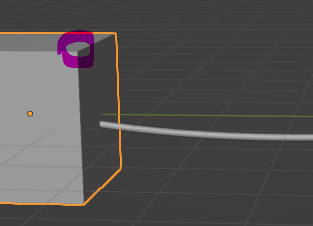
If we didn't want the cable to be immersed in the form, we simple set a value to 0.
In this last sample we can see the cable is outside the source object.
Group
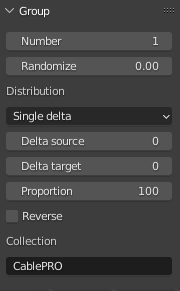
By default we have for each point combination, only one cable. With this option you can replace one cable by several ones. It will be applied only to the next cables, you can't update the last cable with this option.
To avoiding overlapping cables, cable PRO will apply random variations using the "Randomize value". The higher this value, the greater the variation will be. These variations concern the positioning of the intermediate points of the curve.
If you let the Randomize property to 0, you will see only one cable.
In these sample, we add 12 cables between our cube and our sphere.
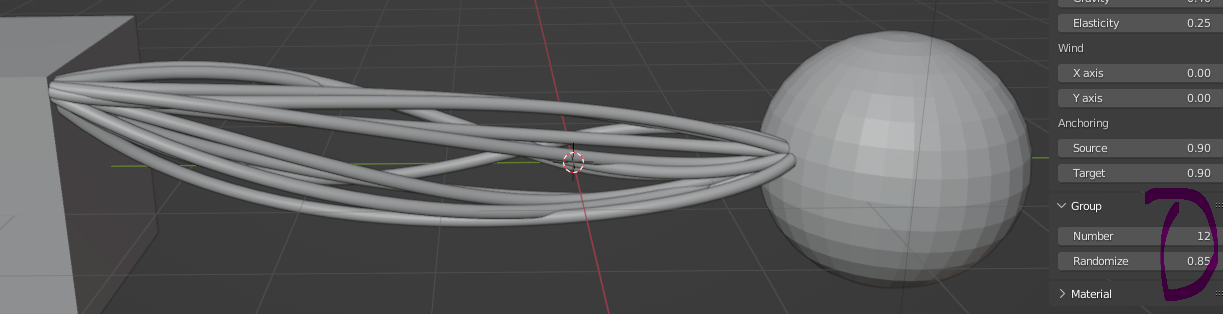
All the options that impact in real time will be applied to the set of cables.
You have to be careful when you have selected several points not to end up with too many cables.
If you have several source and destination points, the distribution of the cables will be done according to different modes:
- Full : A cable is created for all points combinations. The number of cables is the multiplication of the source and destination points. You must therefore be careful not to use it if there are too many points selected.
- Single : For each point of the source an equivalent is chosen in the target. This is based on the order of the points. If the point does not exist in the destination, it is chosen from the beginning.
- Single delta : It is similar to the previous mode except that it will shift the choice of source and destination points by two indexes. The first property "Delta source" will shift the choice of the source point. The second property "Delta target" will shift the target point.
- Random : It will choose one cable from the Full mode.
The proportion is the quantity of cable in percent. For sample 100 means 100% of the cables. For sample 50 means half of the cables.
The reverve flag is useful for the Single and Single delta mode for starting to selects points from the source or from the target.
The collection is a name for storing all the cables avoiding mixing them with other objects.
Material
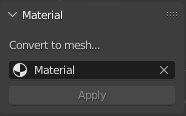
The last step is to transform your curves to mesh using the material panel. You just have to select a material to be applied to your cable. For sample you may choose iron material or plastic material for your final rendering.
Note that in this last action you can modify the cable but depending on the number of cables and the material, this can be resource-consuming.
(c) 2024 Alexandre Brillant
Discover more products like this
Cable cablerator scifi cable connector cables connected vertices cables cables cables connection create cables creating cabls