Asset Wizard Pro
DIRECT EXPORT FROM WORKSPACE TO LIBRARY
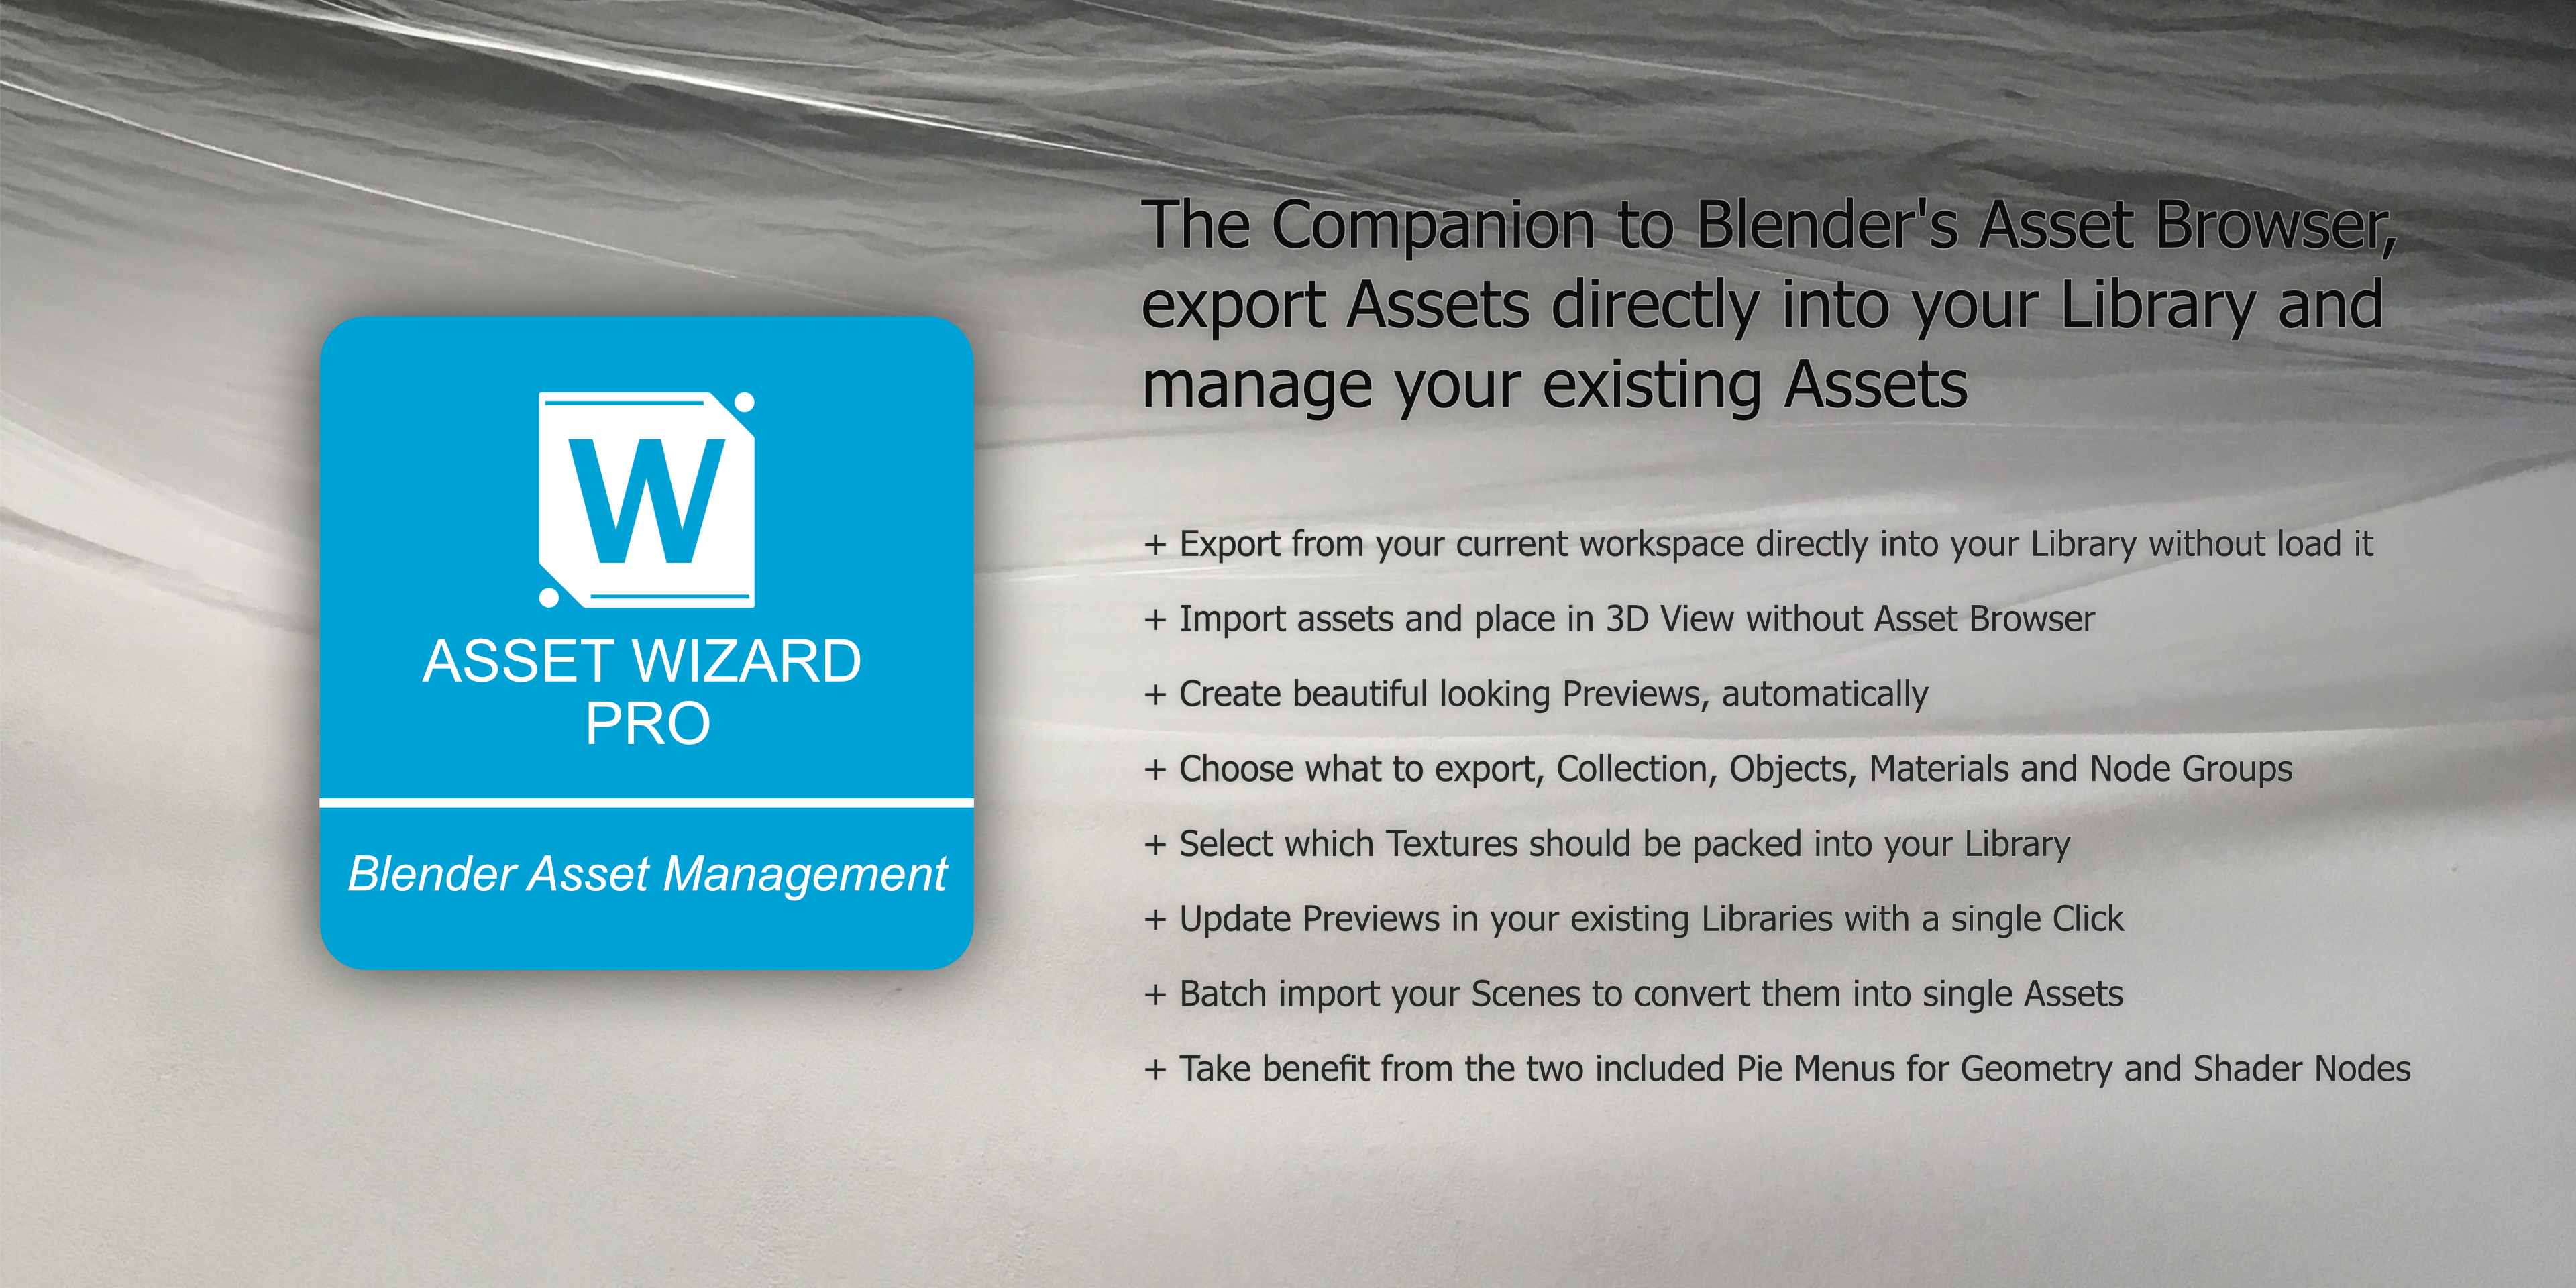
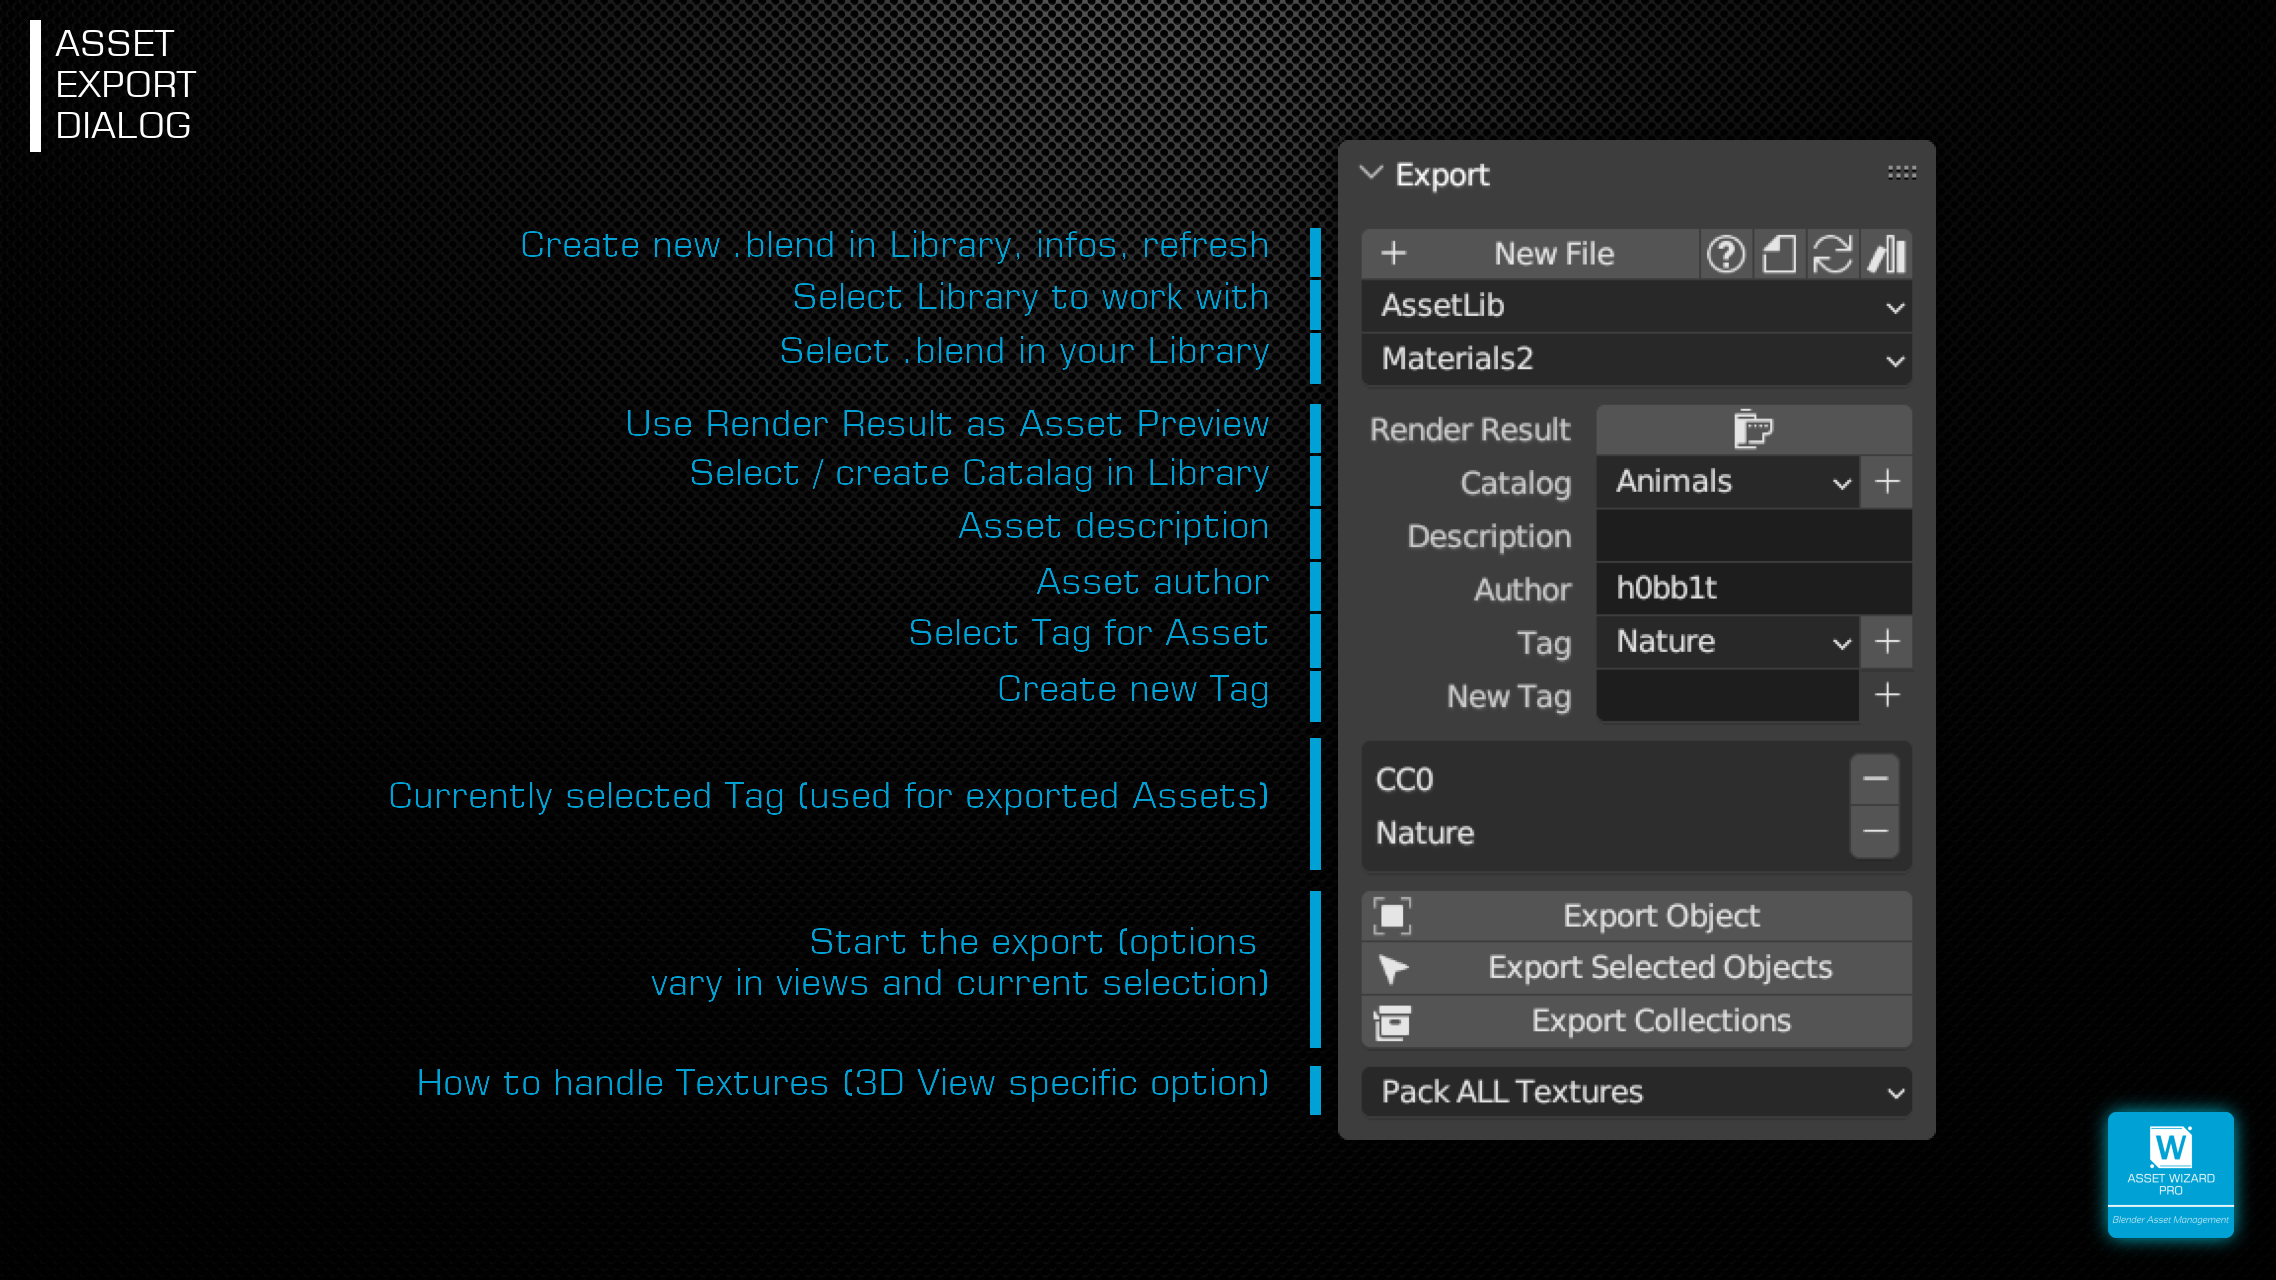
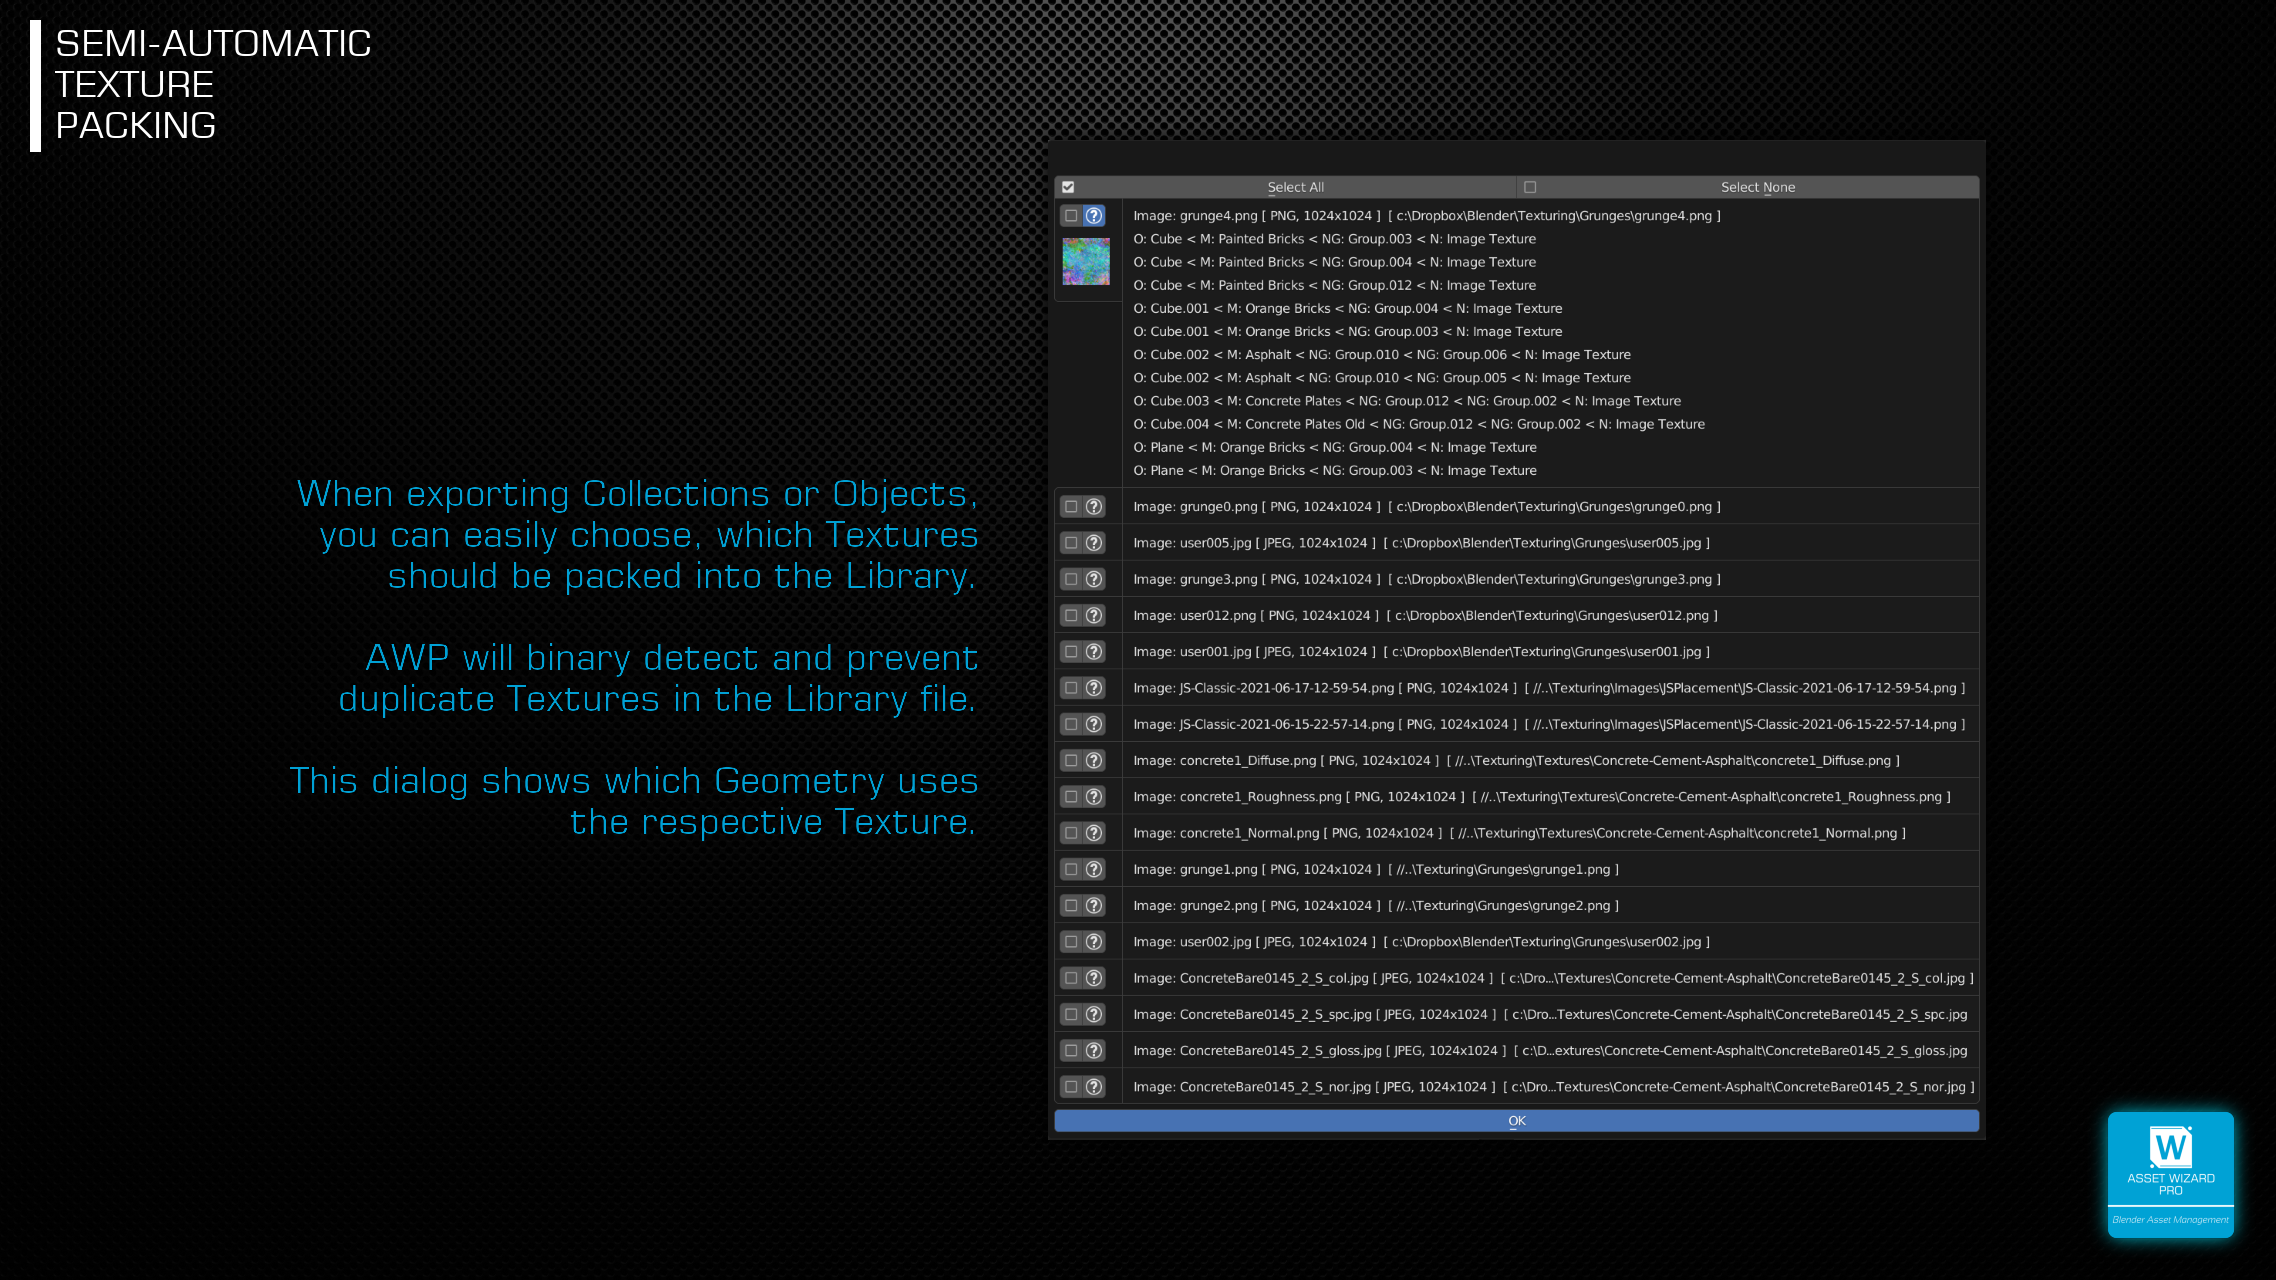
Just select the target library file and hit the export button.Export Collections, Objects, Materials, Shader- and Geometry Nodes.
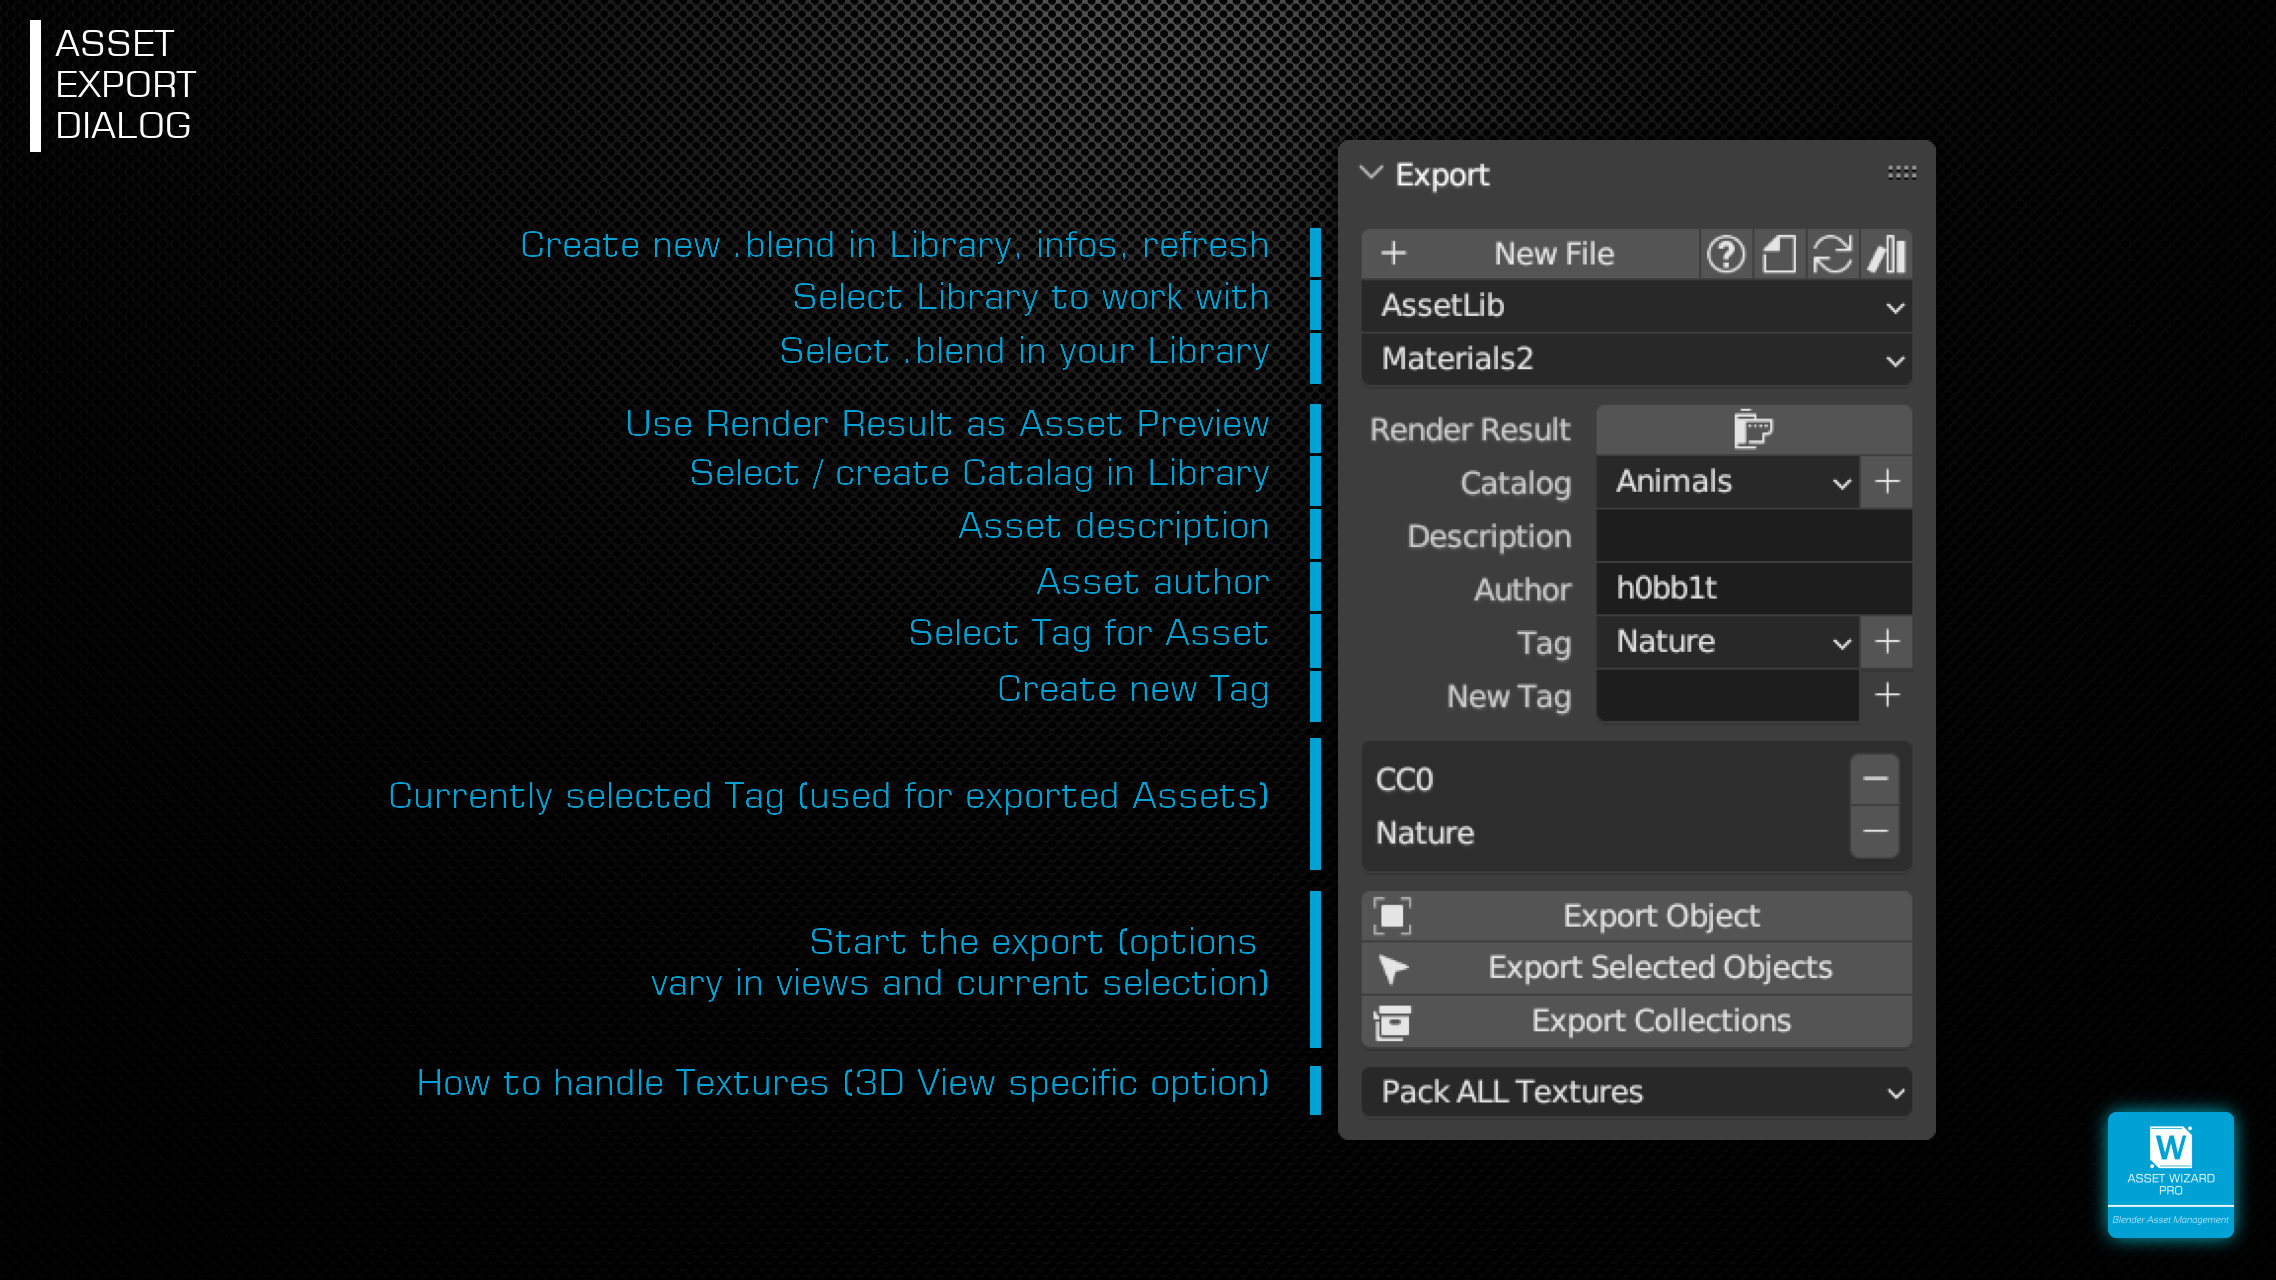
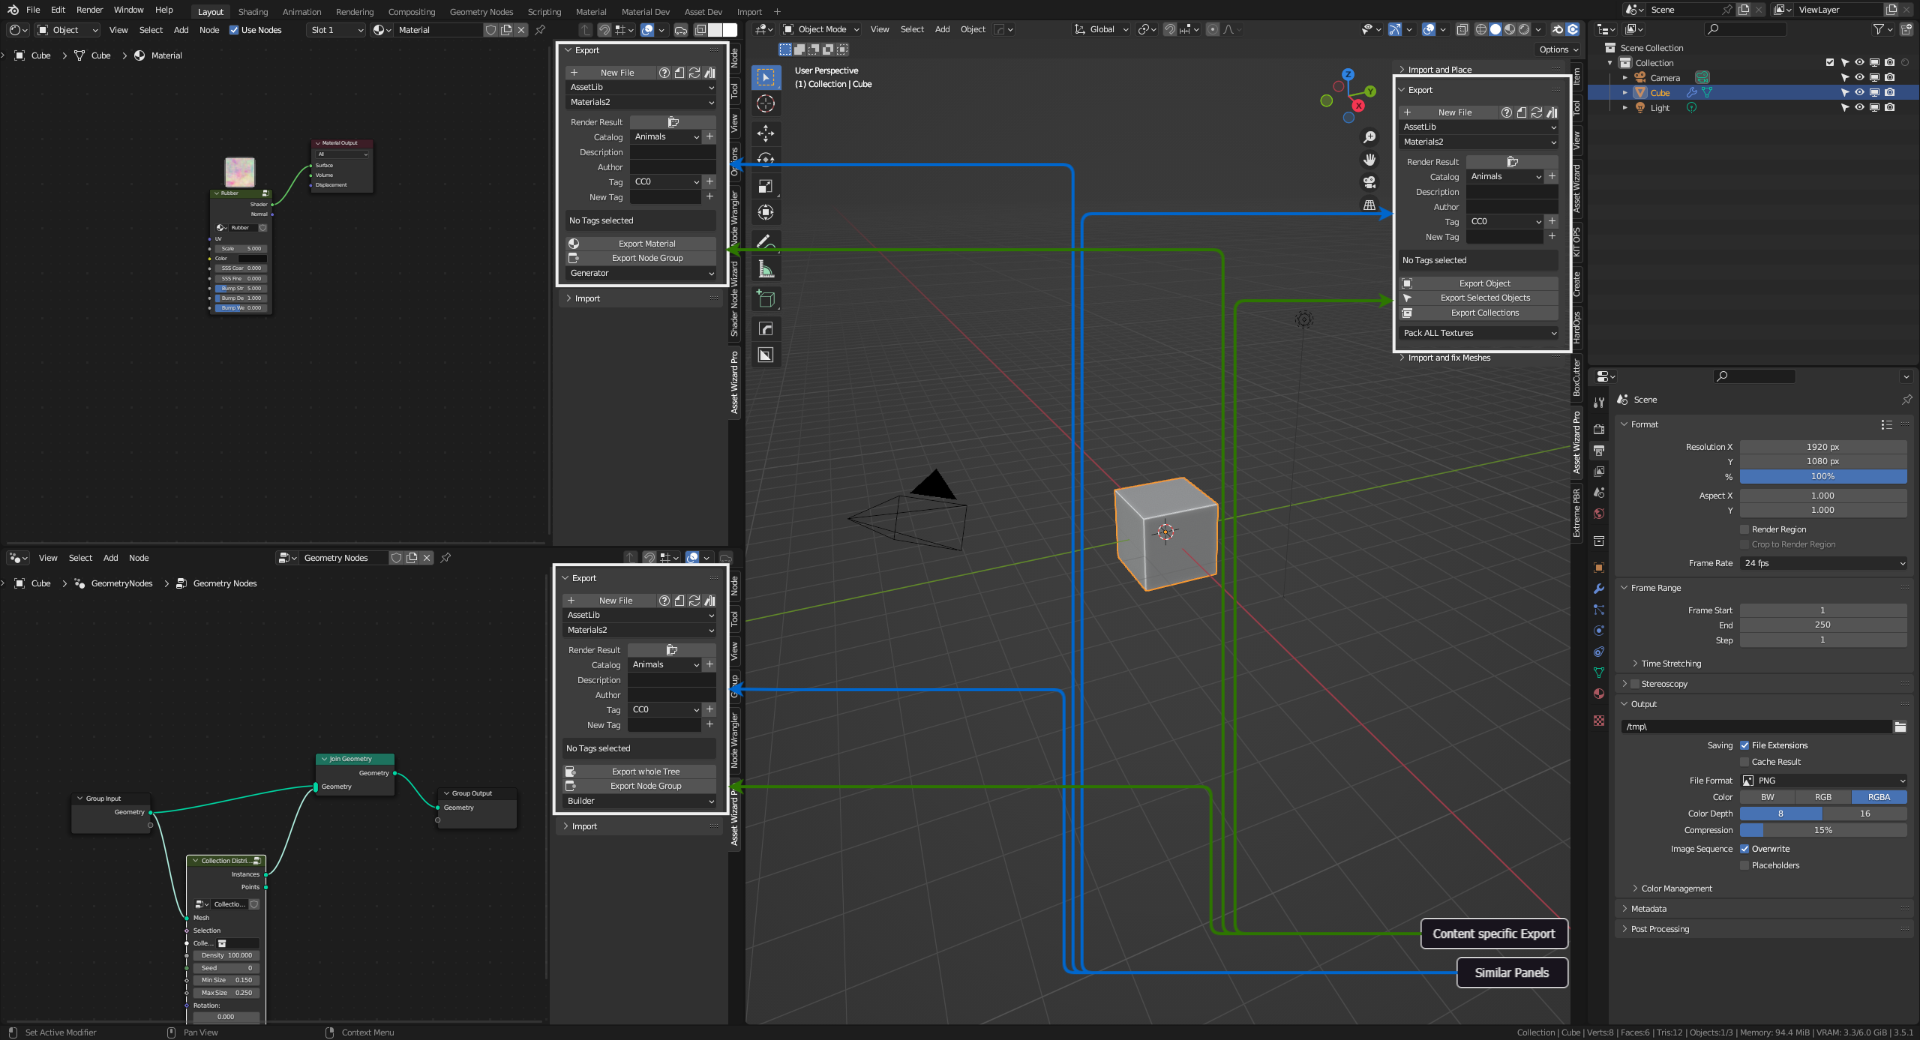
TIME SAFER
To add an object to the library, you usually have to load the corresponding library .blend file, append the asset from your current scene (which you must have saved before!), mark the imported asset, save and return to your scene. AWP will do this for you automatically.
COLLECTION SPECIFIC
The insert position of collections from a libary is a little bit tricky, as the insertion point is the world center of the library. But there's an offset stored in each collection which can fix this. AWP will adjust this offset automatically, so the insertion point is the center of the bottom plane of the collection bounding box.
ADD ASSETS TO SCENE 
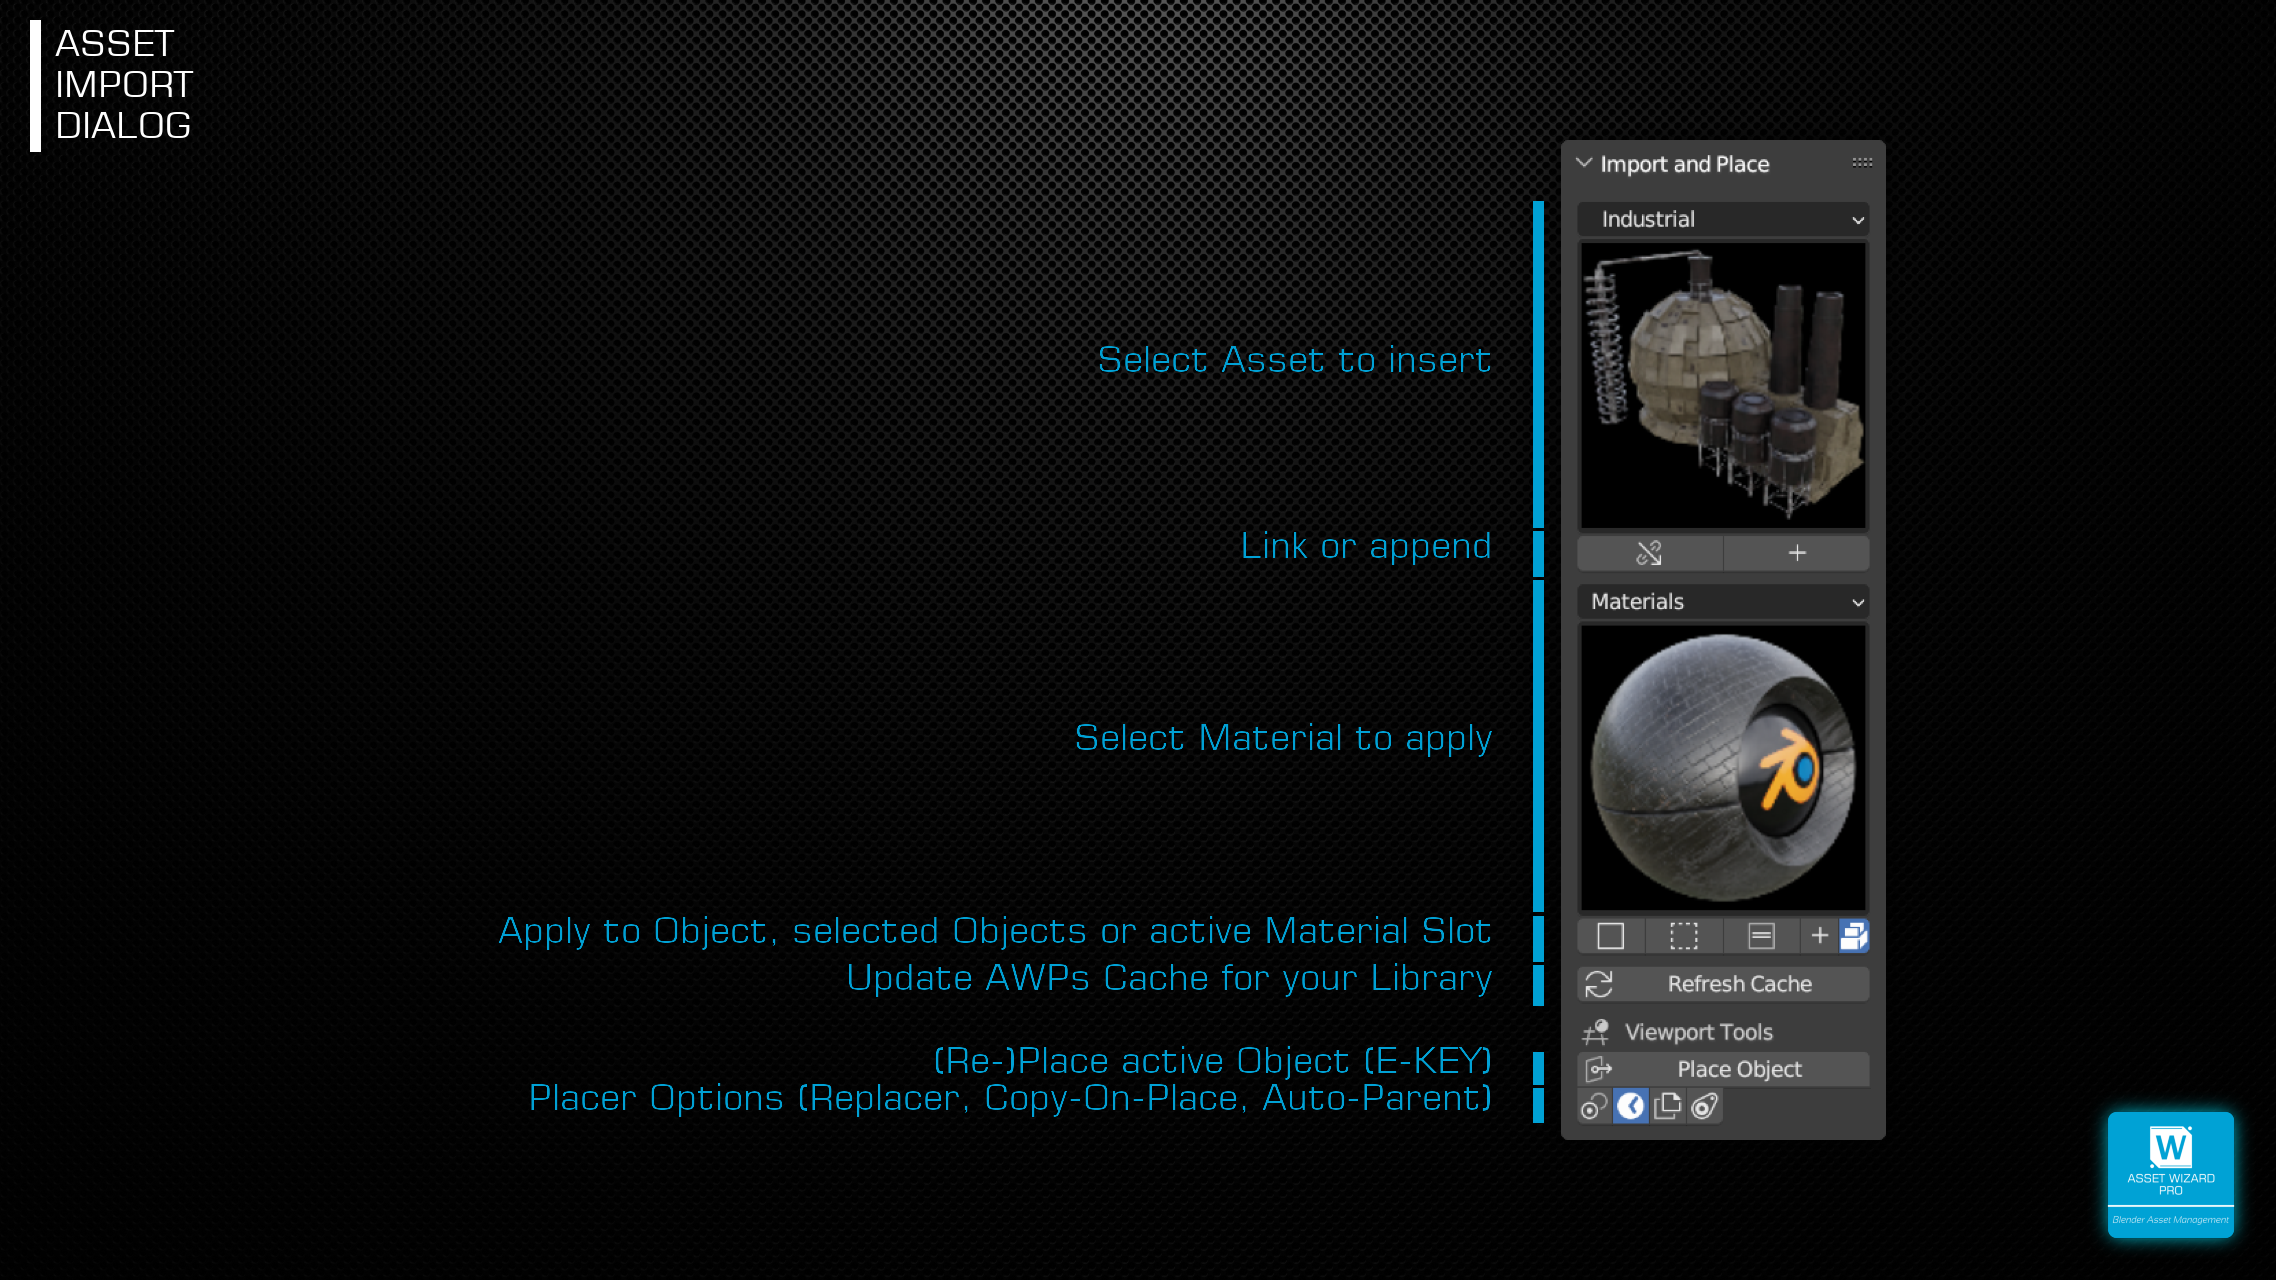
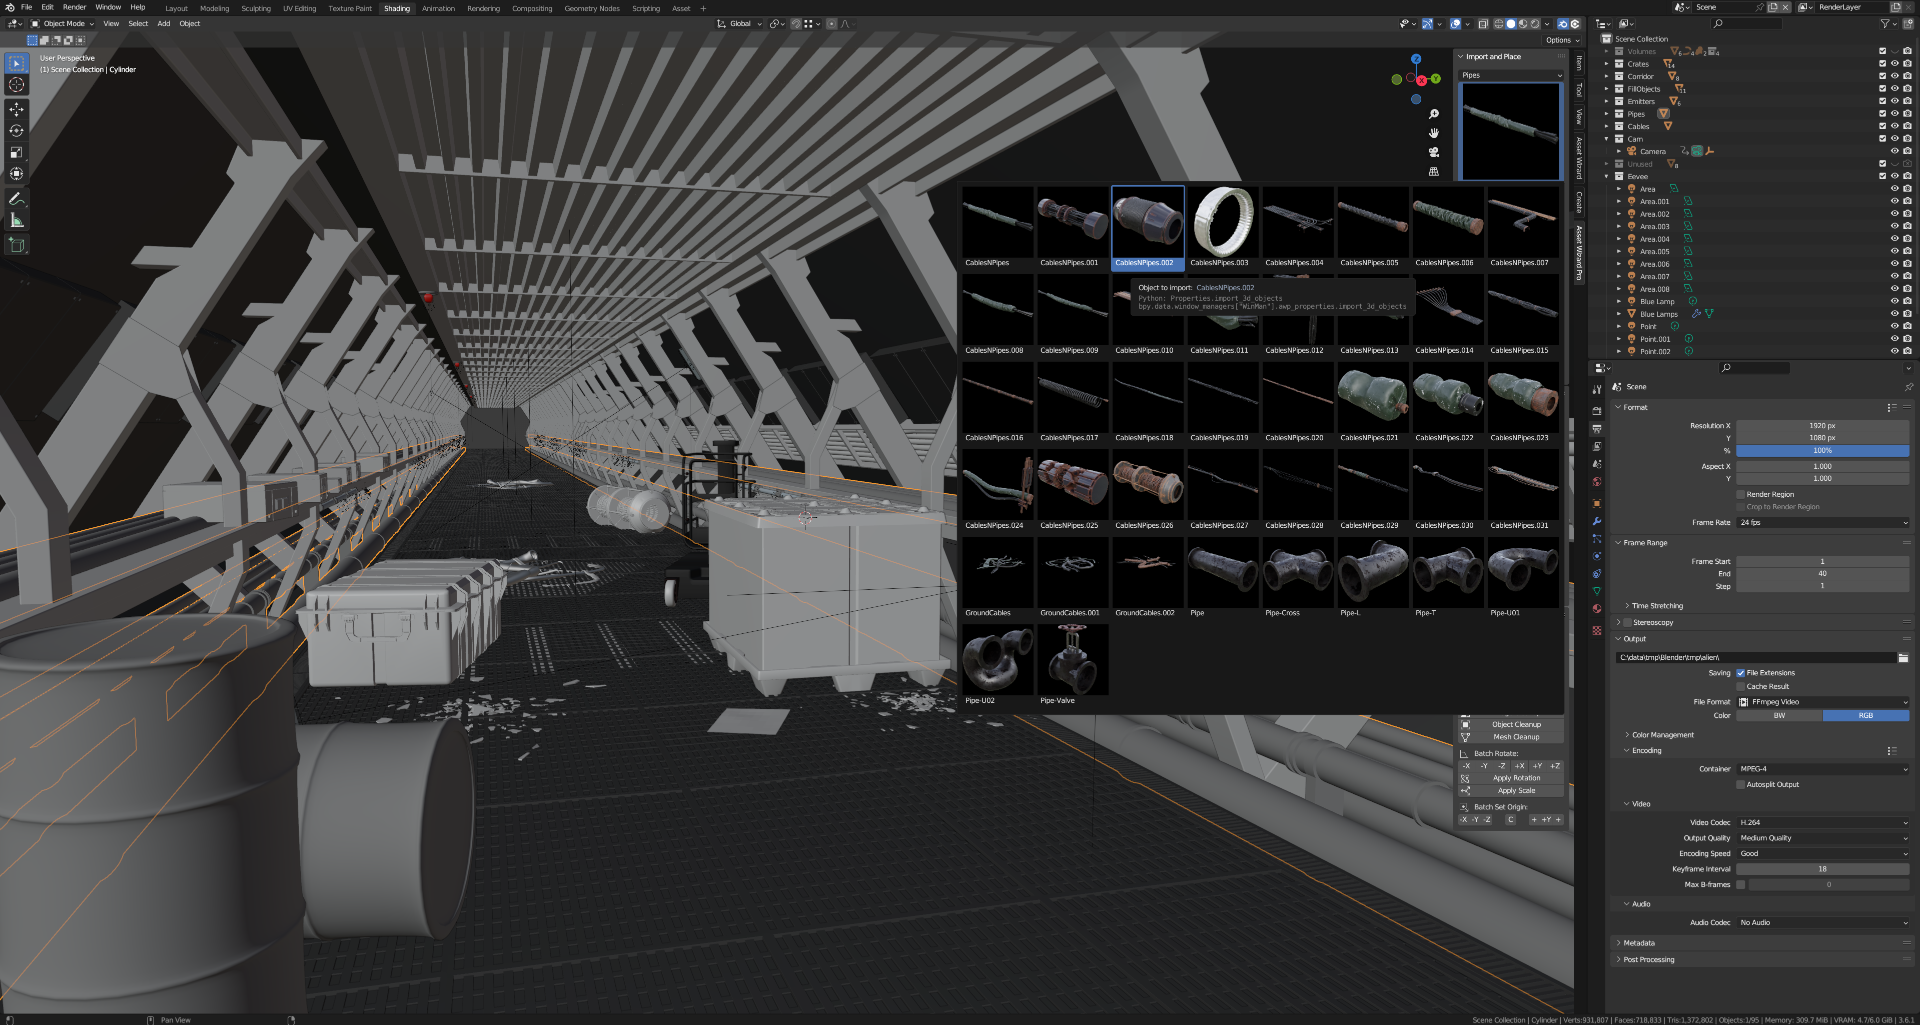
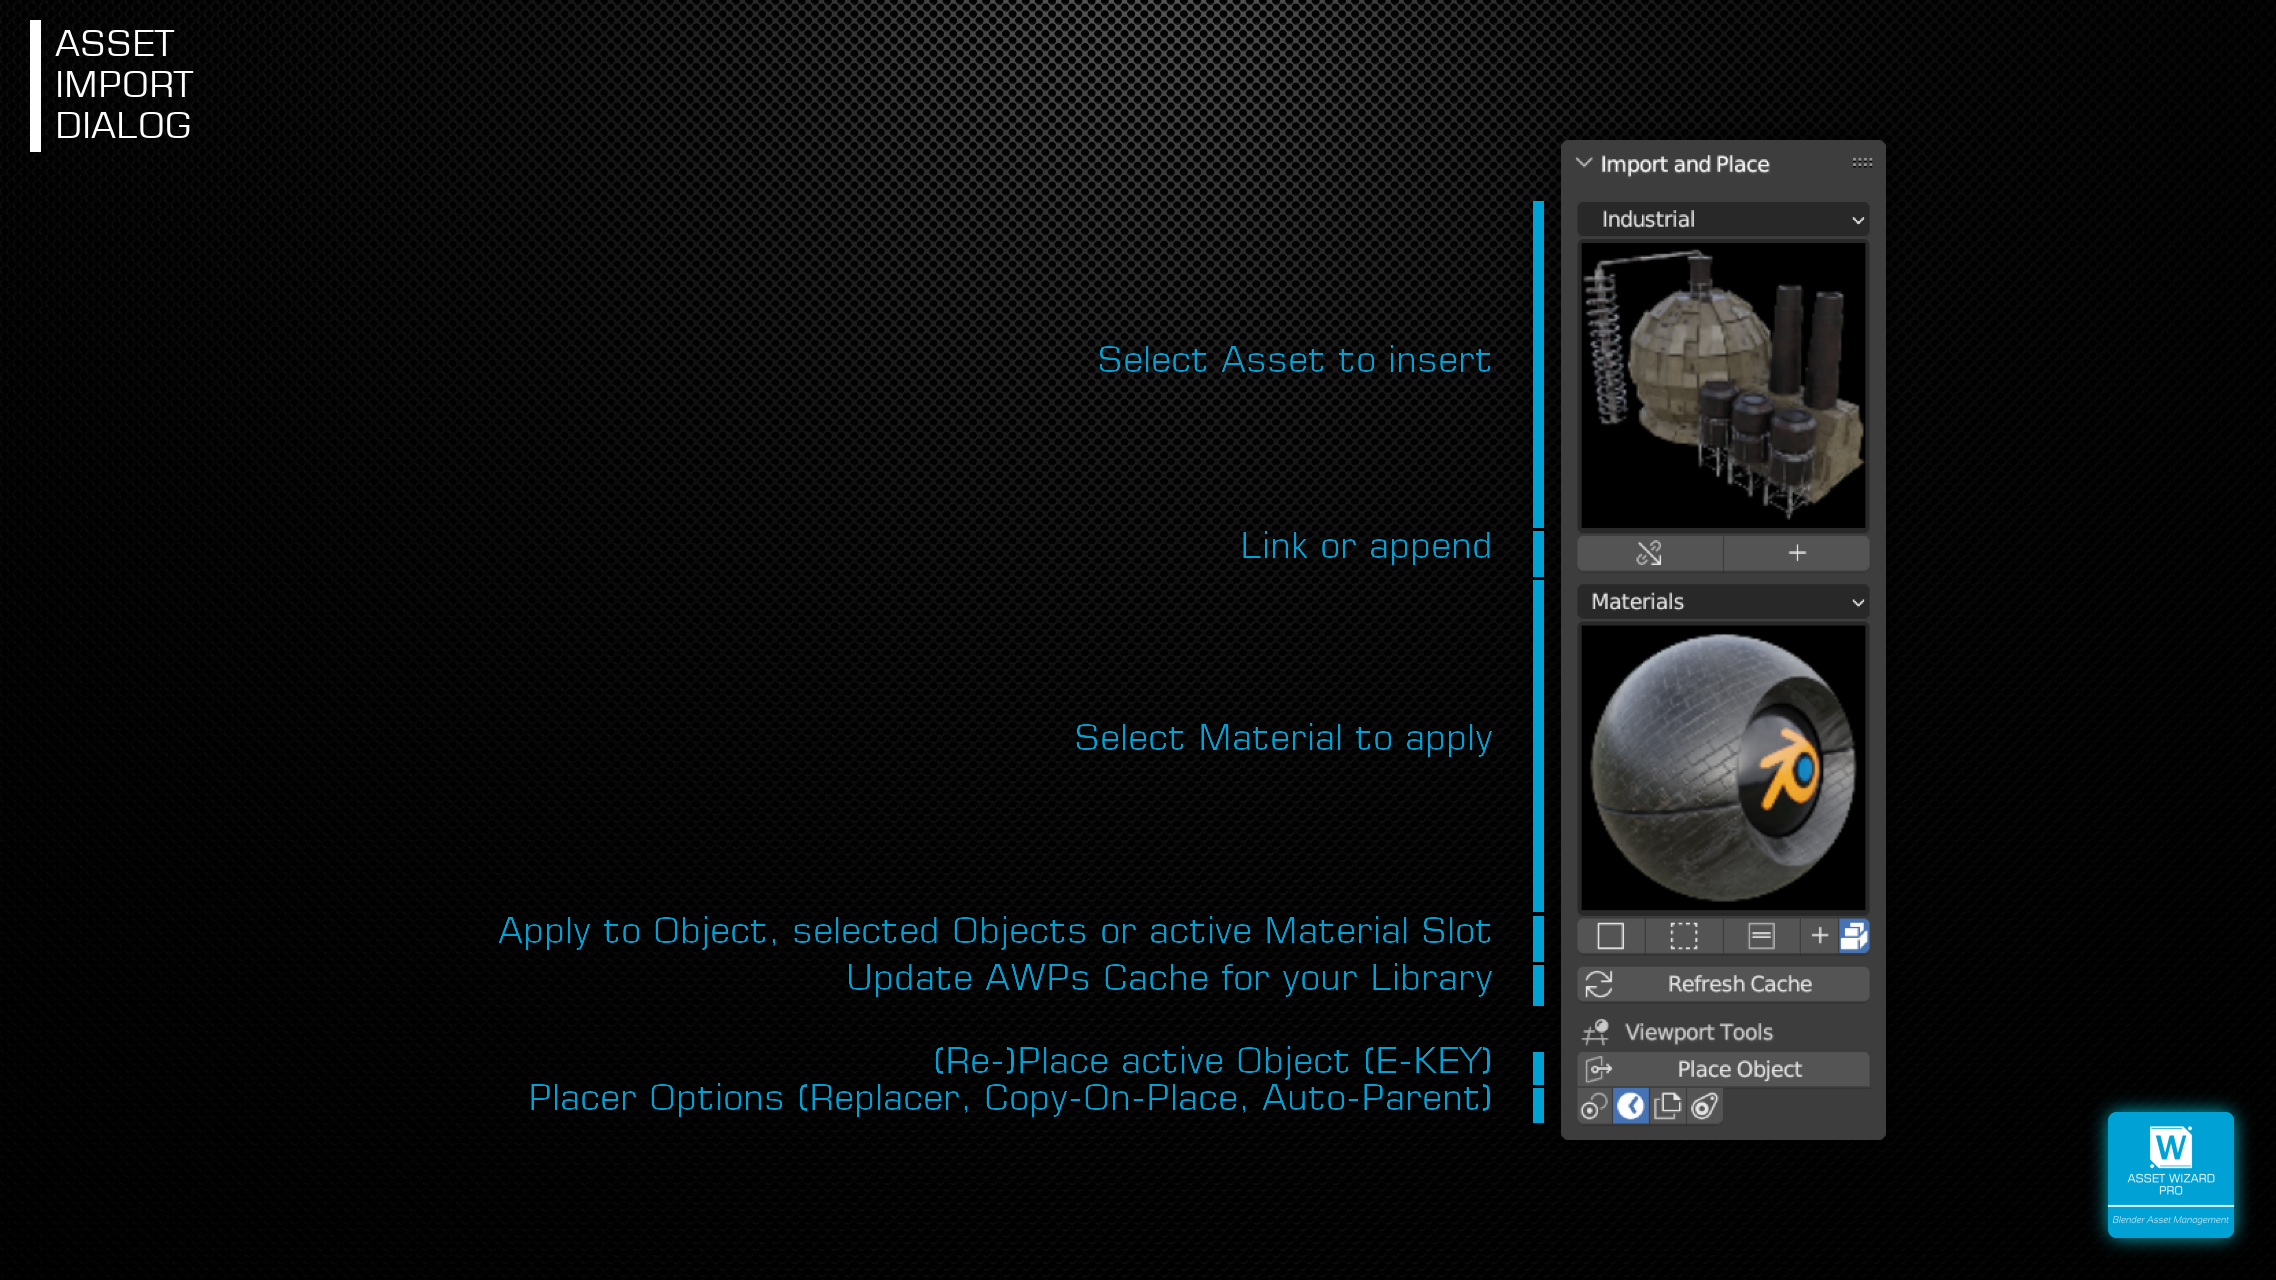
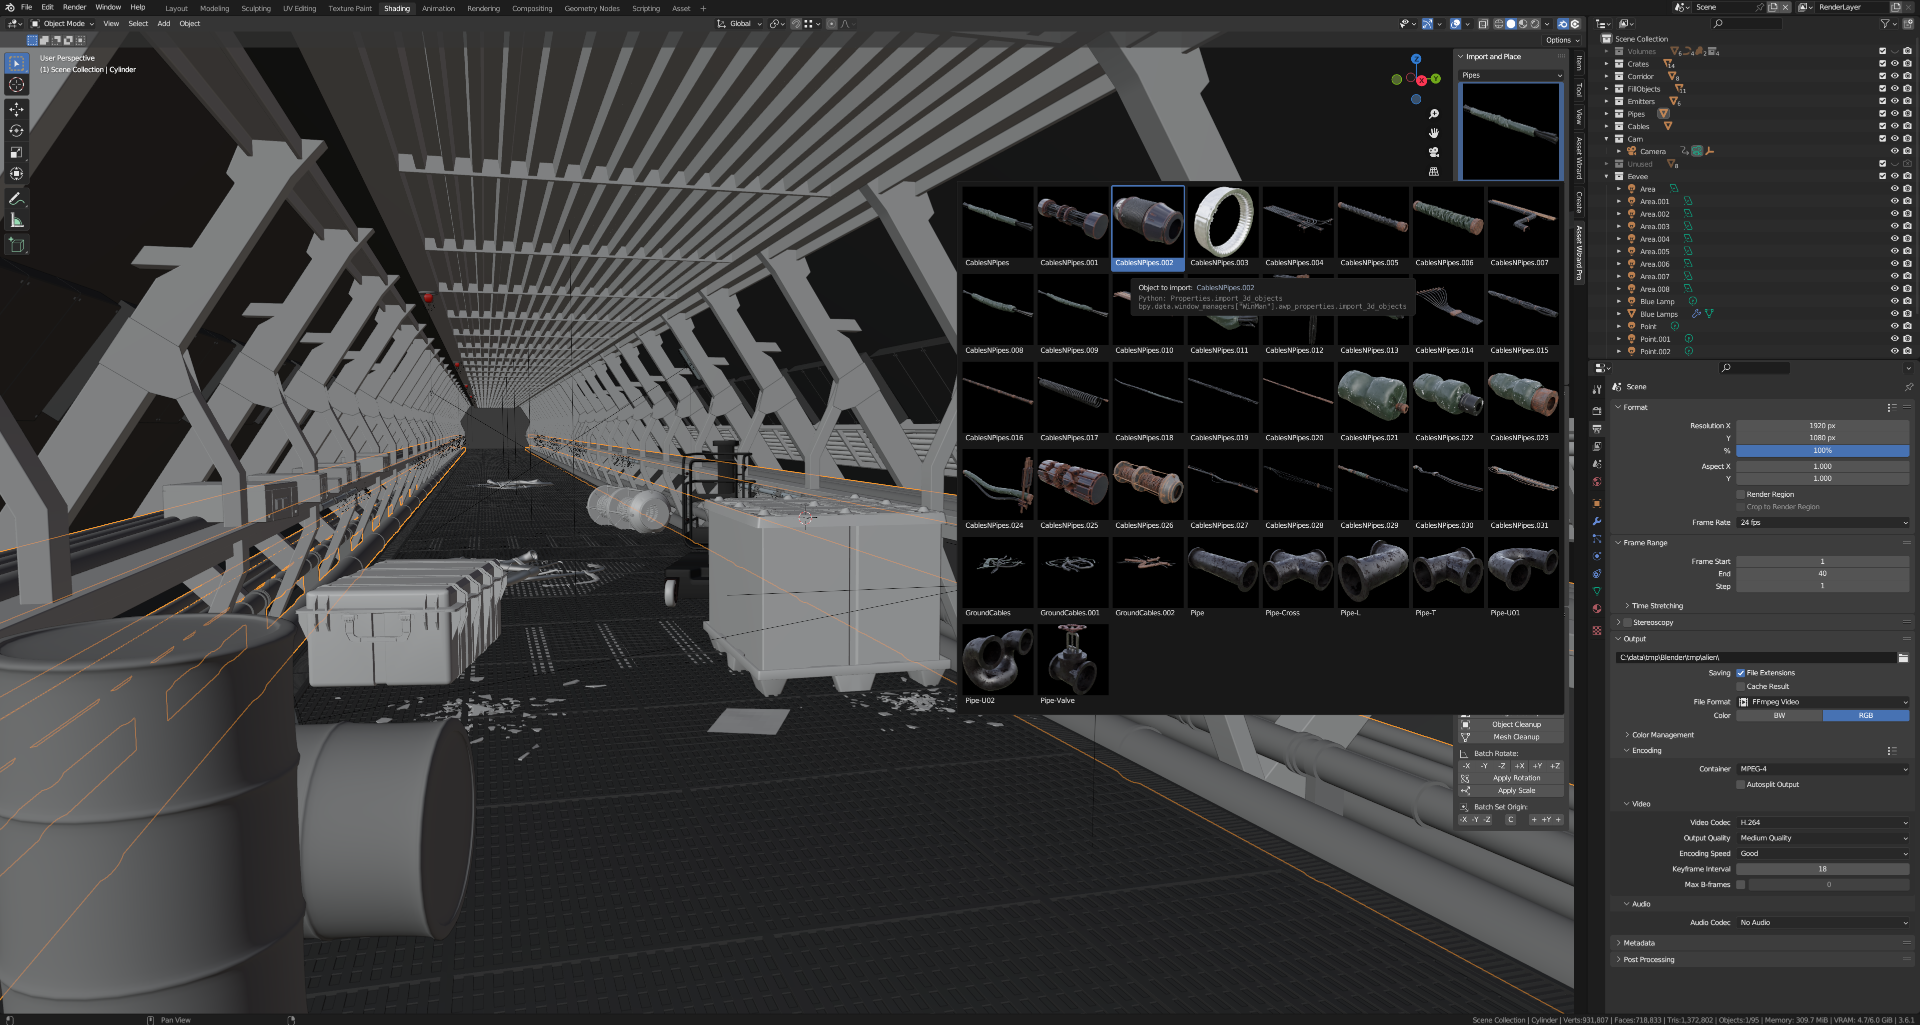
While the Asset Browser is very useful, it wastes a lot of screen space. You can now add your Assets directly from 3D View.
LINK OR APPEND
Choose if you want to link or append the asset by clicking on the corresponding button.
PRECISE PLACEMENT
Upon the asset is loaded, the place mode of AWP is started. It is similar to Asset Browser's functionality, but allows rotation and scaling as well. You can also navigate freely while placing. For linked assets, a library override is automatically created, so placing is identical. See info on place mode below.
AFTER PLACEMENT
Just hit E-KEY in 3D View to restart the place mode with this asset.
ASSIGN LIBRARY MATERIALS 
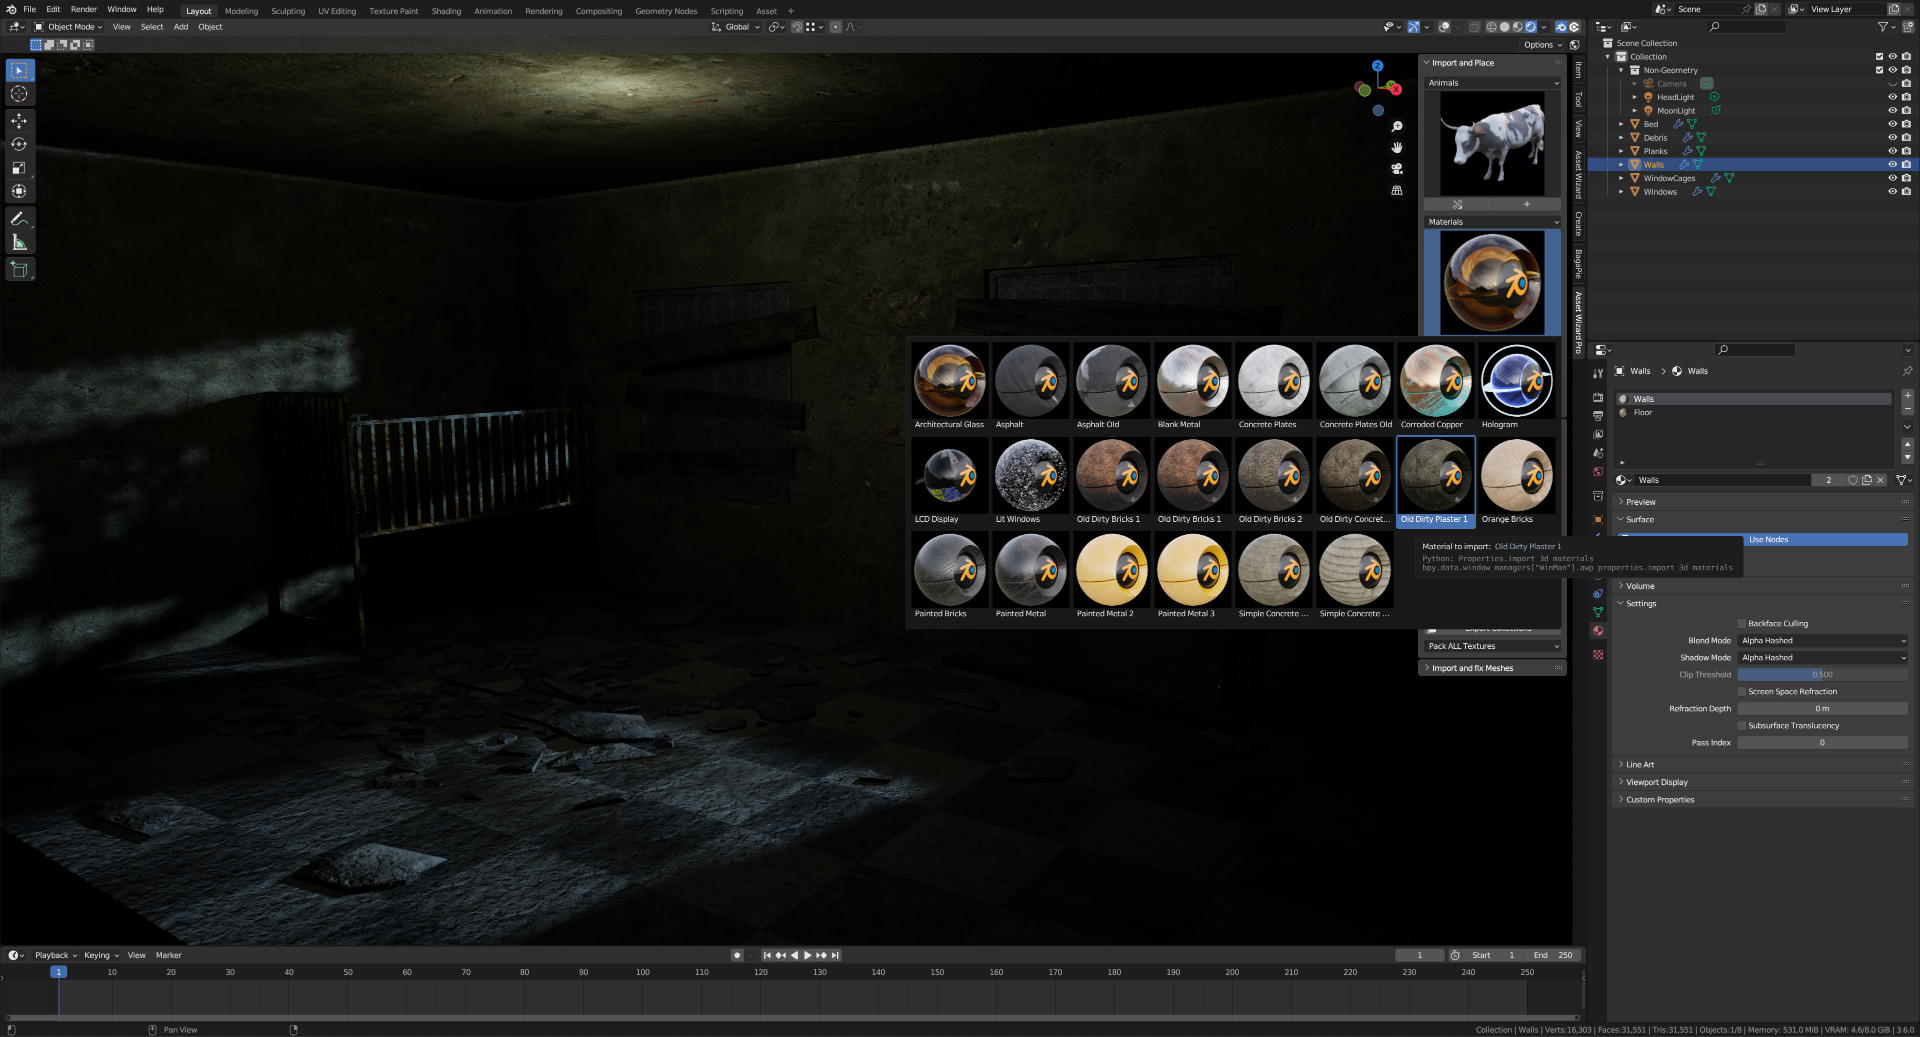
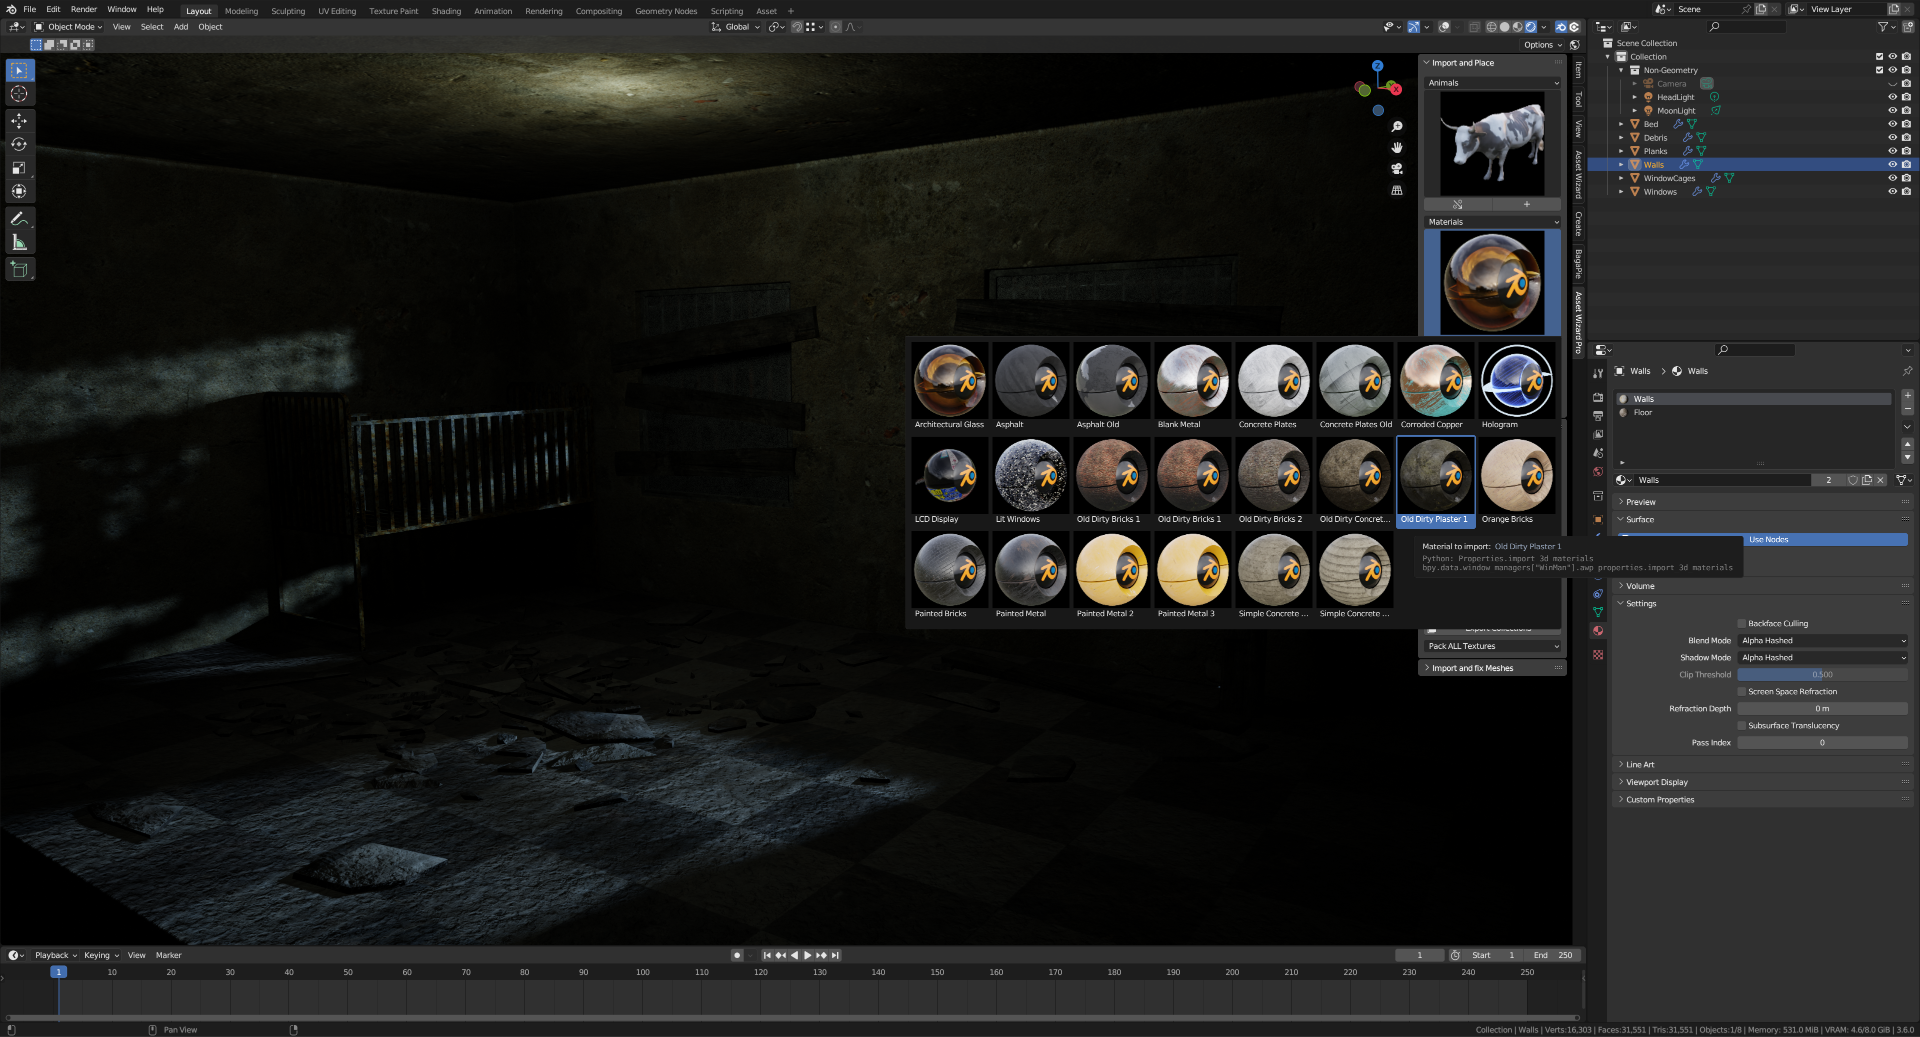
Assign Materials from your library to the active Object, all selected Objects or to the active Slot of the current Object.
PREVENT DUPLICATES
Whether the Material is linked or appended, AWP takes care of duplicates.
PLACER AND REPLACER
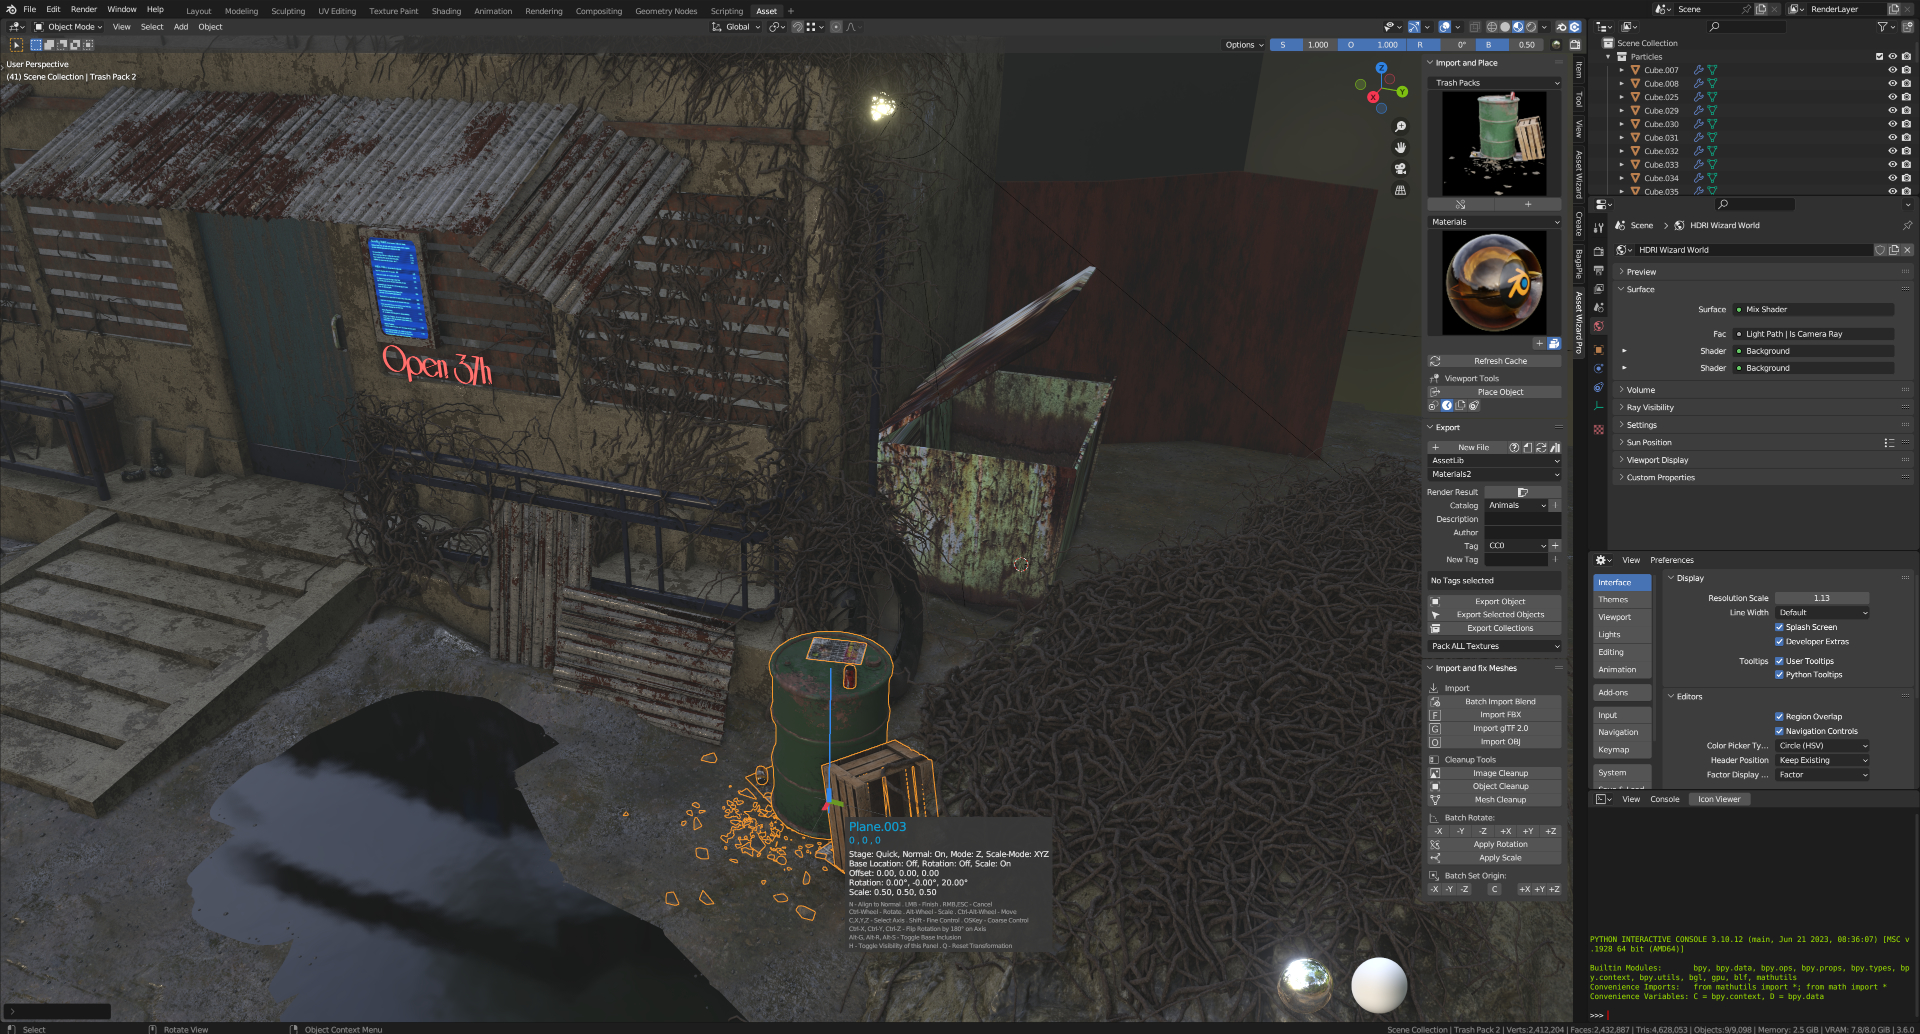
These tools are useful to place the active Object on the surface or the location of other objects.
PLACE MODE
Use your mouse to postion the active object on the surface of other objects. Ctrl-MouseWheel rotates the object, Alt-MouseWheel scales, Ctrl-Alt-MouseWheel translates. Holding Shift or OSKey switch to fine or coarse respectively. X, Y, Z and C choose the axis for the transformation.
REPLACE MODE
As the name suggests, the object replaces the target object, using the transformations of the target as base. This is very useful for kitbashing workflows.
GET BETTER PREVIEWS
AWP renders better looking previews on export. You can also simply update previews in older libraries.
IMPORT AND CLEANUP MESHES
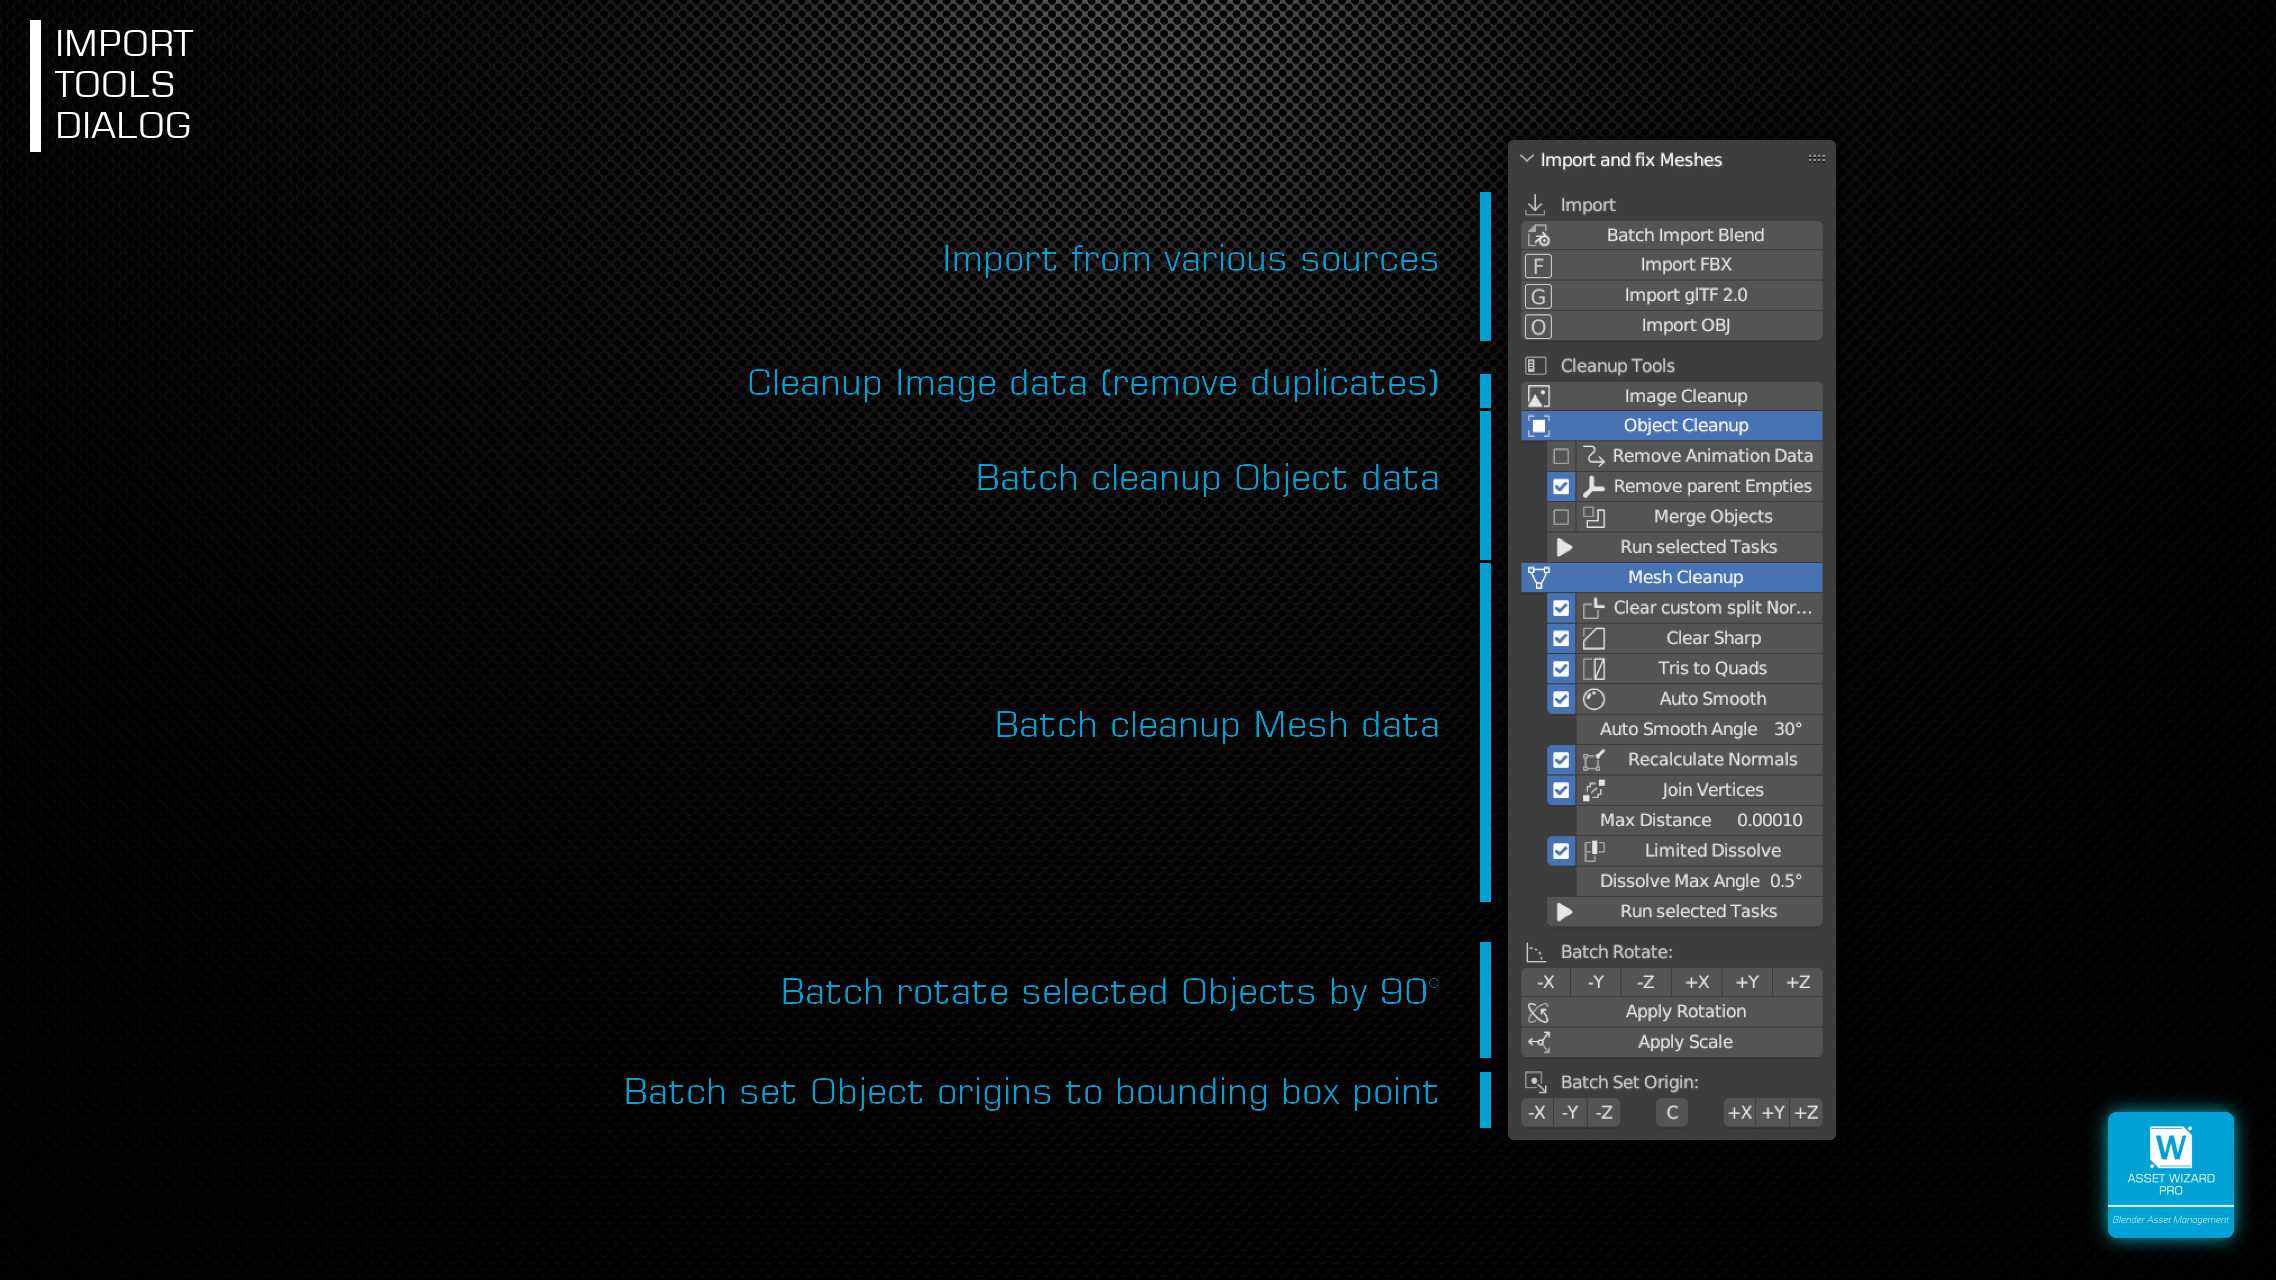
Importing geometry from other 3D software and put into your library can be a annoying task. AWP has a lot of tools to cleanup multiple Objects with single clicks.
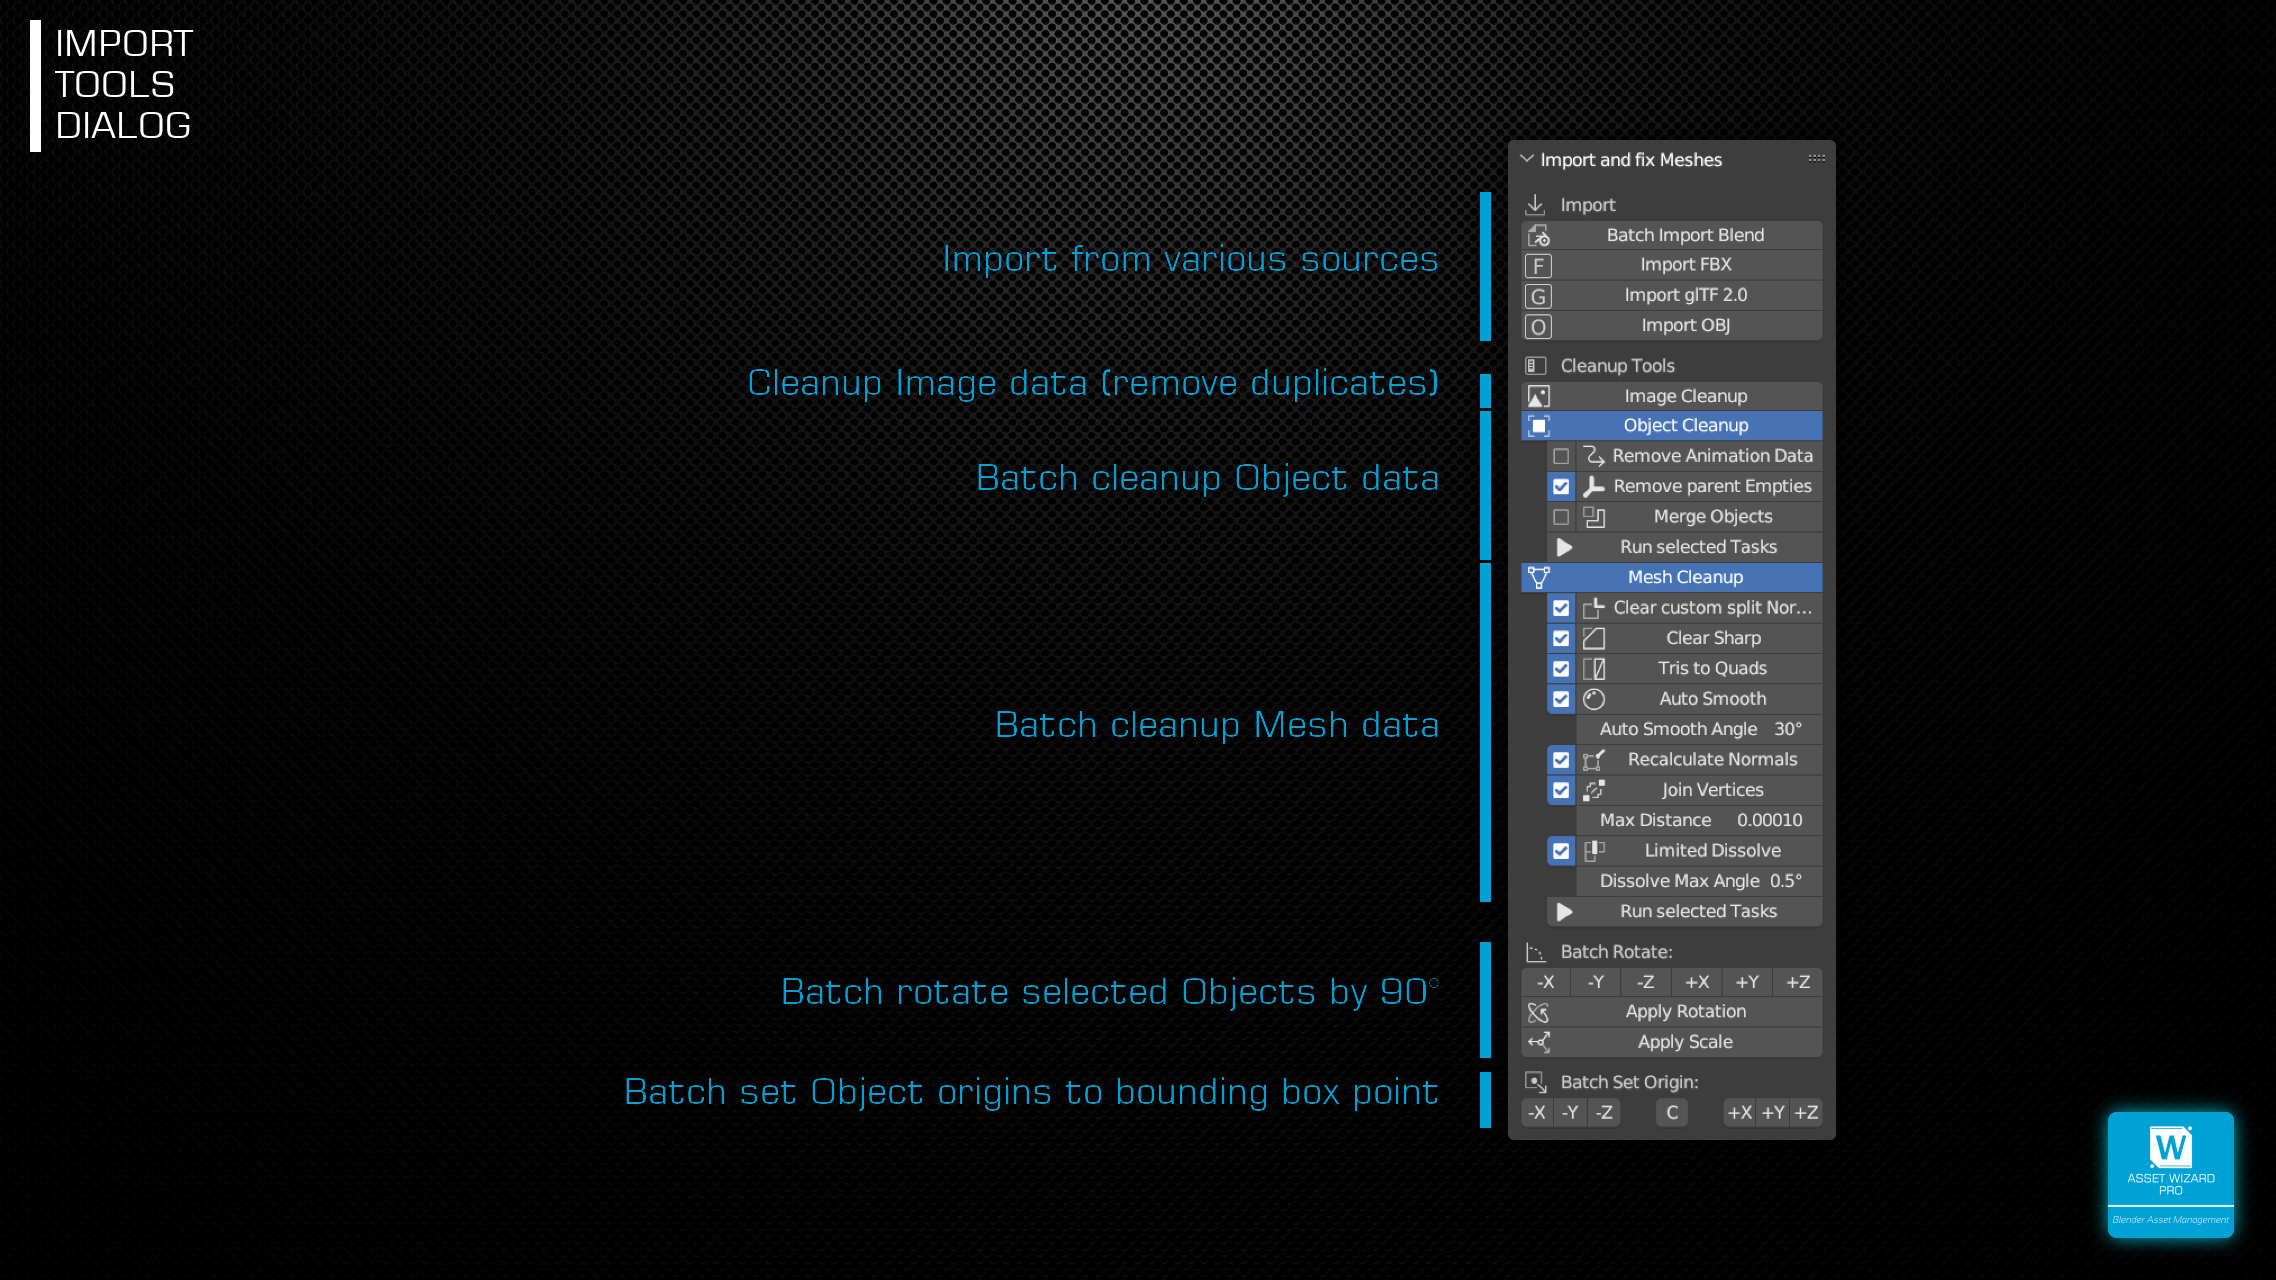
OBJECT CLEANUP
Remove (unused) animation, hierarchies of Objects and eventually merge to single Object.
MESH CLEANUP
Clear sharp, Tris to Quads, adjust auto smooth settings, recalculate normals and more, appliable to all selected Objects with a single click. Which options to use is selectable.
OTHERS
Batch rotate and batch set origin are true time safers, especially when dealing with many objects.
SHADER- AND GEOMETRY NODES PIE MENUS 
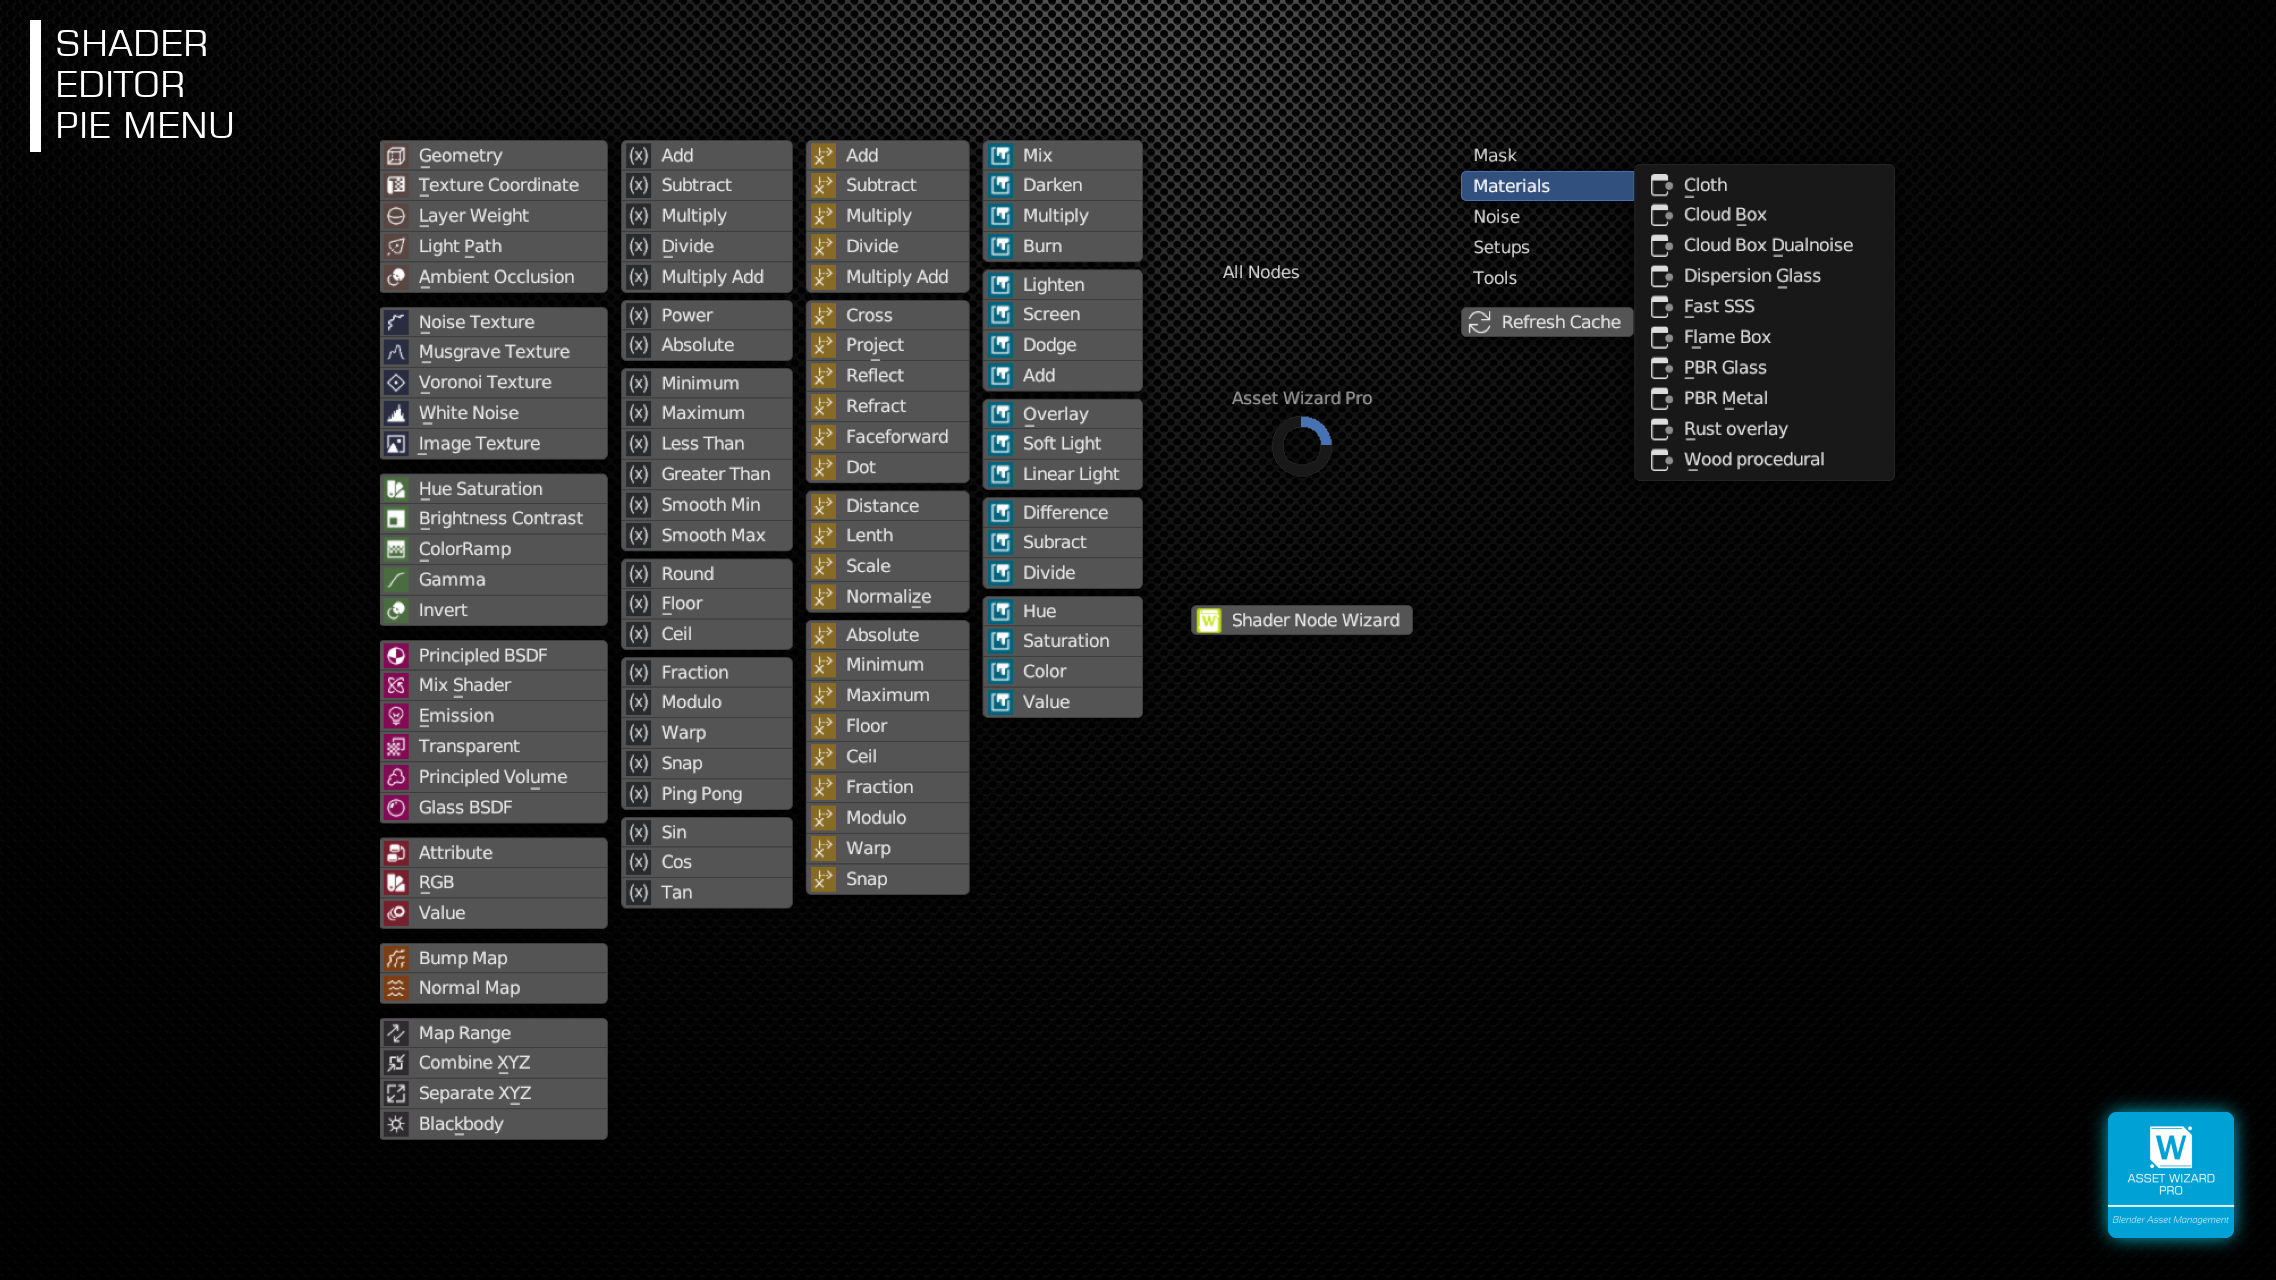
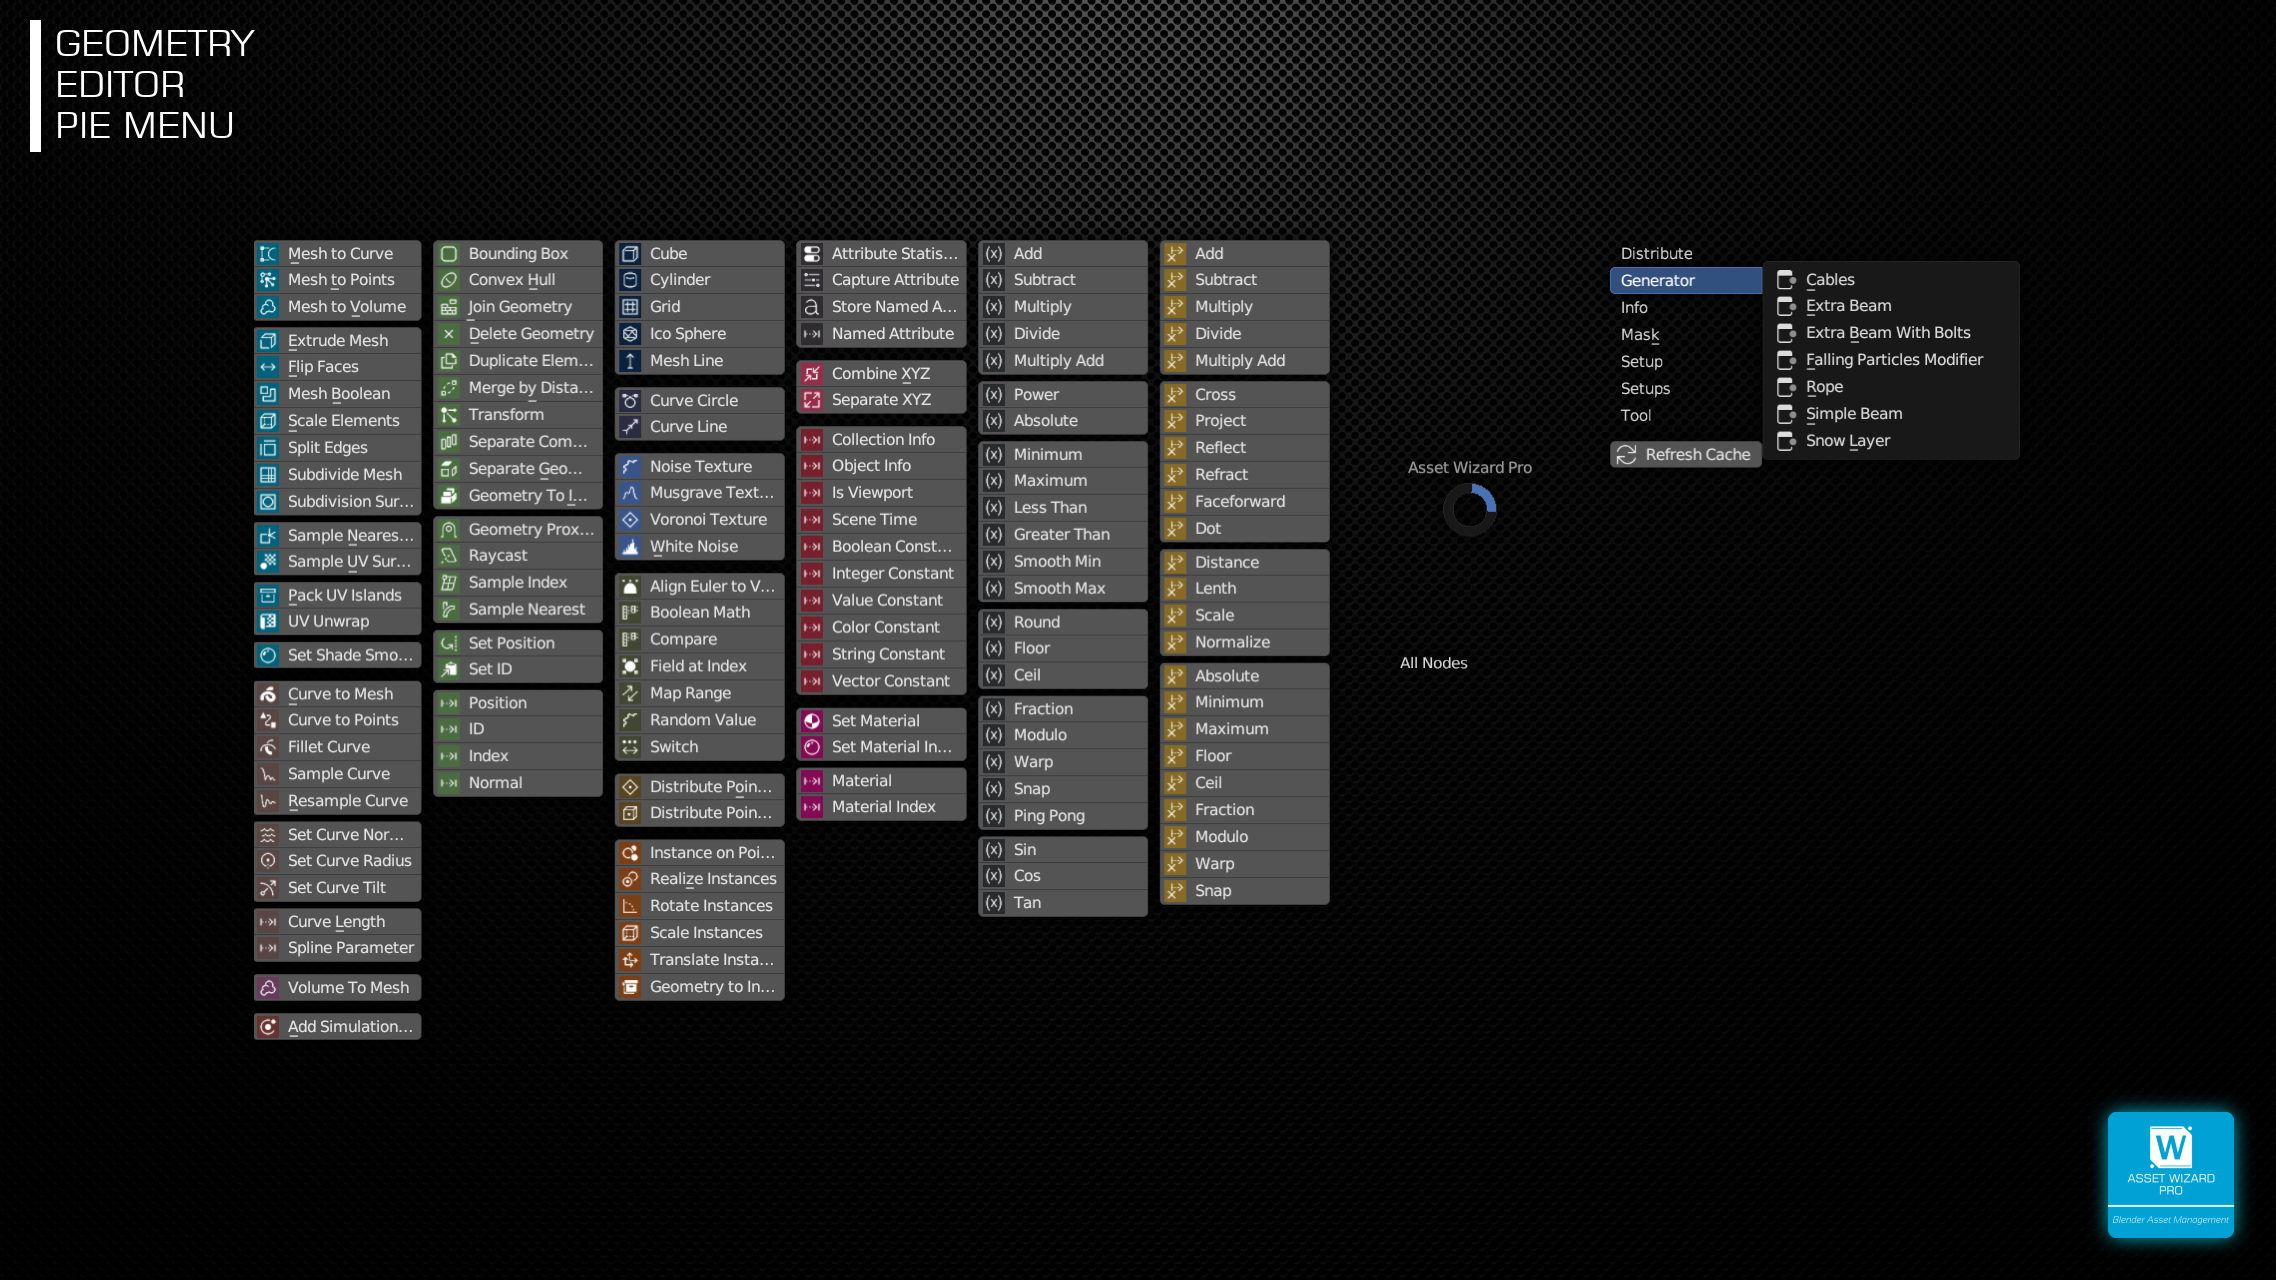
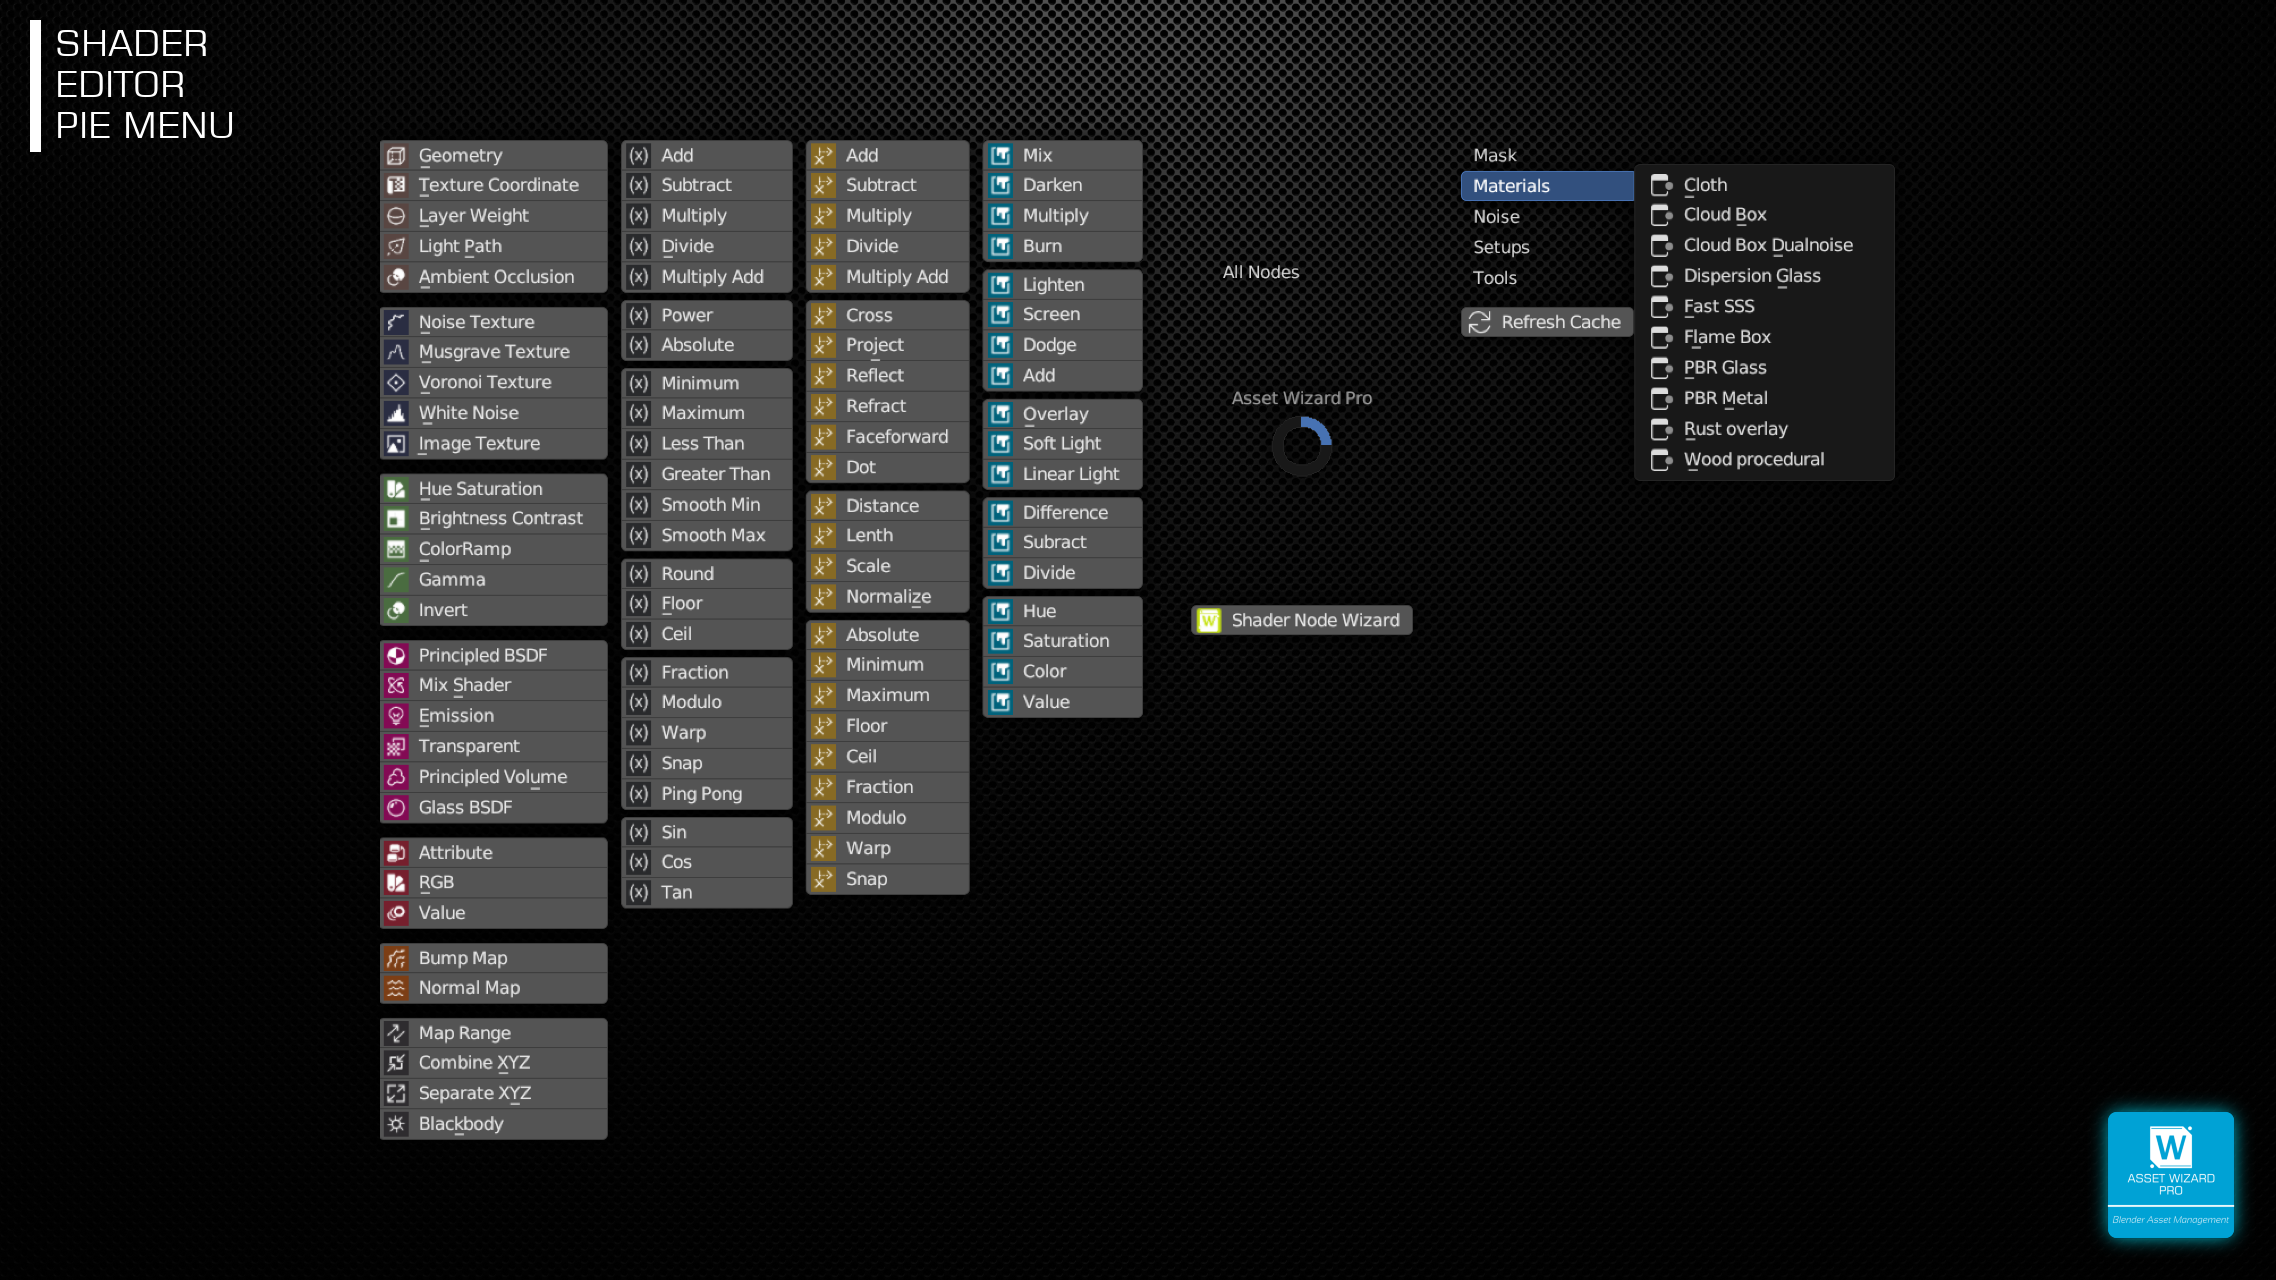
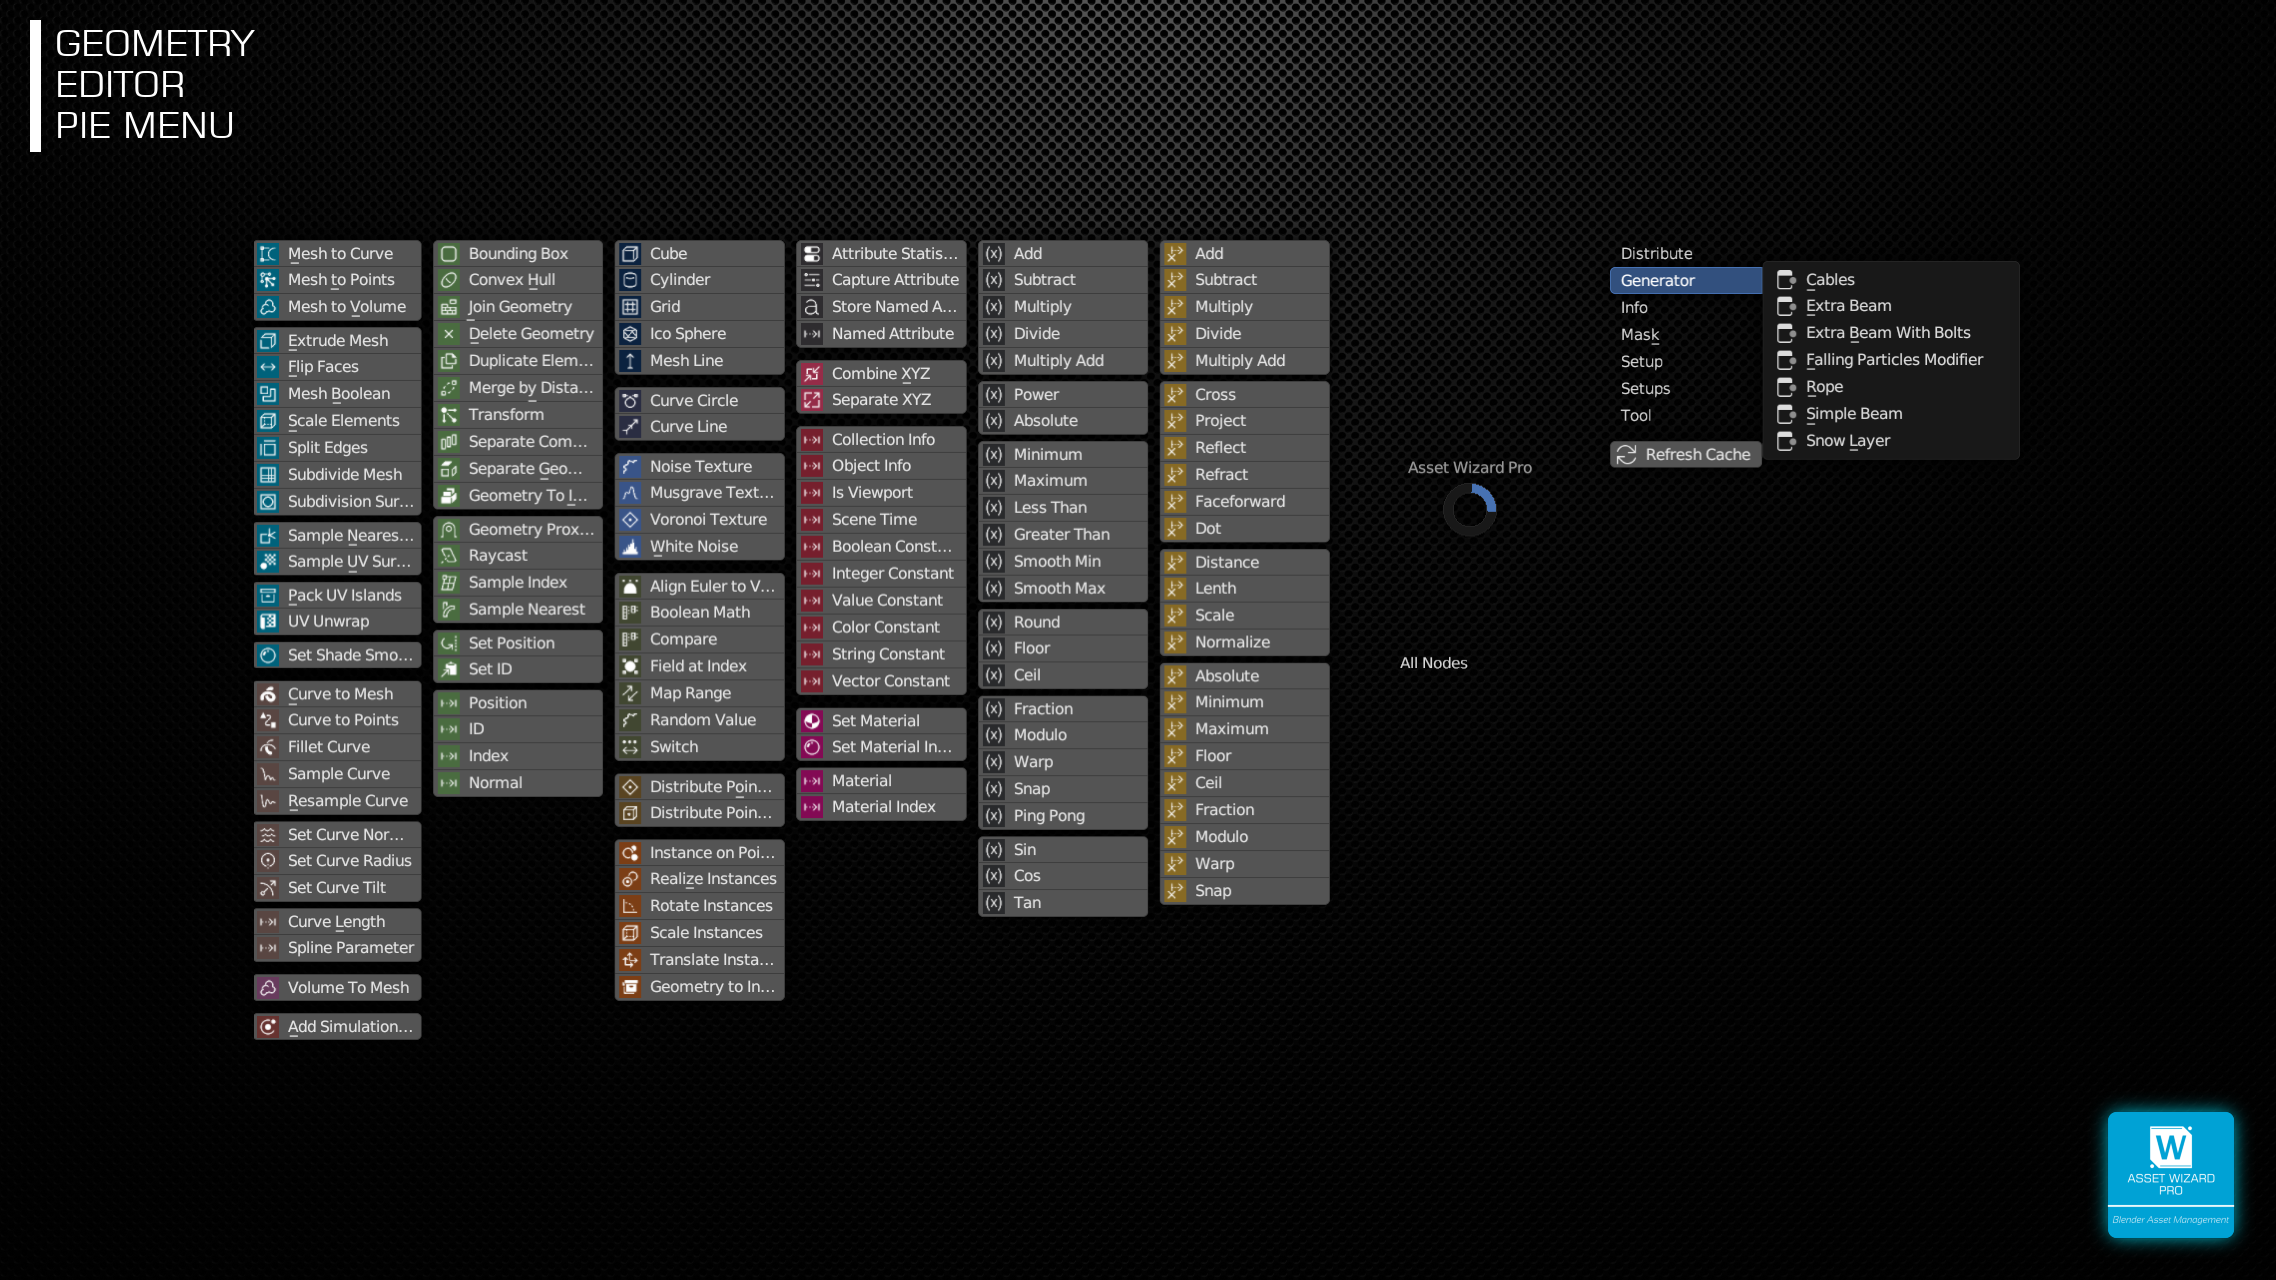
Hit the D-KEY in either Shader- or Geometry Nodes Editor to have the most common Nodes from both editors at hand. The right side shows Node Groups from your library.
Visually overhauled and enhanced in 1.4.
WITH OPERATION
Both Math and Vector Math nodes (plus Mix Color in Shader Editor) with predefined operation are directly placeable, with just one click.
VISUALLY UPDATED
Starting in version 1.4, groups of nodes have different colors which helps to find the nodes faster.
WIZARD ADDON BUNDLE 
If you are interested in this Addon, please note that you can also buy the WIZARD ADDON BUNDLE.

