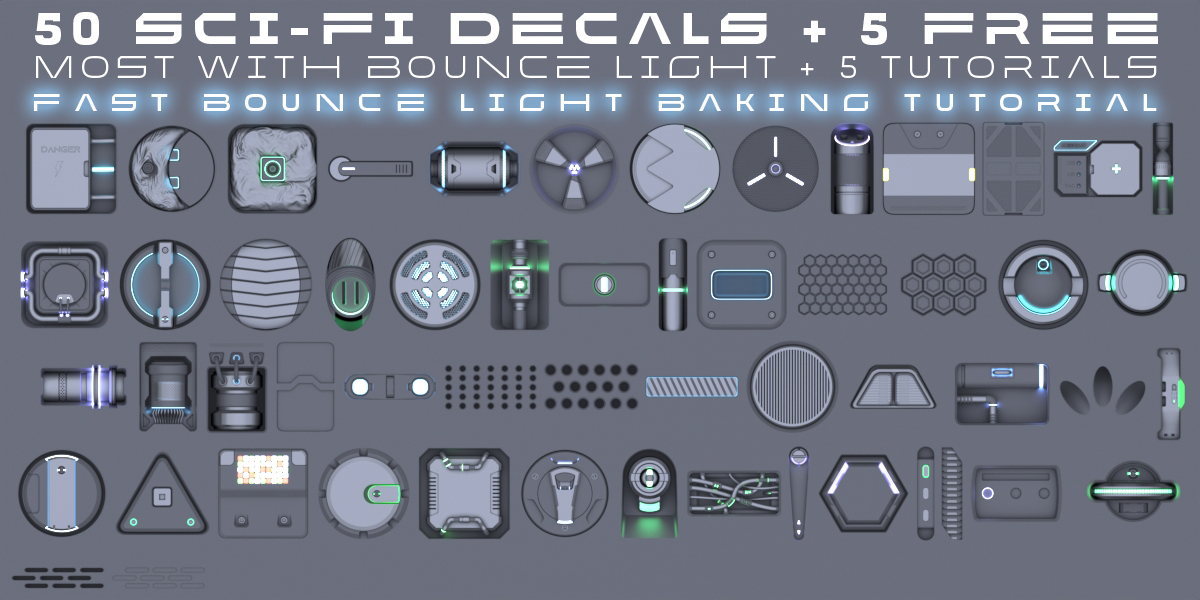
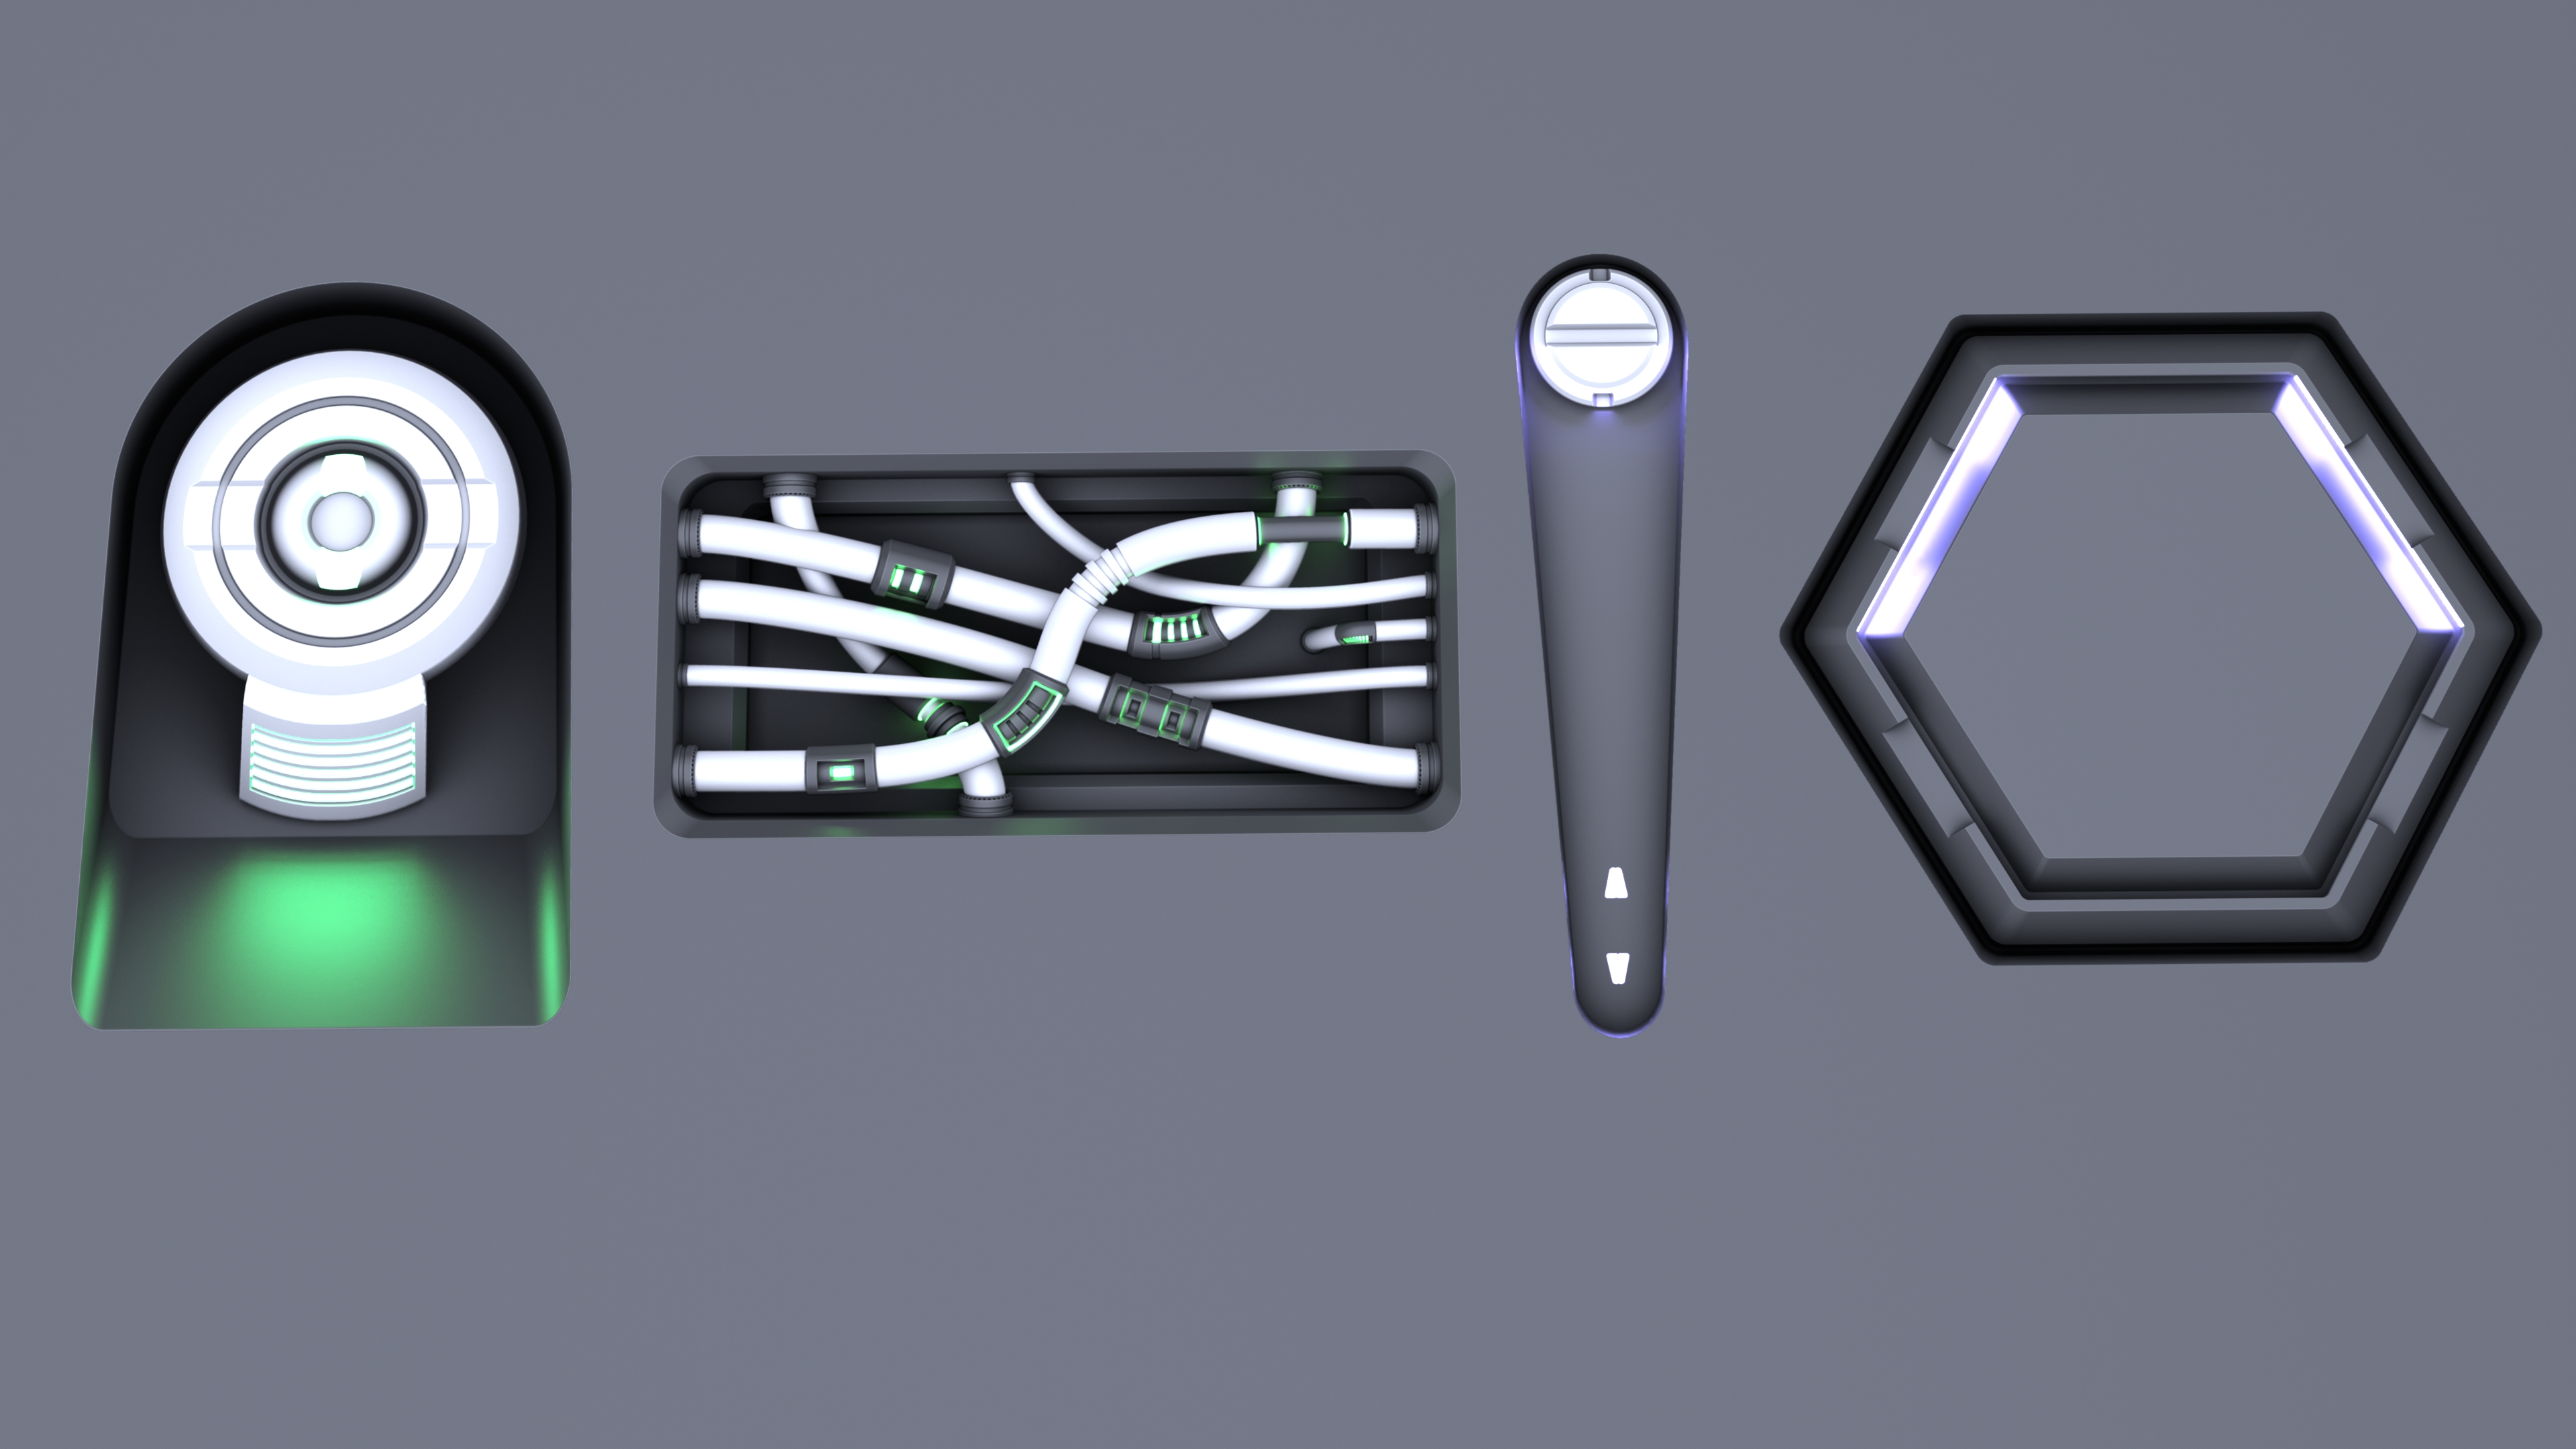
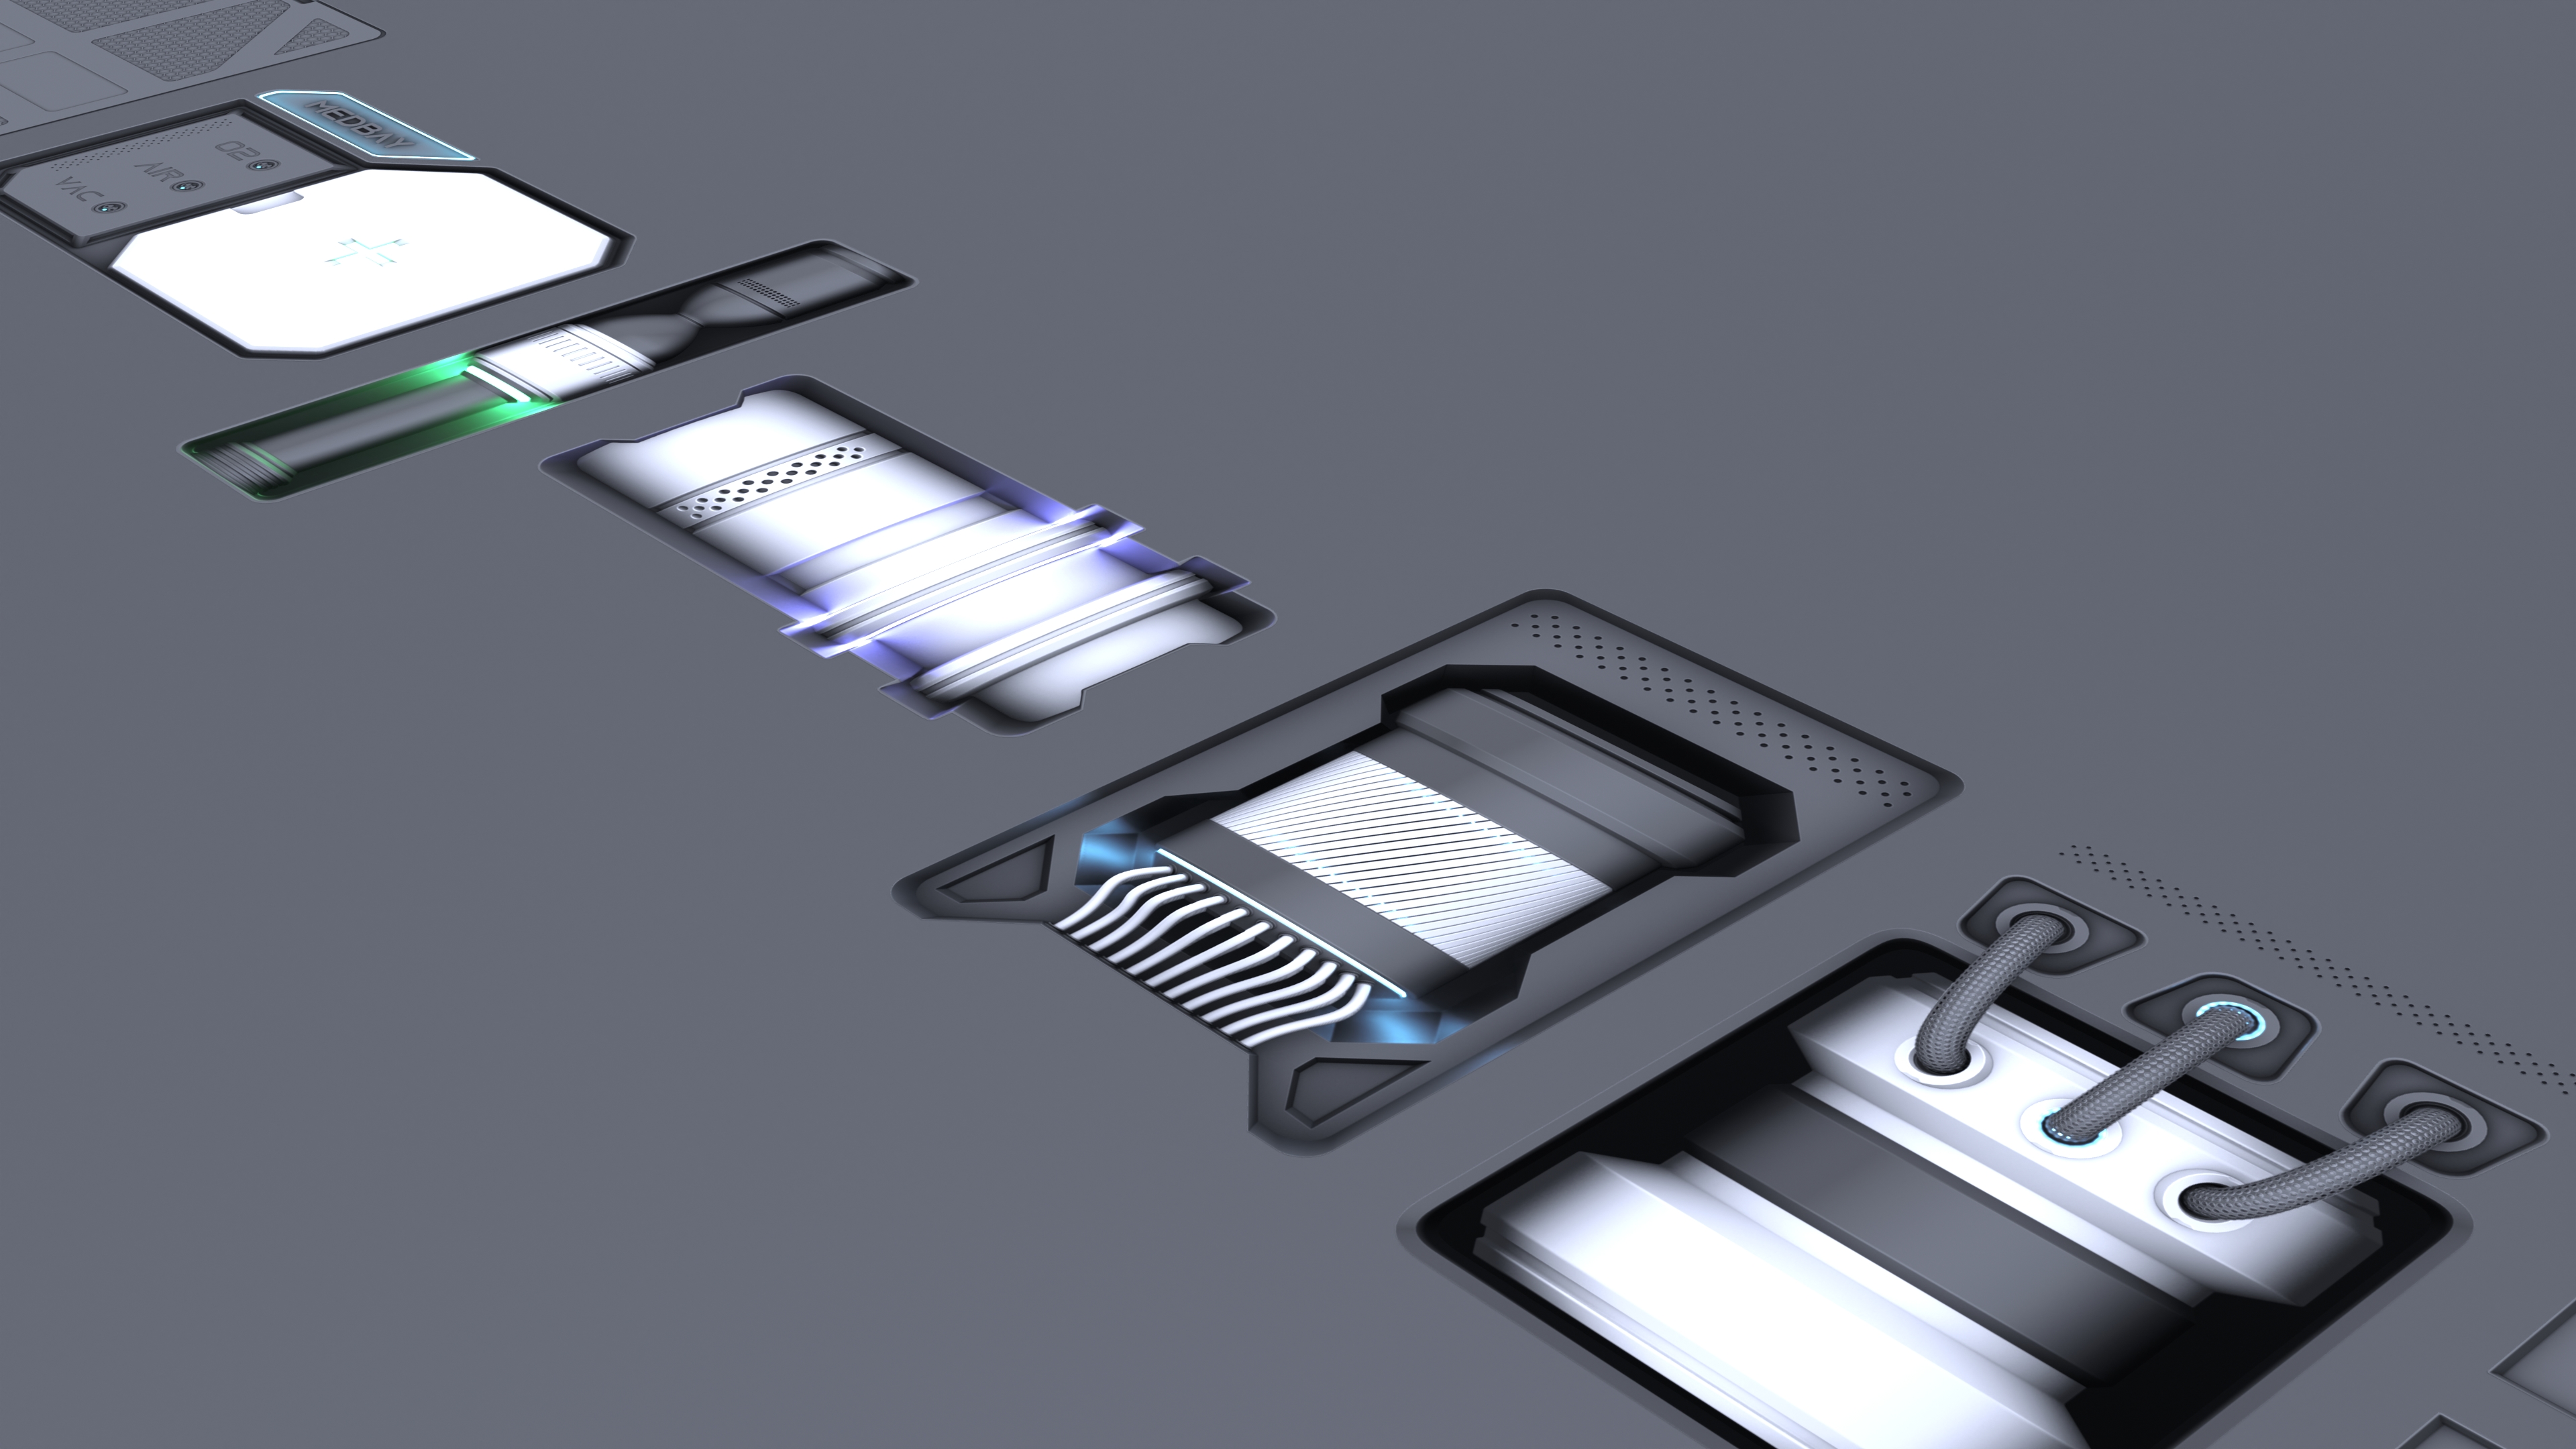
50 + 5Free Sci-Fi Decals Pack V2.0 With Bounce Light!. Decalmachine 2.6 Ready + 5 Tutorials
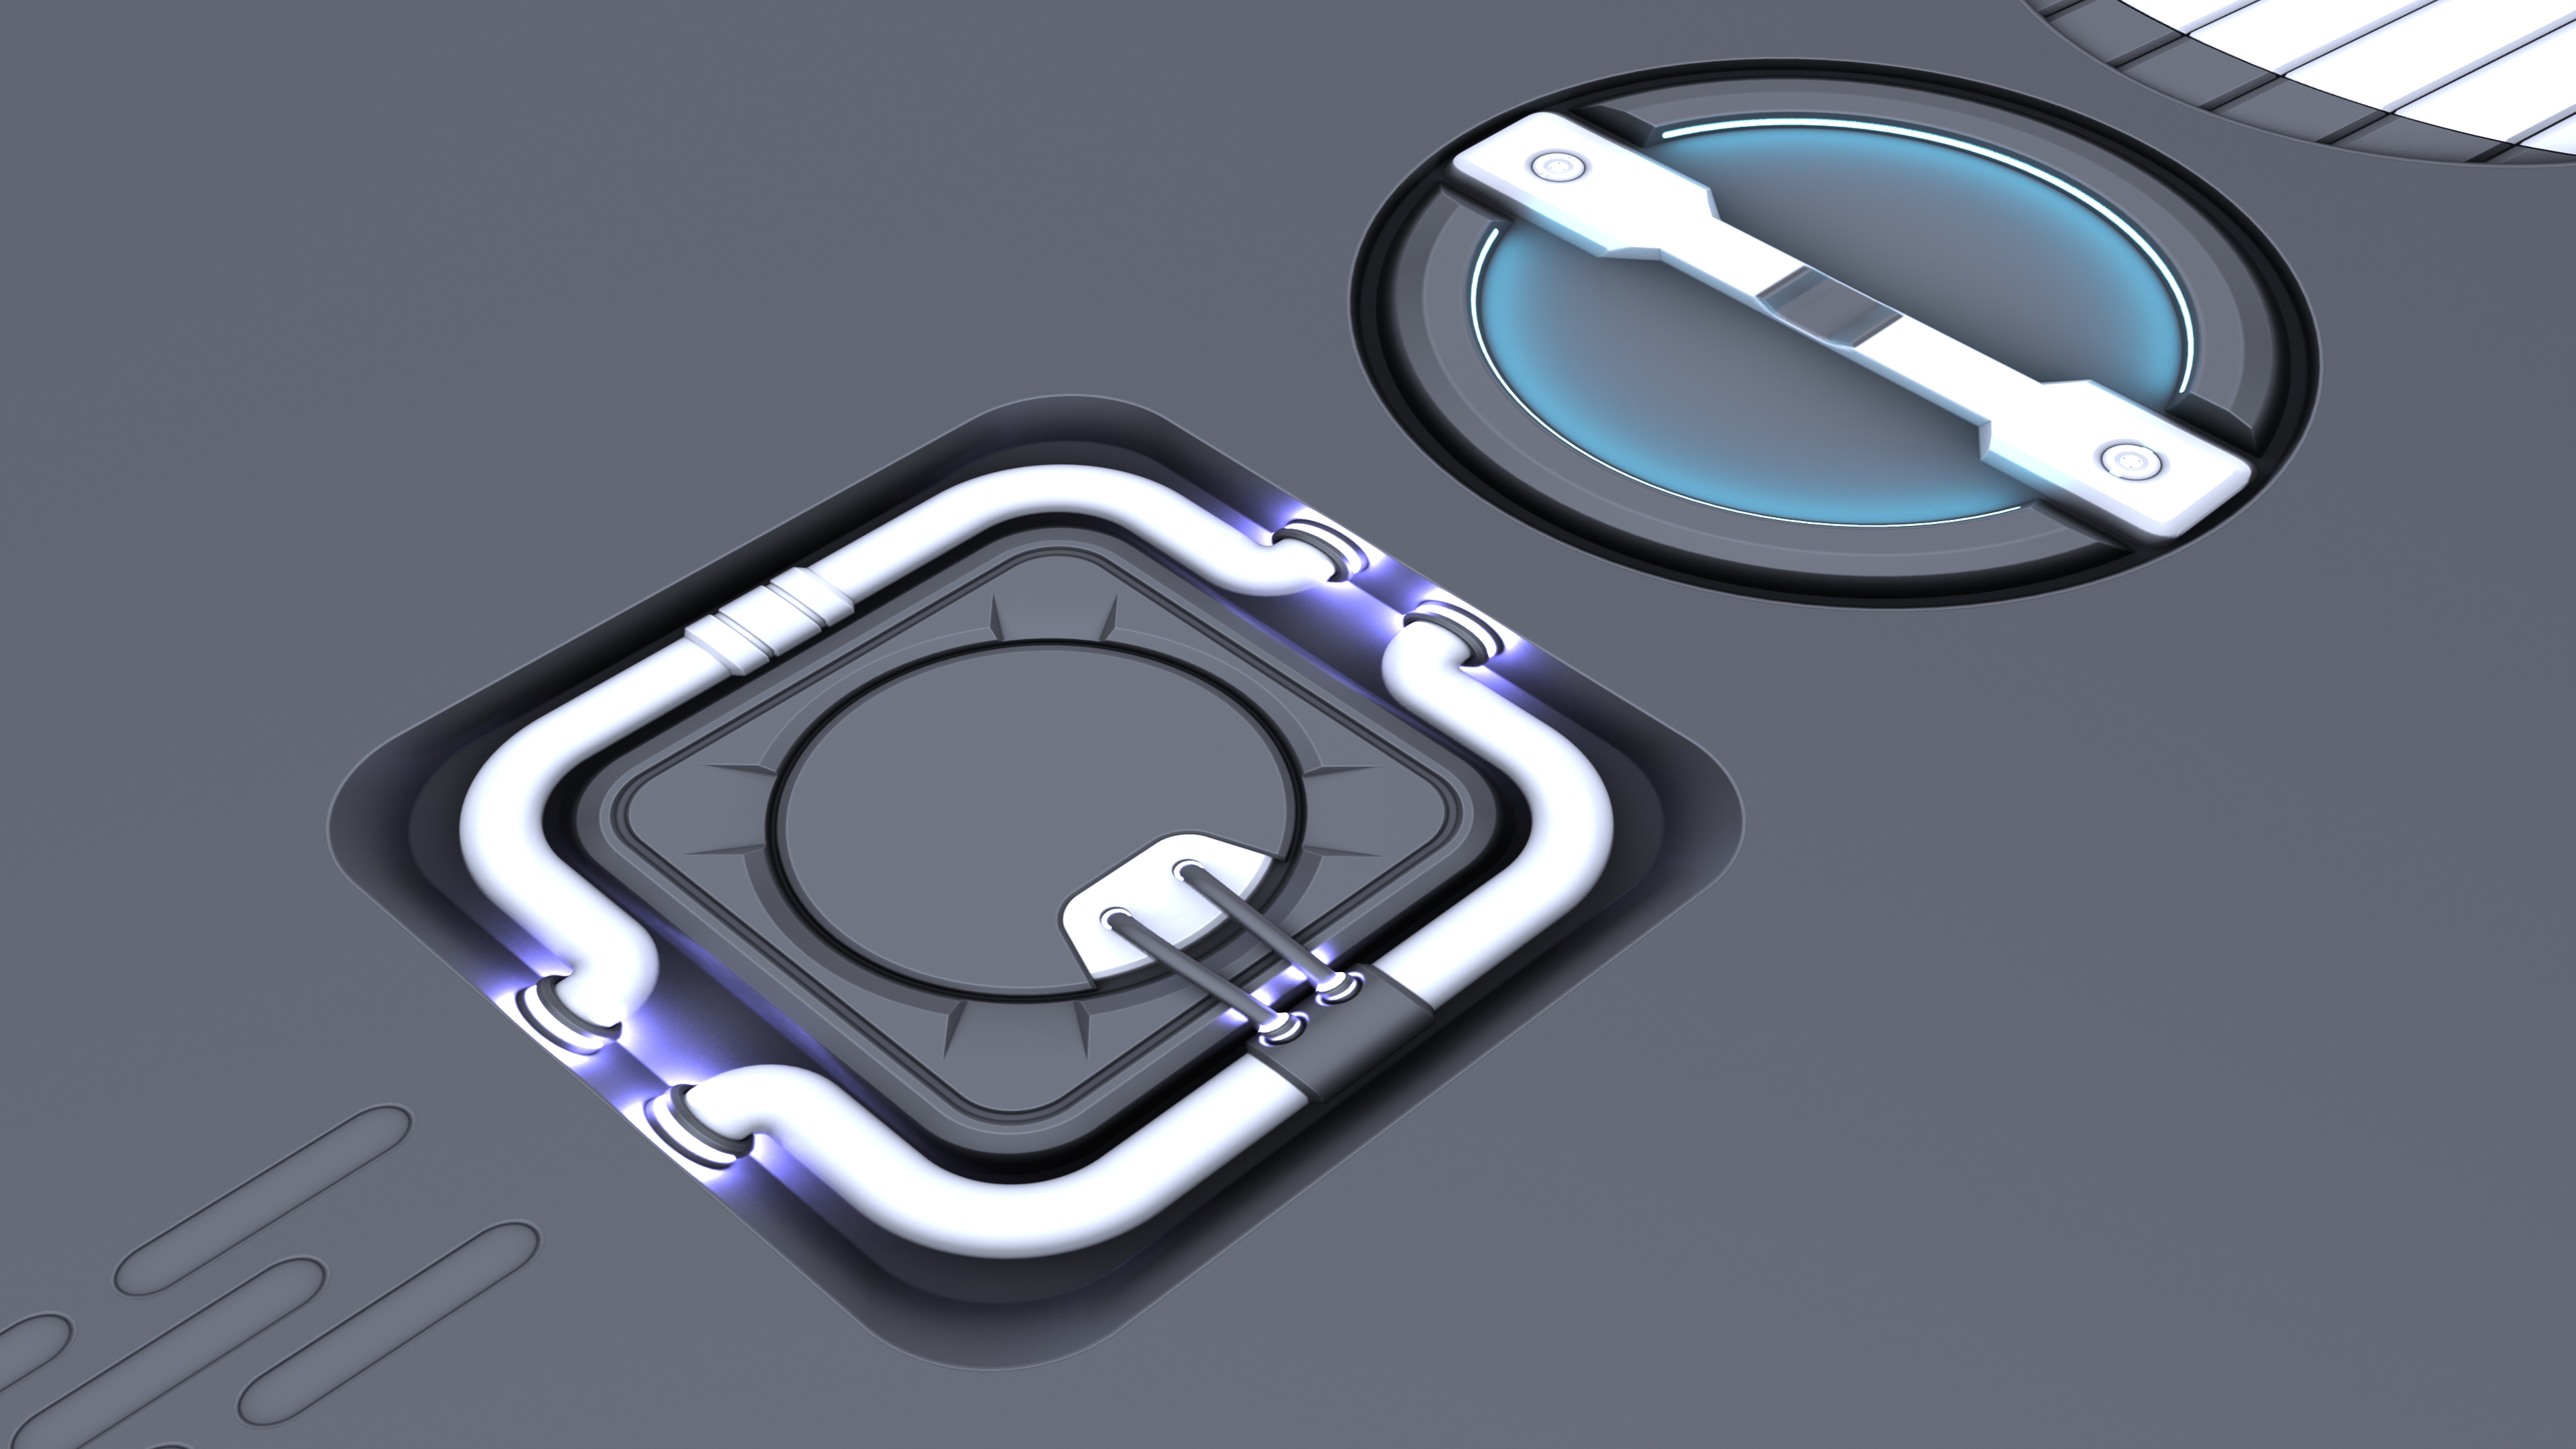
This pack is currently the second decal pack present on the market that has bouncelight in it.
Check out my #1 pack of decals with bounce light HERE!
If you wanna have a look at a little showcase video about this pack, click HERE!
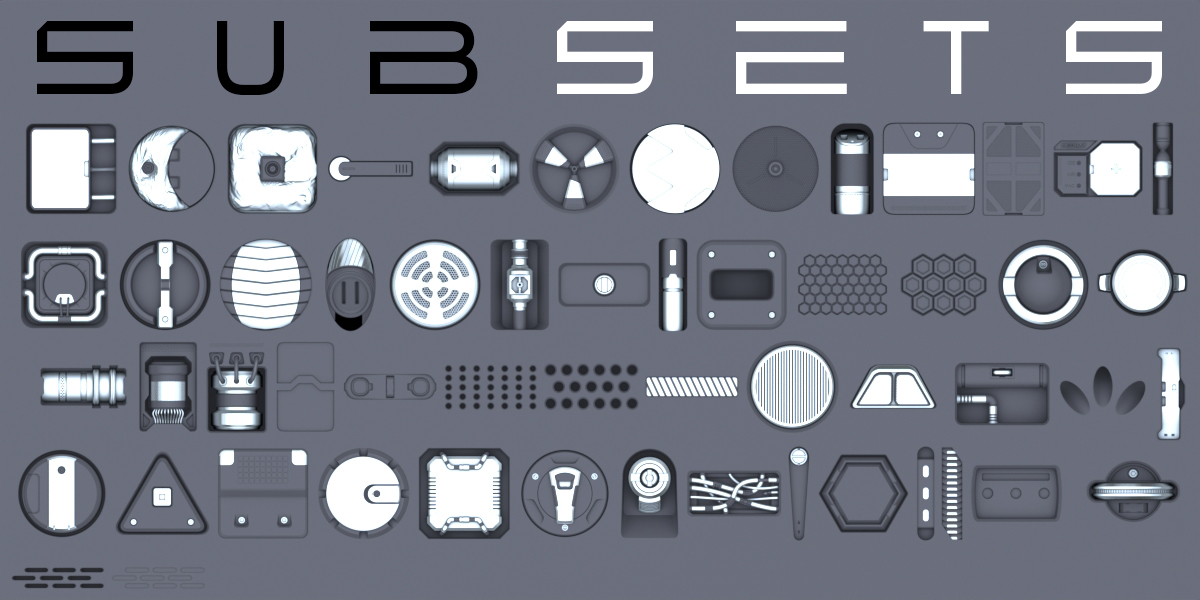
It inclusdes 50 decals (42 with subset) + 5 free decals and most of them have bounce light.
The 5 tutorials focus on:
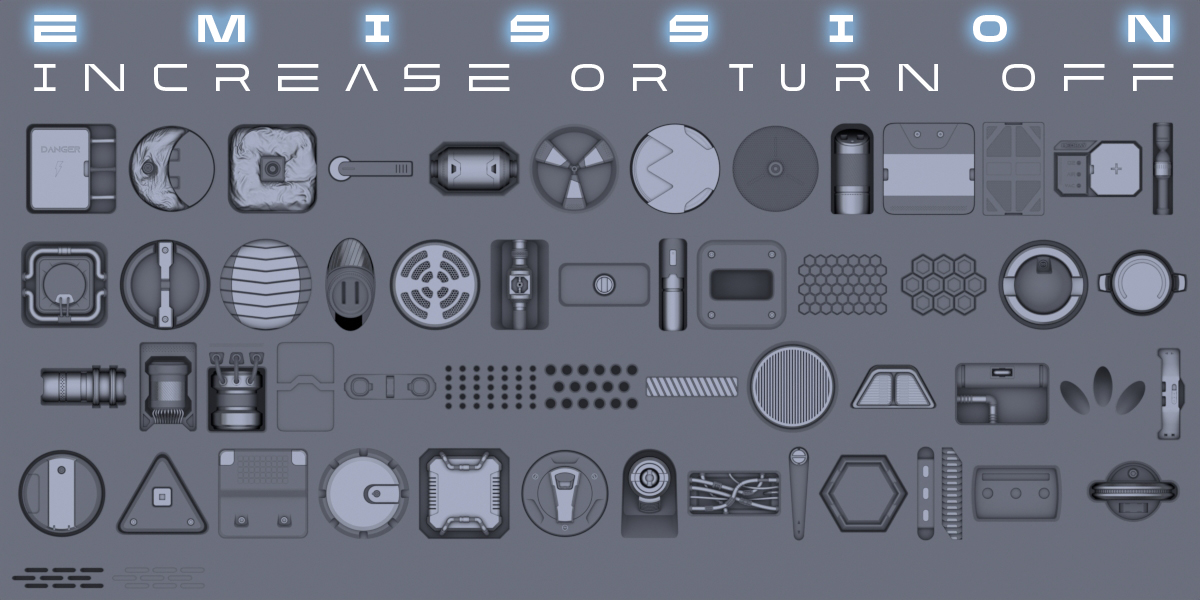
Tutorial 1 Introduction to decal machine's basics: how to apply a decal, how to increase and decrease emission and parallax and how to diversify the emission in groups of the same decal (changing the emission color in the node editor), also a little introduction to instamats and smudgr addons and how to use instamat to unify the texture of the object with the texture of the decal in 2 clicks.
Tutorial 2 Introduction to manual bouncelight baking with the whole process and how to achieve it and why you want to bake bounce light separately.
Tutorial 3 How to fix the manually baked map in Photoshop (change lights individually after baking and enhancing the light) and how to change the decal preview in case you want to sell said decal in a pack.
Tutorial 4 (using Photoshop) This tutorial mainly focus on how to fix the normal and Ao-curv-height map in case of messed up shading after a decal is baked. Sometimes it's better to tweak things in photoshop rather than waste 2 hours fixing up the geometry manually.
Tutorial 5 (not packed) (using photoshop) Coming soon, features how to fix a normal map form messed up geo but with an object on top of it. In this case you can't just delete everything else and keep only those faces because you'll have the problem of the other object lying on top, so if you try the same process of tutorial 4 you'll inevitably delete that object from the normal map (in photoshop). You can alternatively mask it out by hand but I don't recommend to do that since this process is intended to speed up the workflow. I'll drop this tutorial in a few hours.
Important installation note: to install the pack correctly, make sure that the folder you paste into the final directory is the one that once opened, reveals all the decal subfolders with numbers and the indexing file. If you don't do this, the pack will not display in DM!
Note about toturials: some tutorials feature decals that look different from the final ones in the pack, this is because I was recording things while I was building the pack. Some changes were made afterwards to improve the final product.
All decals are baked at 1024 (max resolution) with 4x Anti-aliasing and emission with bounce (when pertinent).
